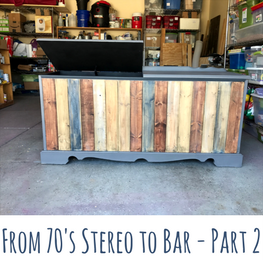
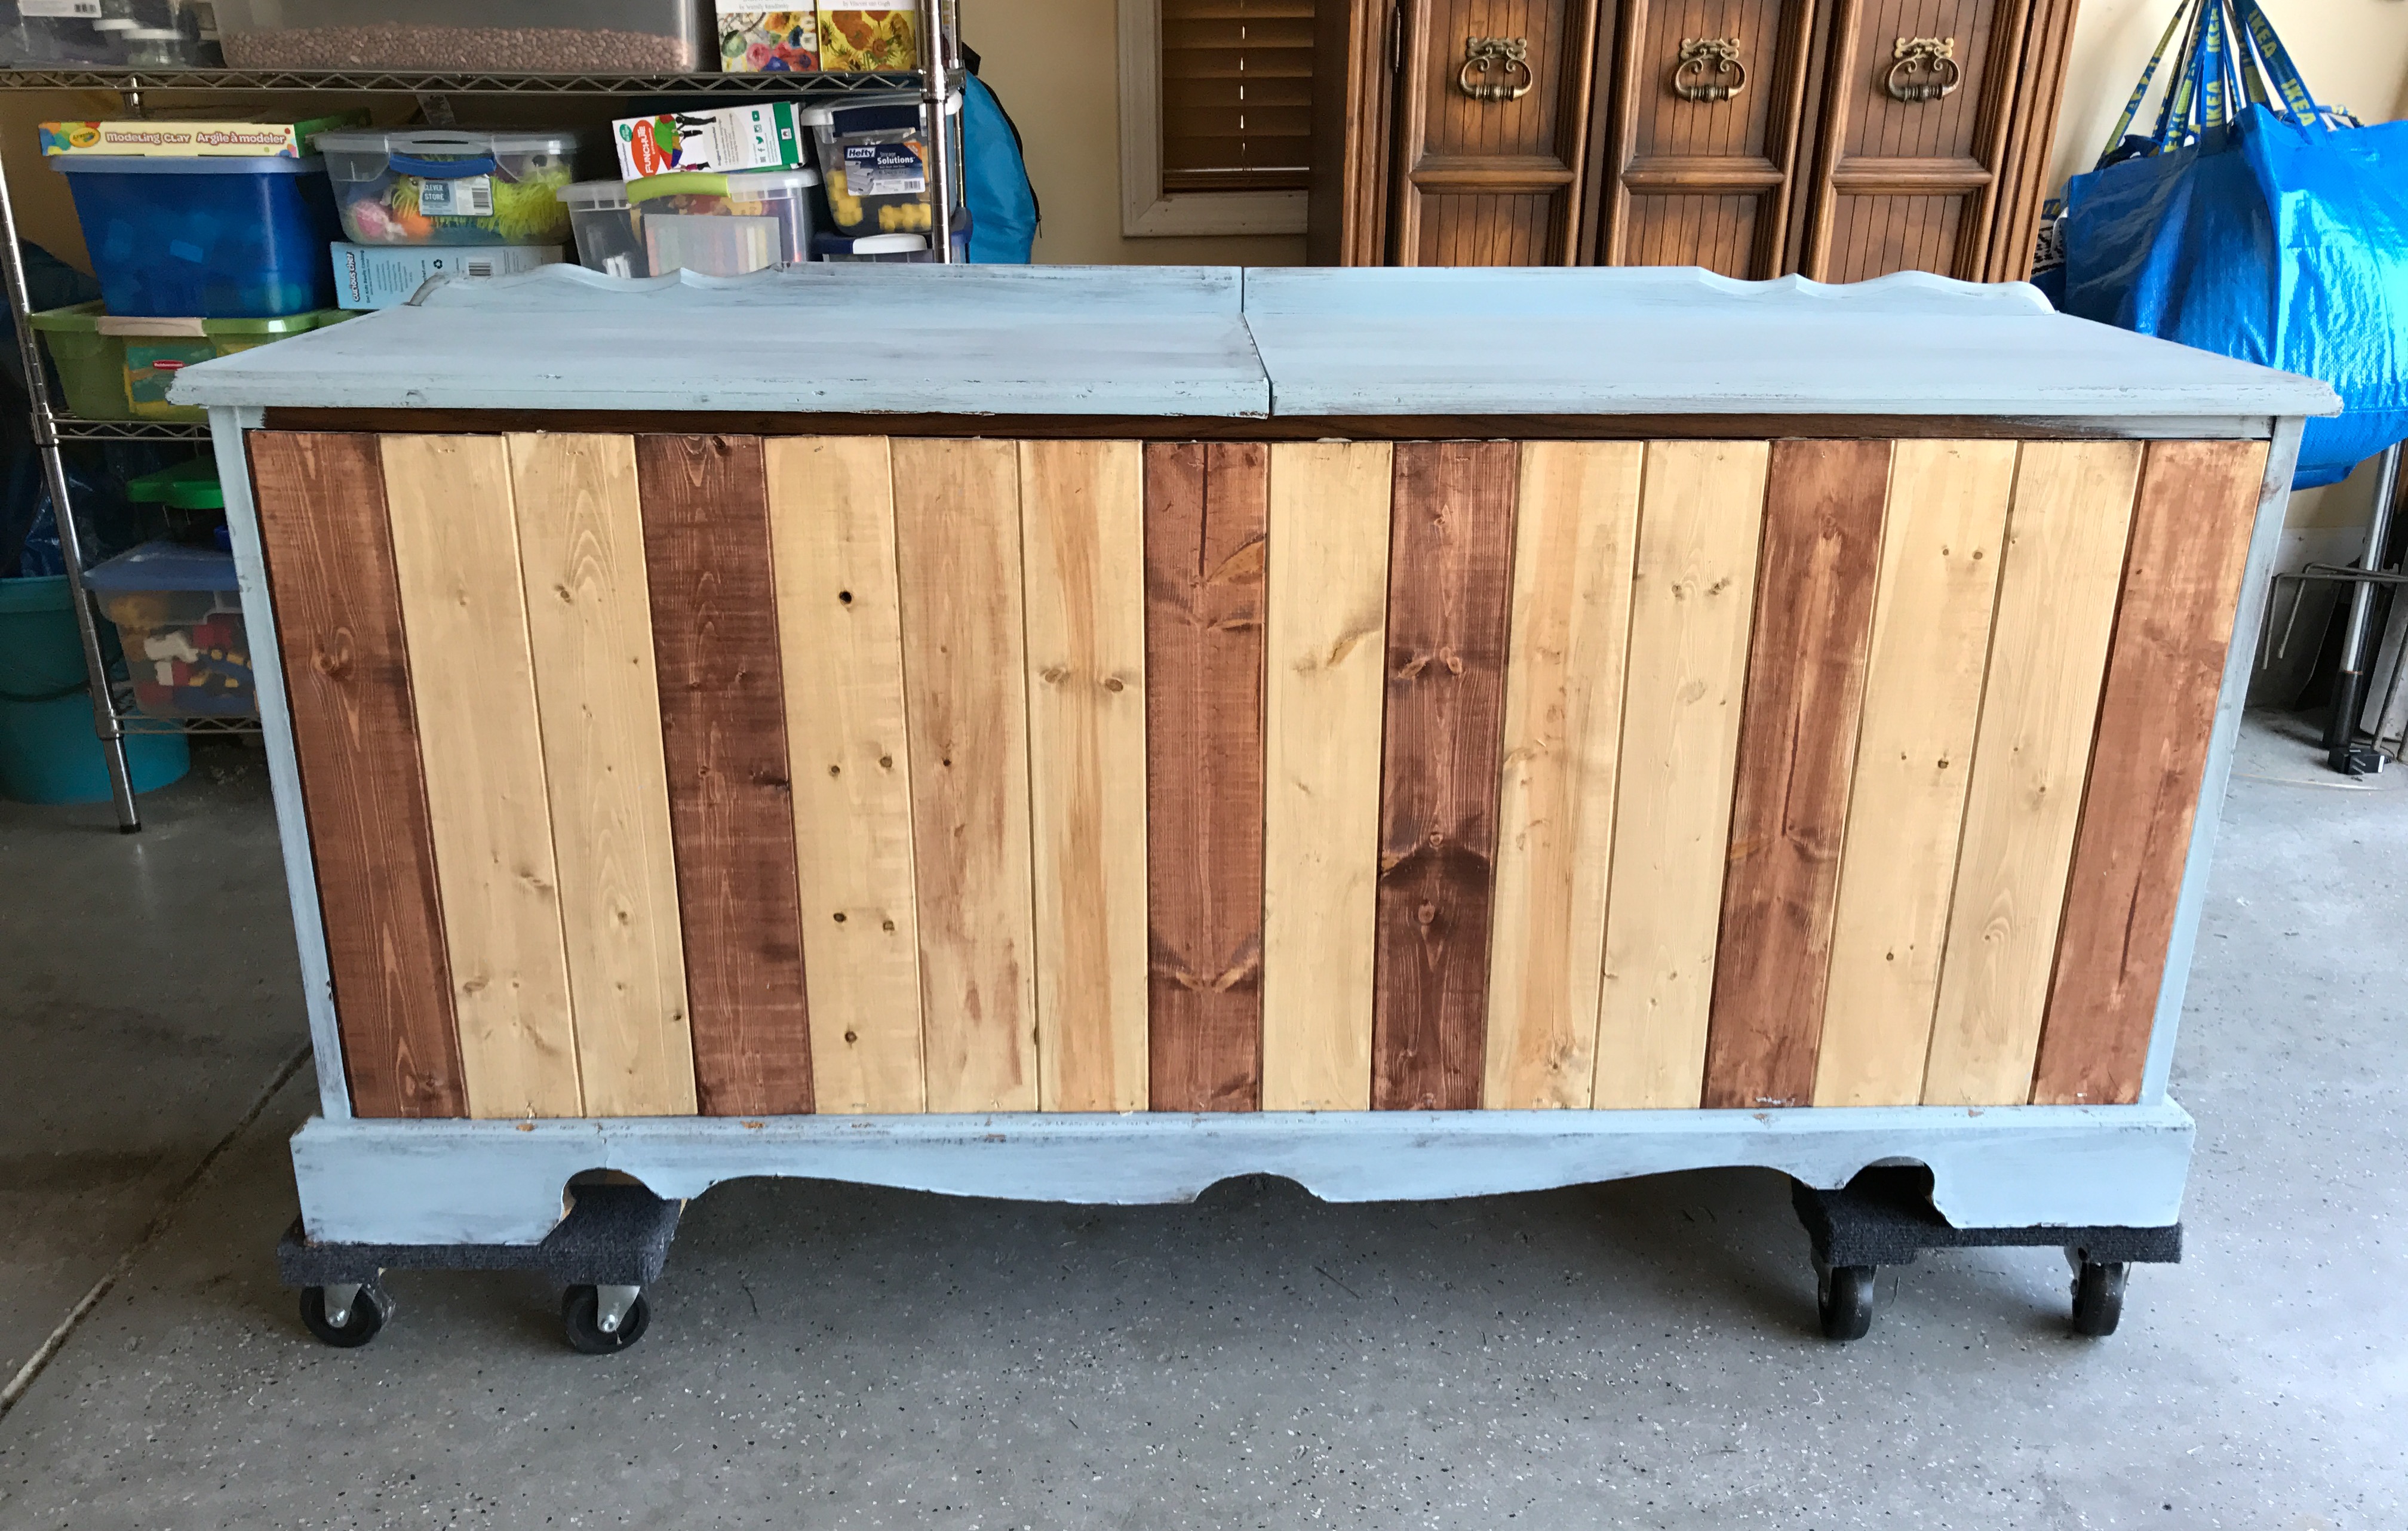
Welcome back to Part 2 of our DIY project — stereo to bar! When we left off in our previous post, I had shown a photo of what the stereo looked like after a coat of chalk paint and the shiplap stained and attached:
As mentioned in the first post, after we got a look at our first coat of chalk paint, we decided we wanted to go with a darker shade of gray so we used some darker gray latex paint (which you can do because we painted with chalk paint first). 
After two coats of dark gray paint, I still needed to do a little wood filler and sanding around some edges and then painted those after they were dry and sanded, with chalk paint first, then with the darker gray, just to be on the safe side for adhesion.

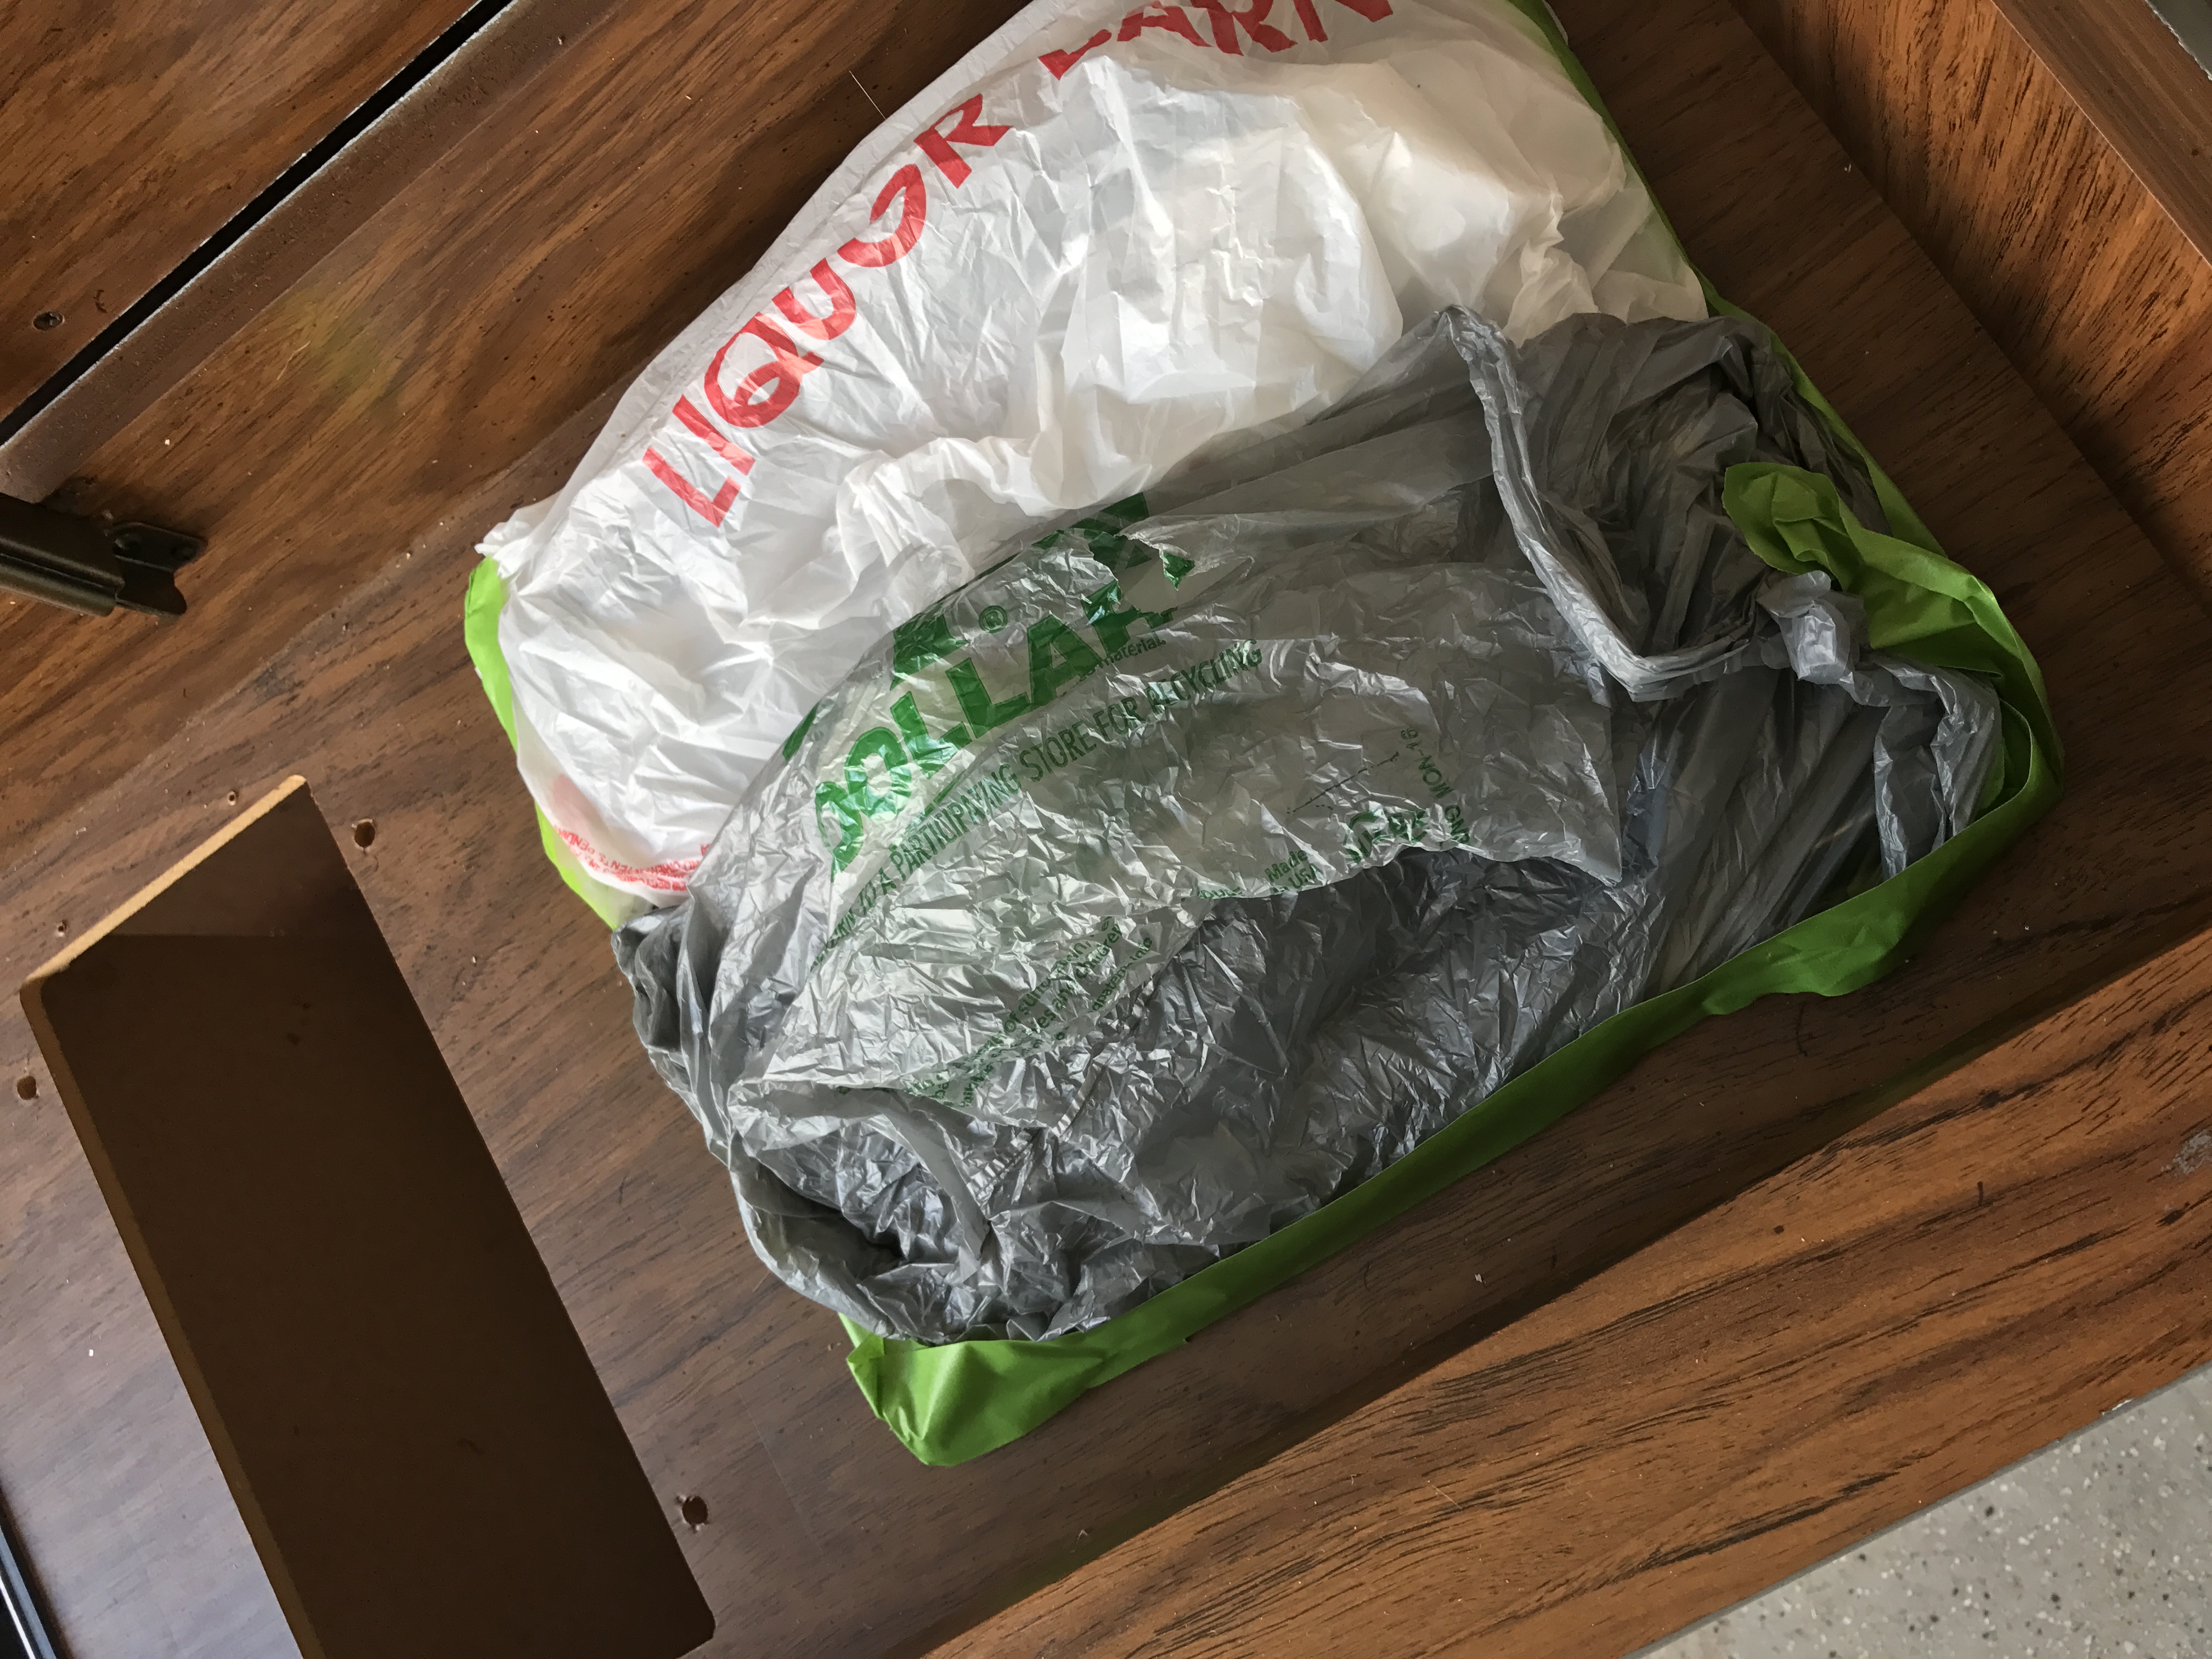
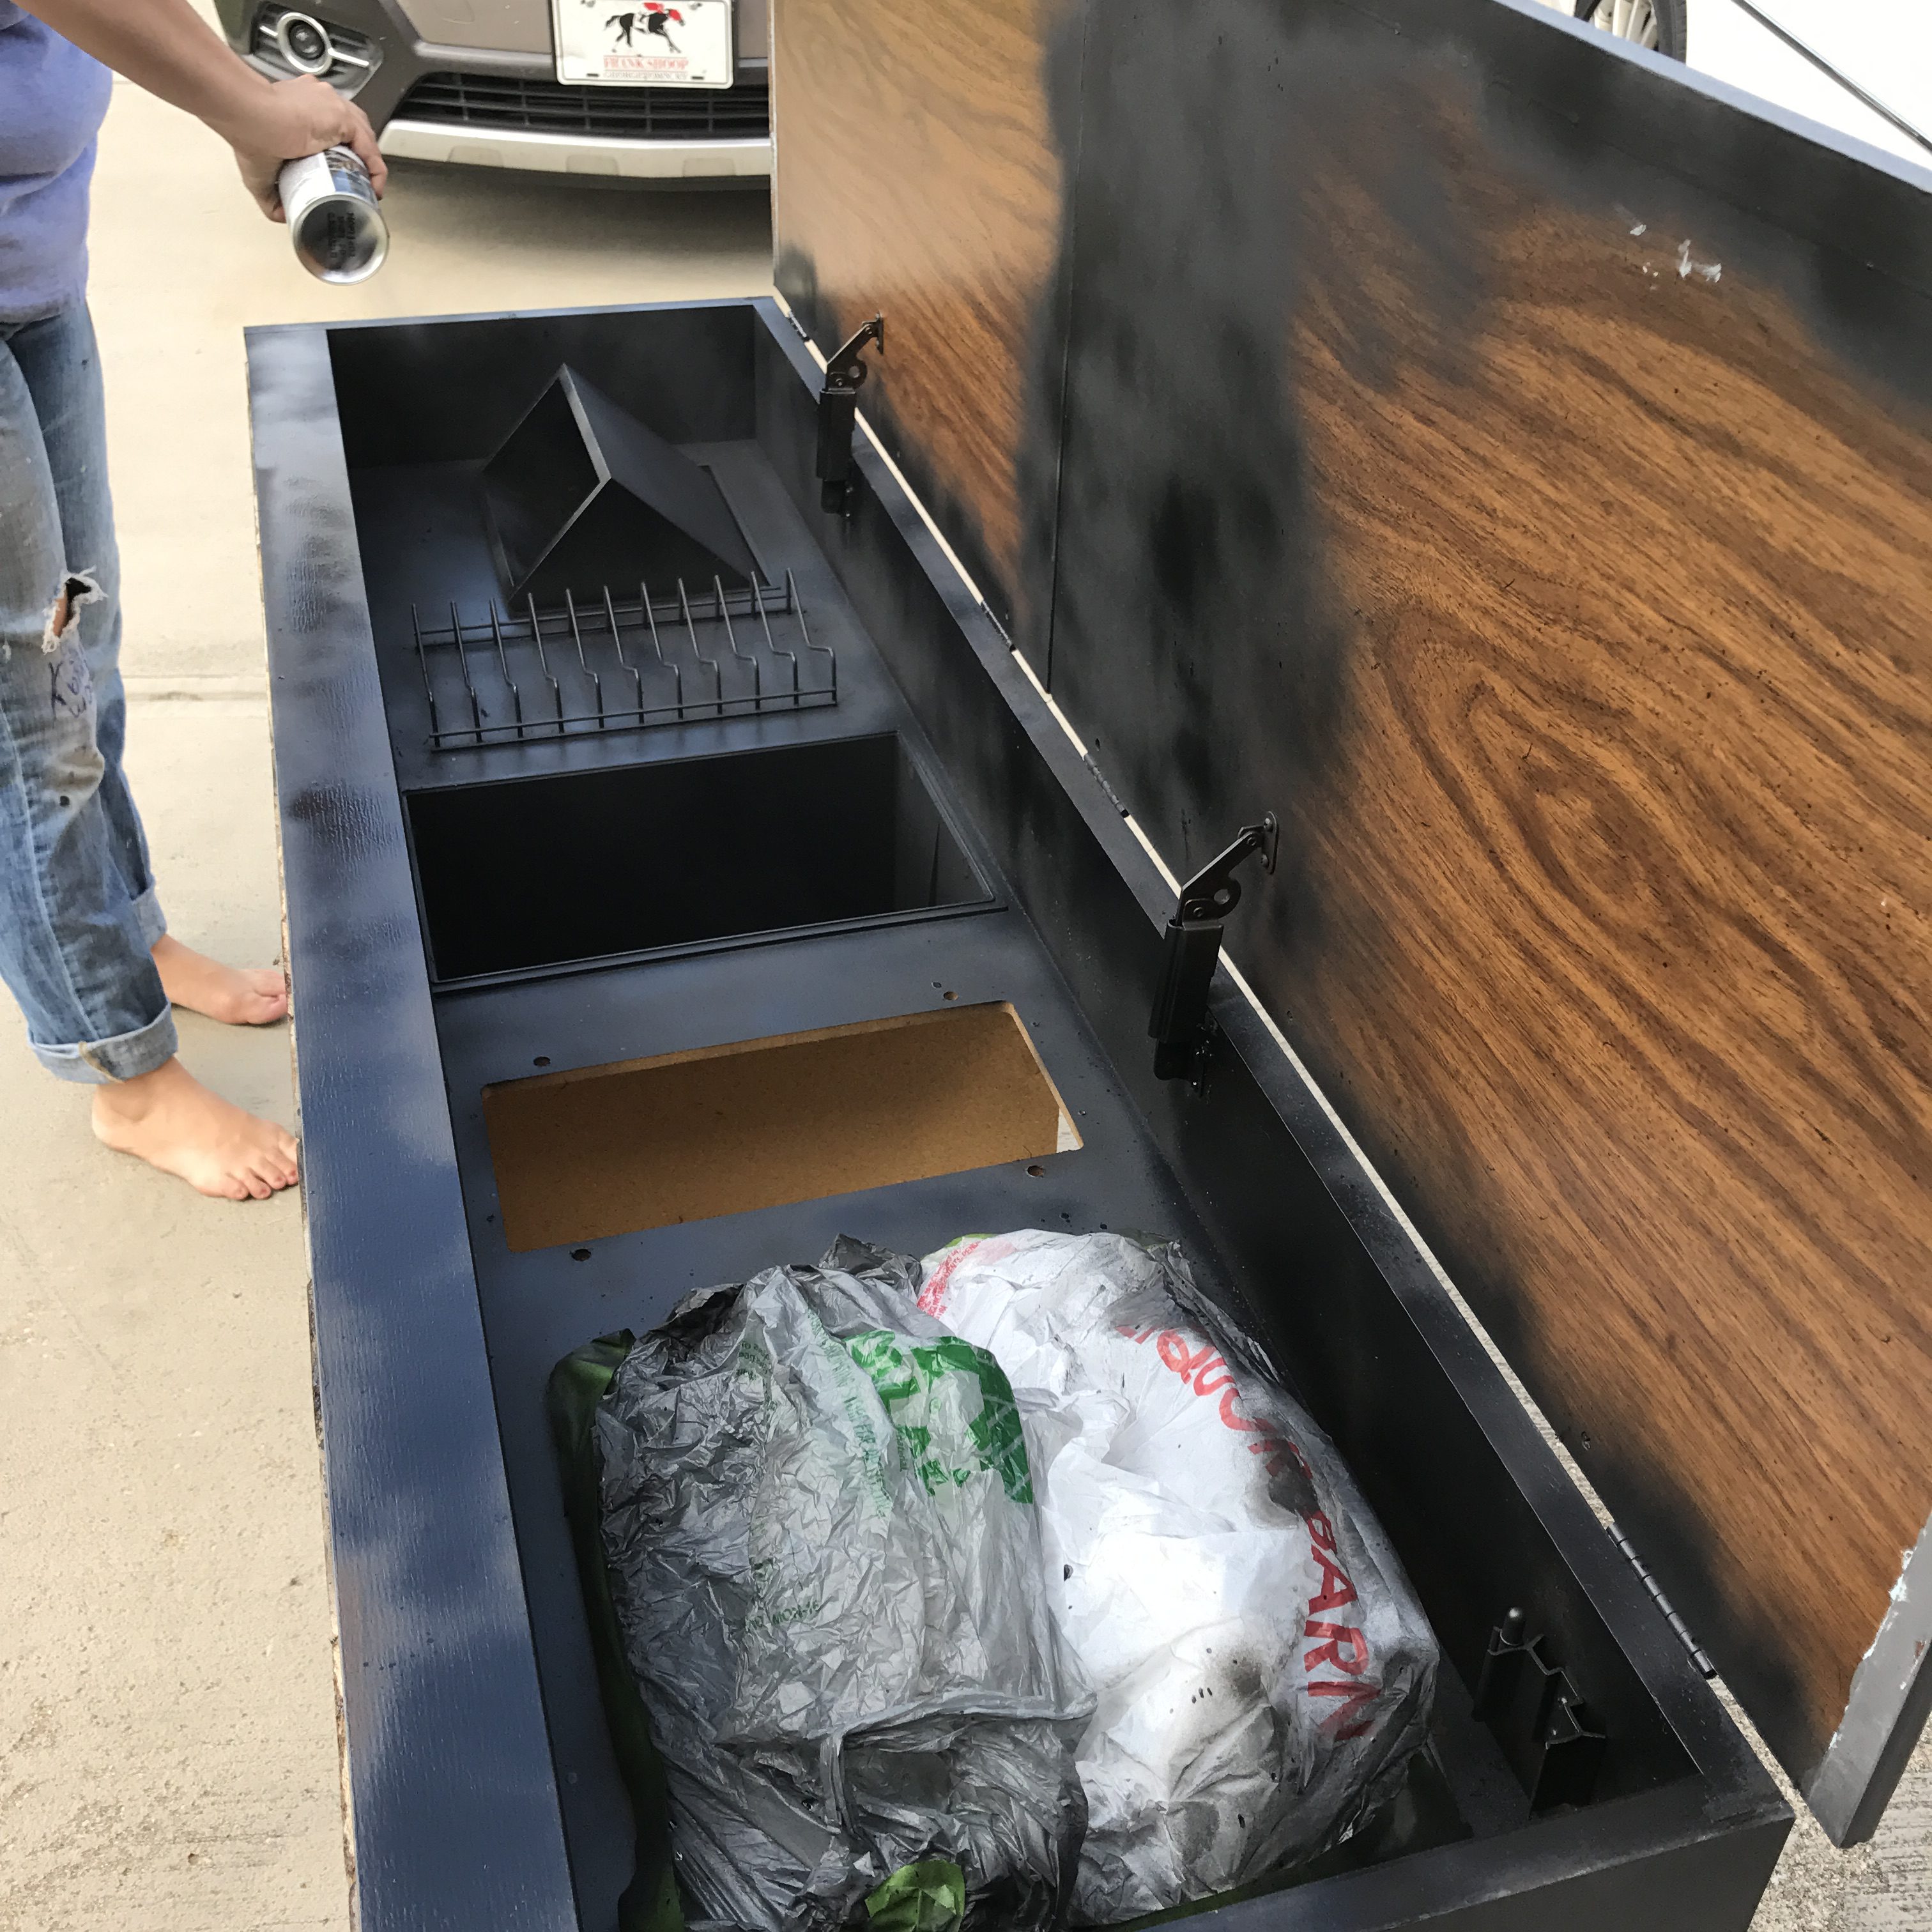
Once we got to this step, it was time to spray paint the inside, which involved us taping up everything we didn’t want to get paint on. We used plastic bags and Frog Tape to cover the turntable and pretty much sprayed the entire rest of the inside of the bar with chalkboard spray paint.
Once the inside was spray-painted and drying we went to work on making the front of the cabinet look more like the photo in the Sundance Catalog. We used some acryllic paints in various colors and watered them down so they were muted and faded looking like the photo.

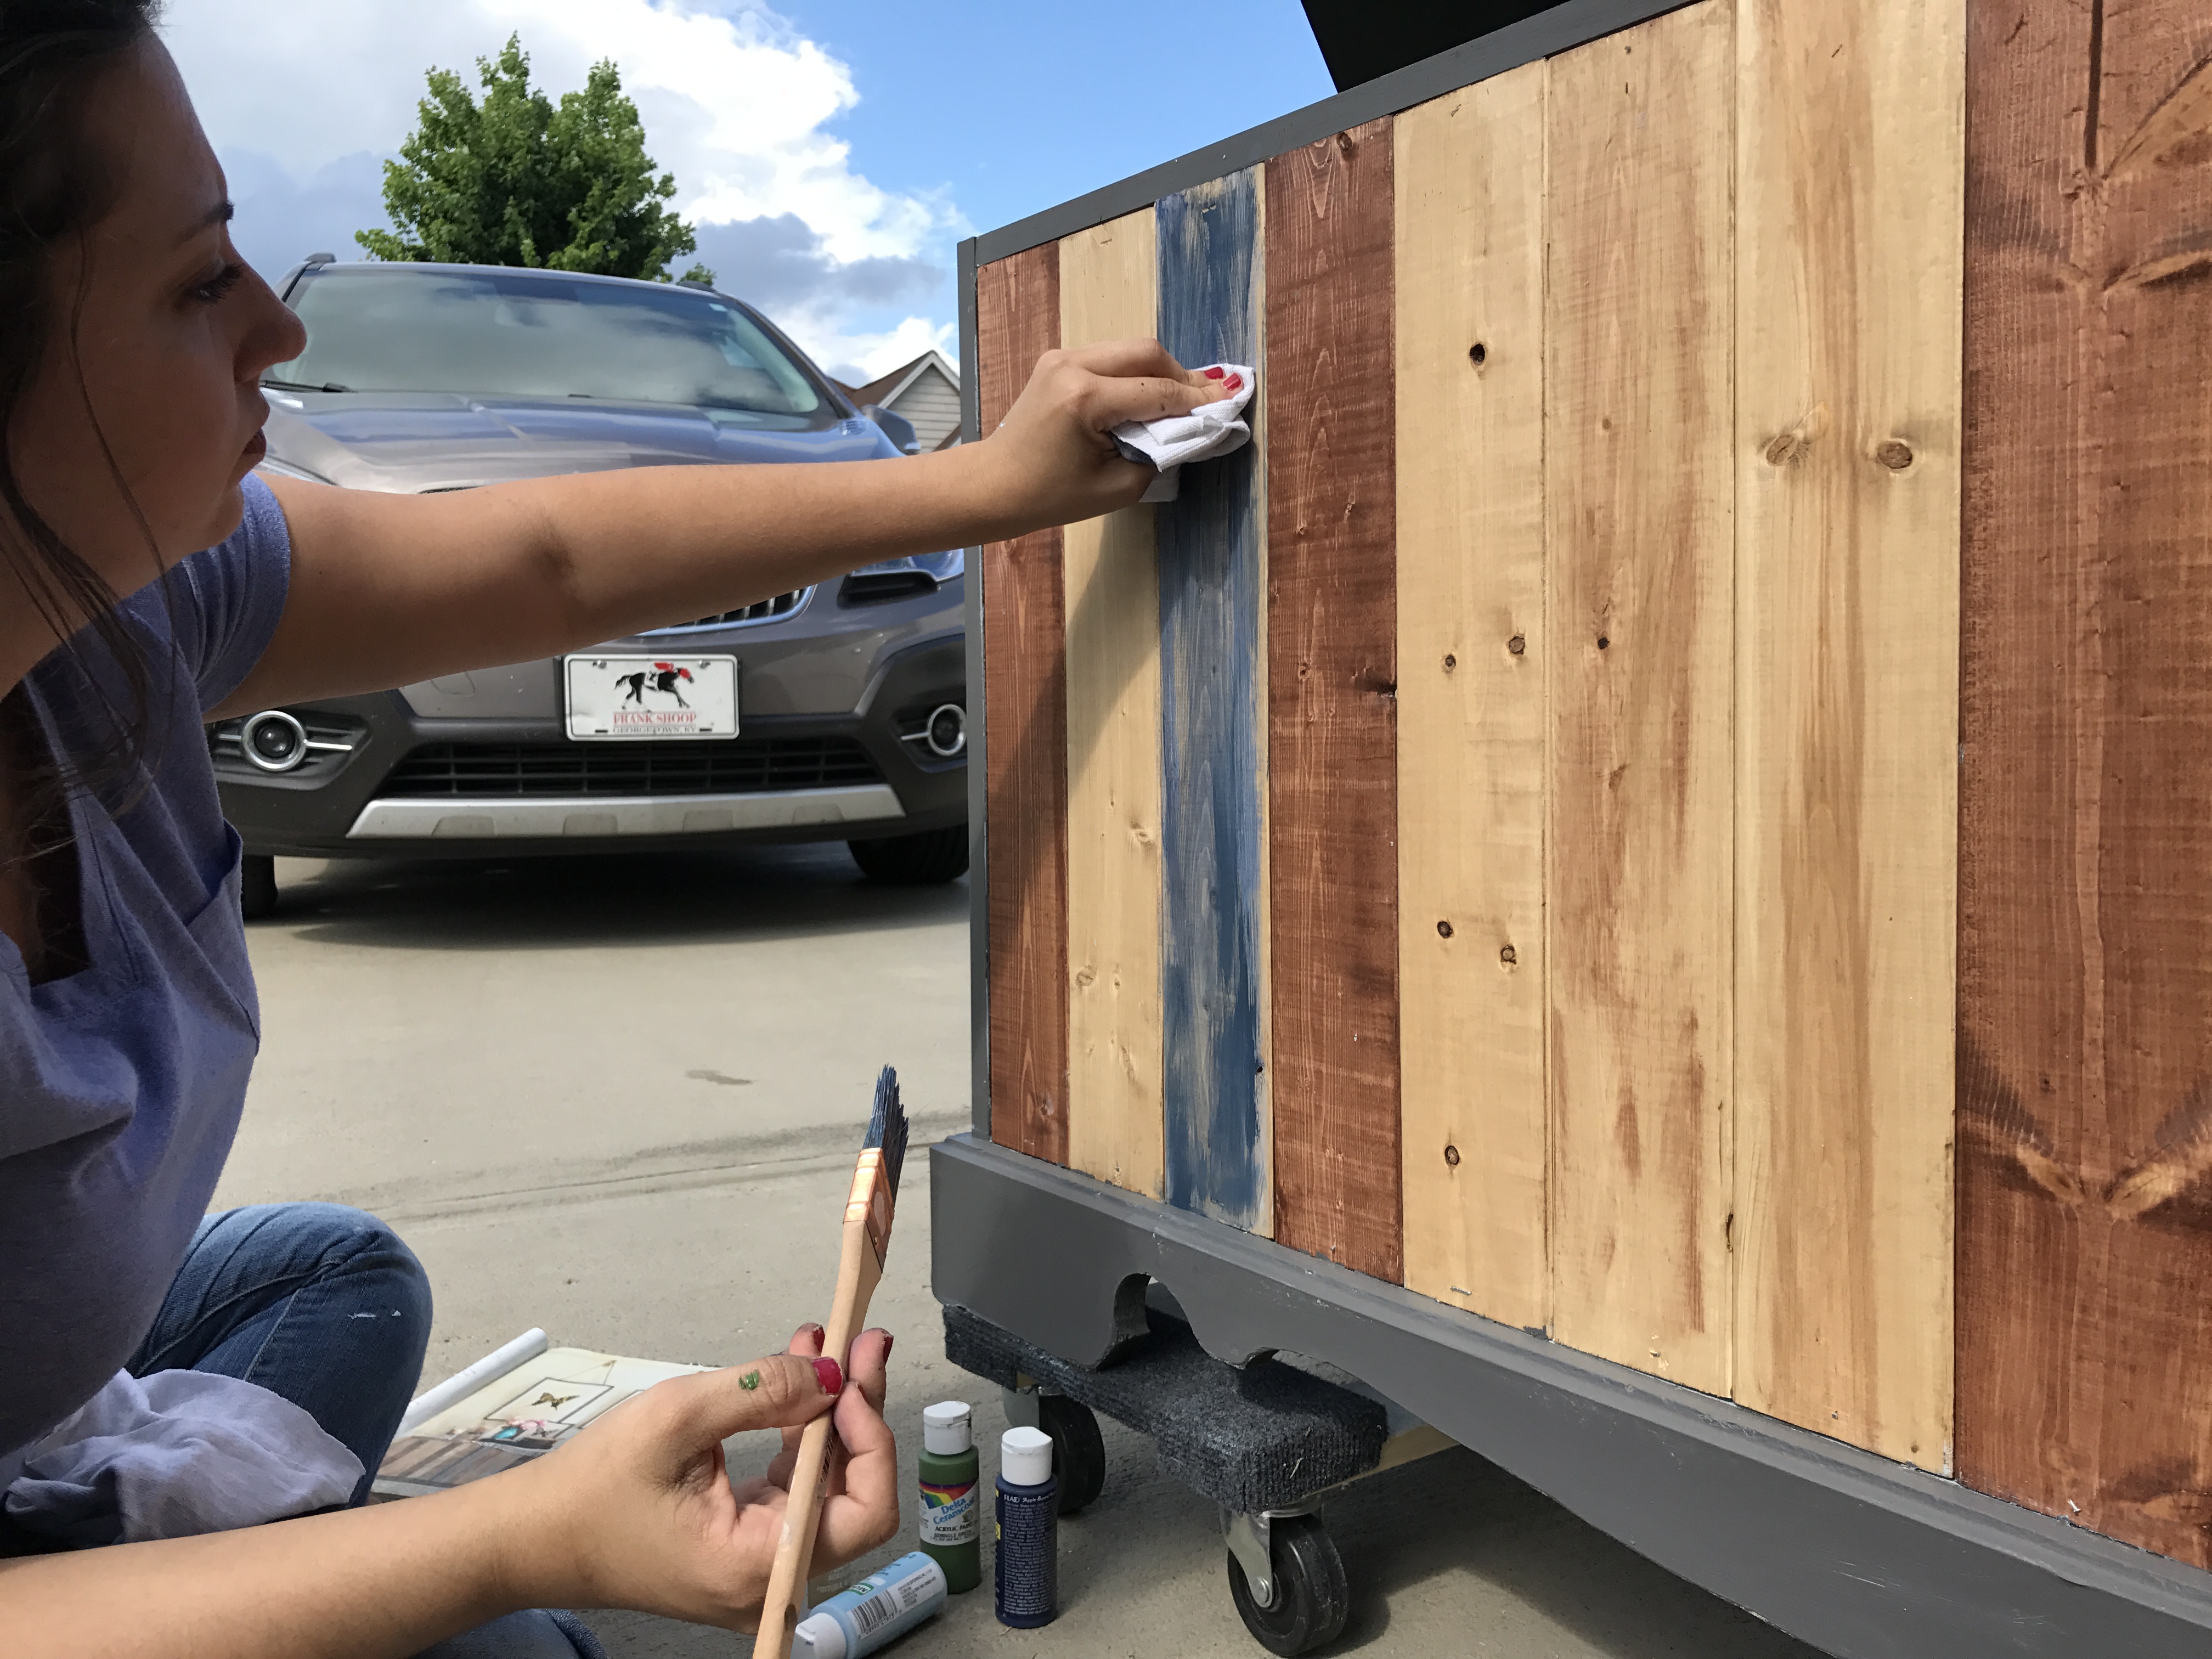
We wiped a little with paper towels as we went and using more water on the shiplap if it wasn’t faded enough. Then we took a clean cloth and used Valspar antiquing glaze along with more water to rub the glaze onto the shiplap to make it look a little more worn. Mostly this was a “winging it” process. We just kept wiping glaze on and then using a paint brush with water on it to thin it out where we needed.
Once that was done I decided to spray paint a small thin strip of trim to put across the top all along where the shiplap met the top of the stereo. Since some of the ends were a millimeter or two off and some of the adhesive came through, the strip helped to cover that up and made it look more finished. I just used wood glue and clamps to keep it in place until the trim dried.
Then it was time to attach the wheels/casters to the bottom. I’m afraid I don’t have photos of this because I was sawing and busy trying to make everything fit properly and got distracted. Basically I was able to find a dollie on sale from Harbor Freight for $8 and I removed the wheels and used those. The dollie had the kind of wheels that I wanted, all four wheels rotated 360 degrees. I put two 2 x 4’s (1 on each end, underneath the stereo because there was no bottom) and secured them with screws and then screwed the wheels into the 2 x 4’s. I’m not gonna lie — it took me a couple of tries to make them to where they were the right height from the floor, which was hard to do when the garage floor isn’t level and the wheels are all separate. That was probably the most frustrating part of the whole project!
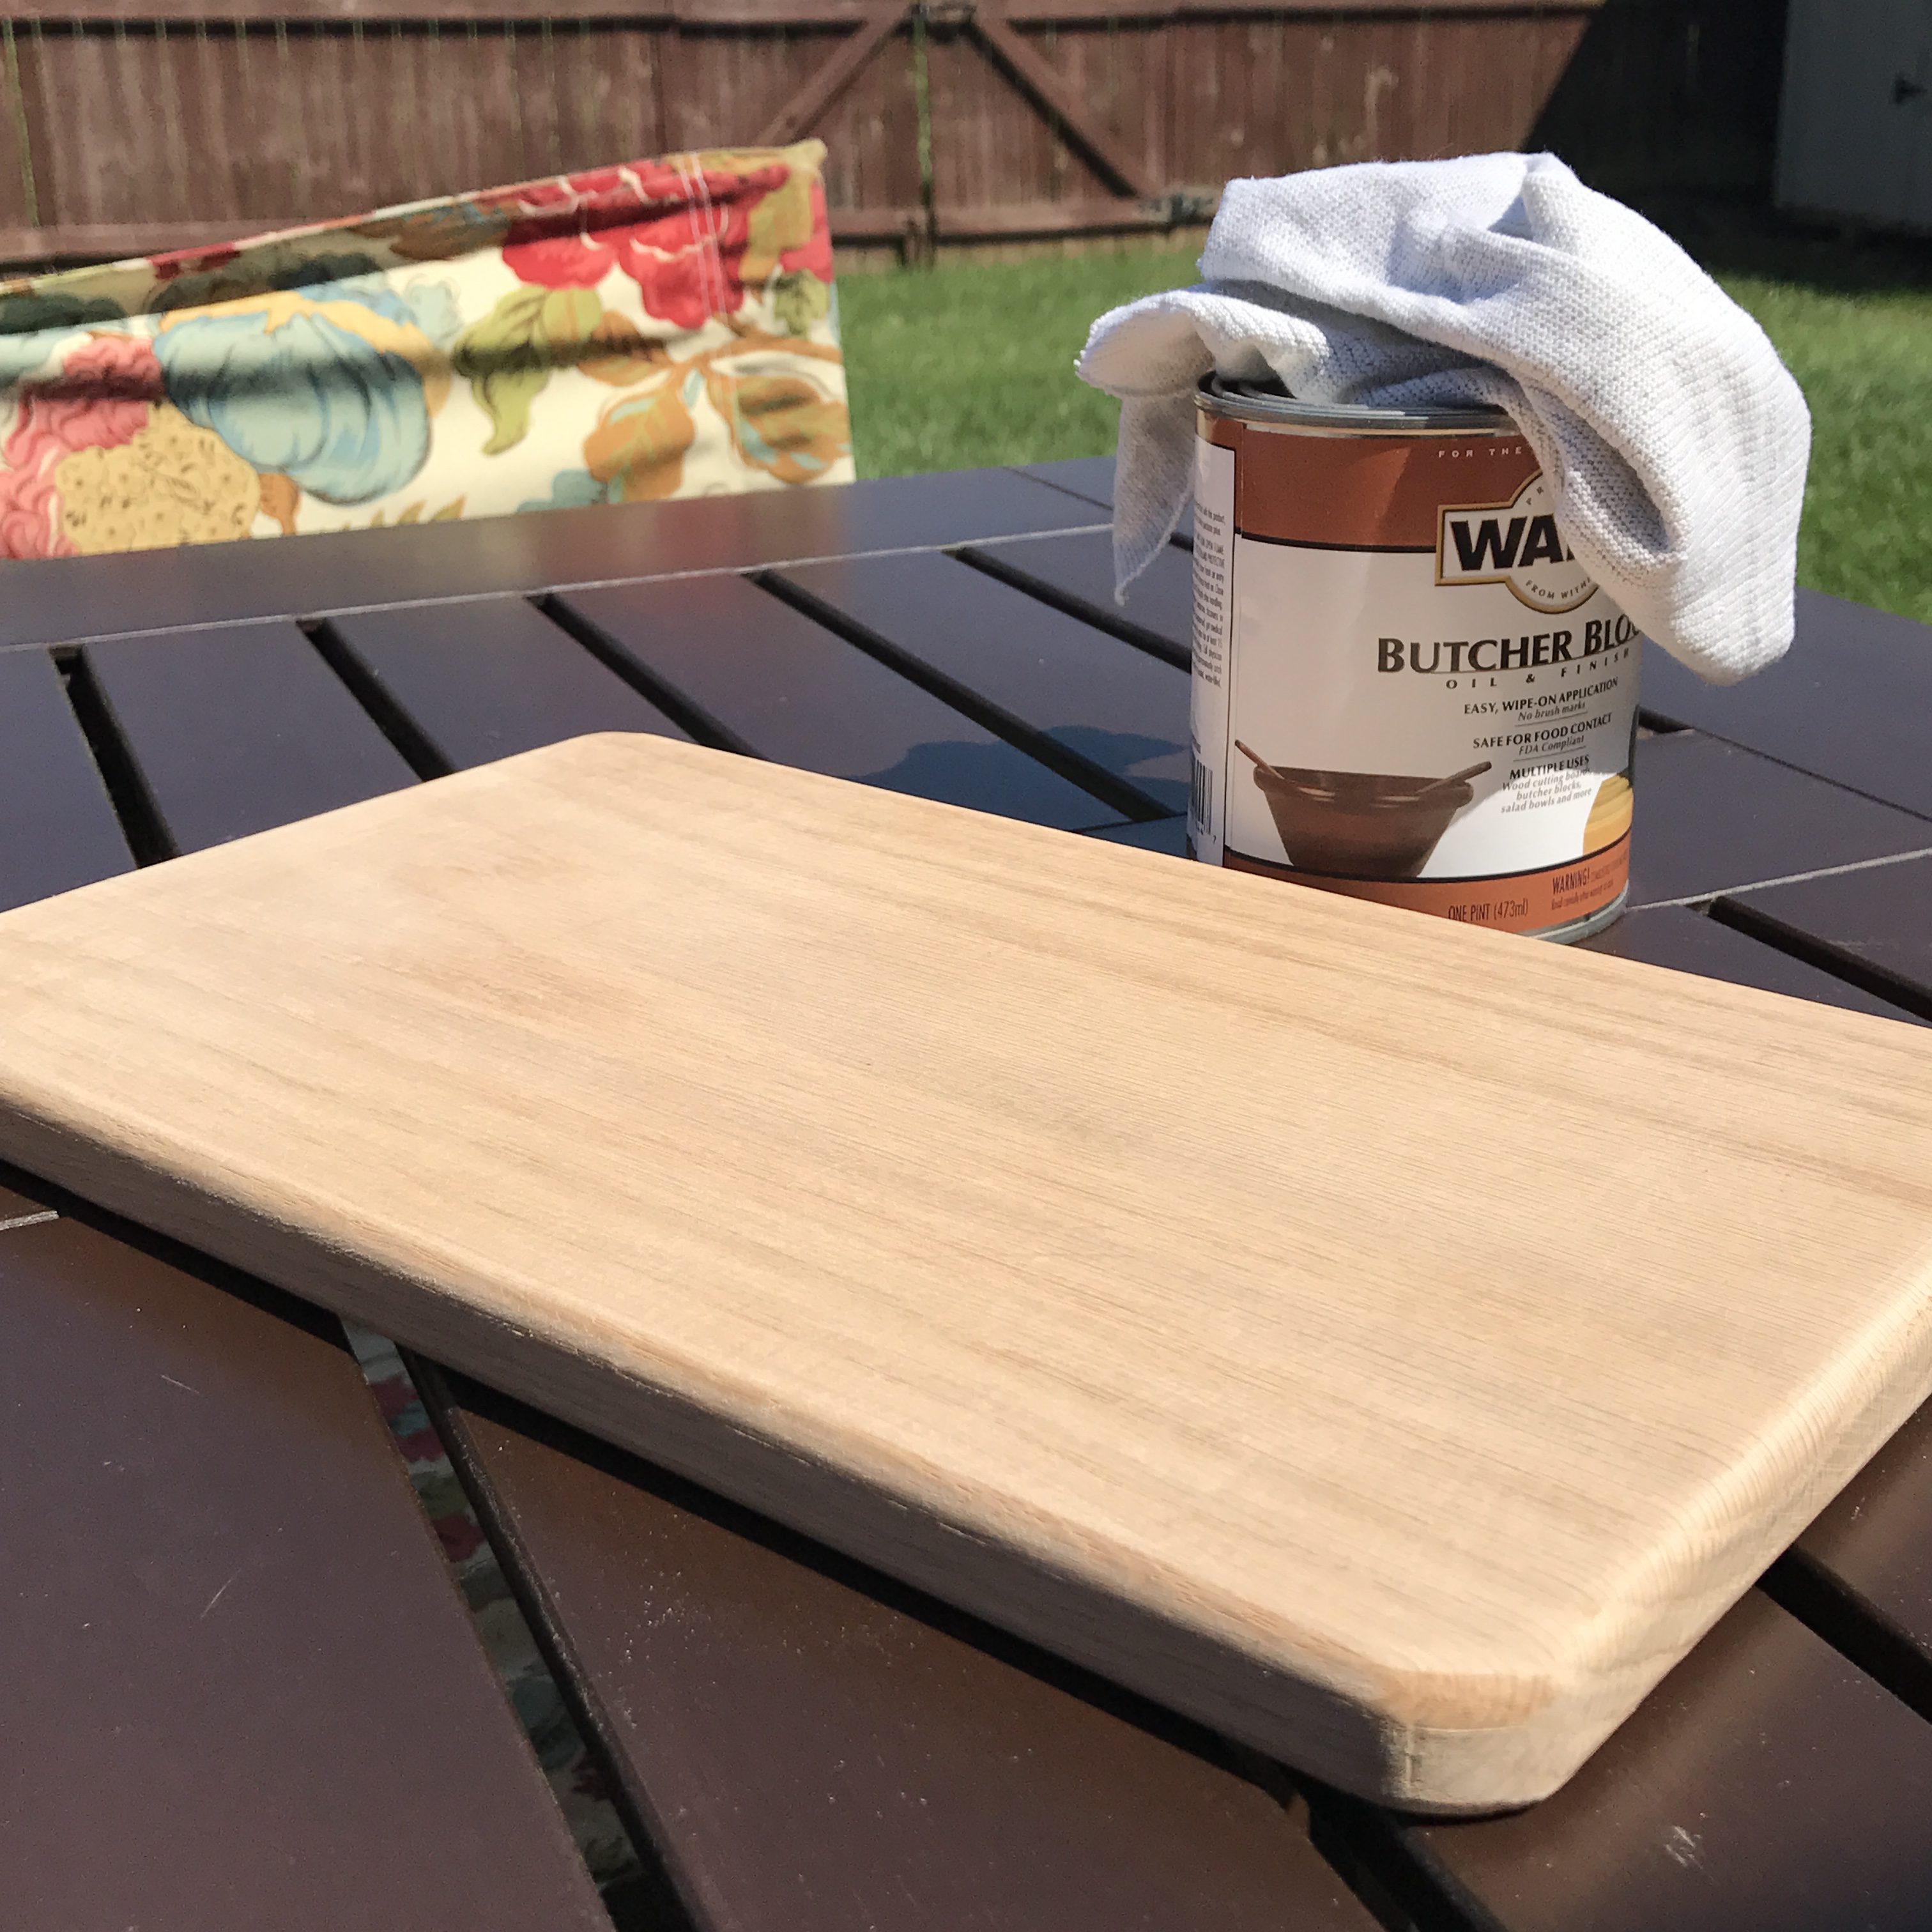
A.J. did a great job making us a cutting board. He even rounded the edges and everything. Once it was finished we used butcher block oil and finish to rub onto it, but you can also use mineral oil too, I believe. The cutting board was to hide the hole where the radio once was.
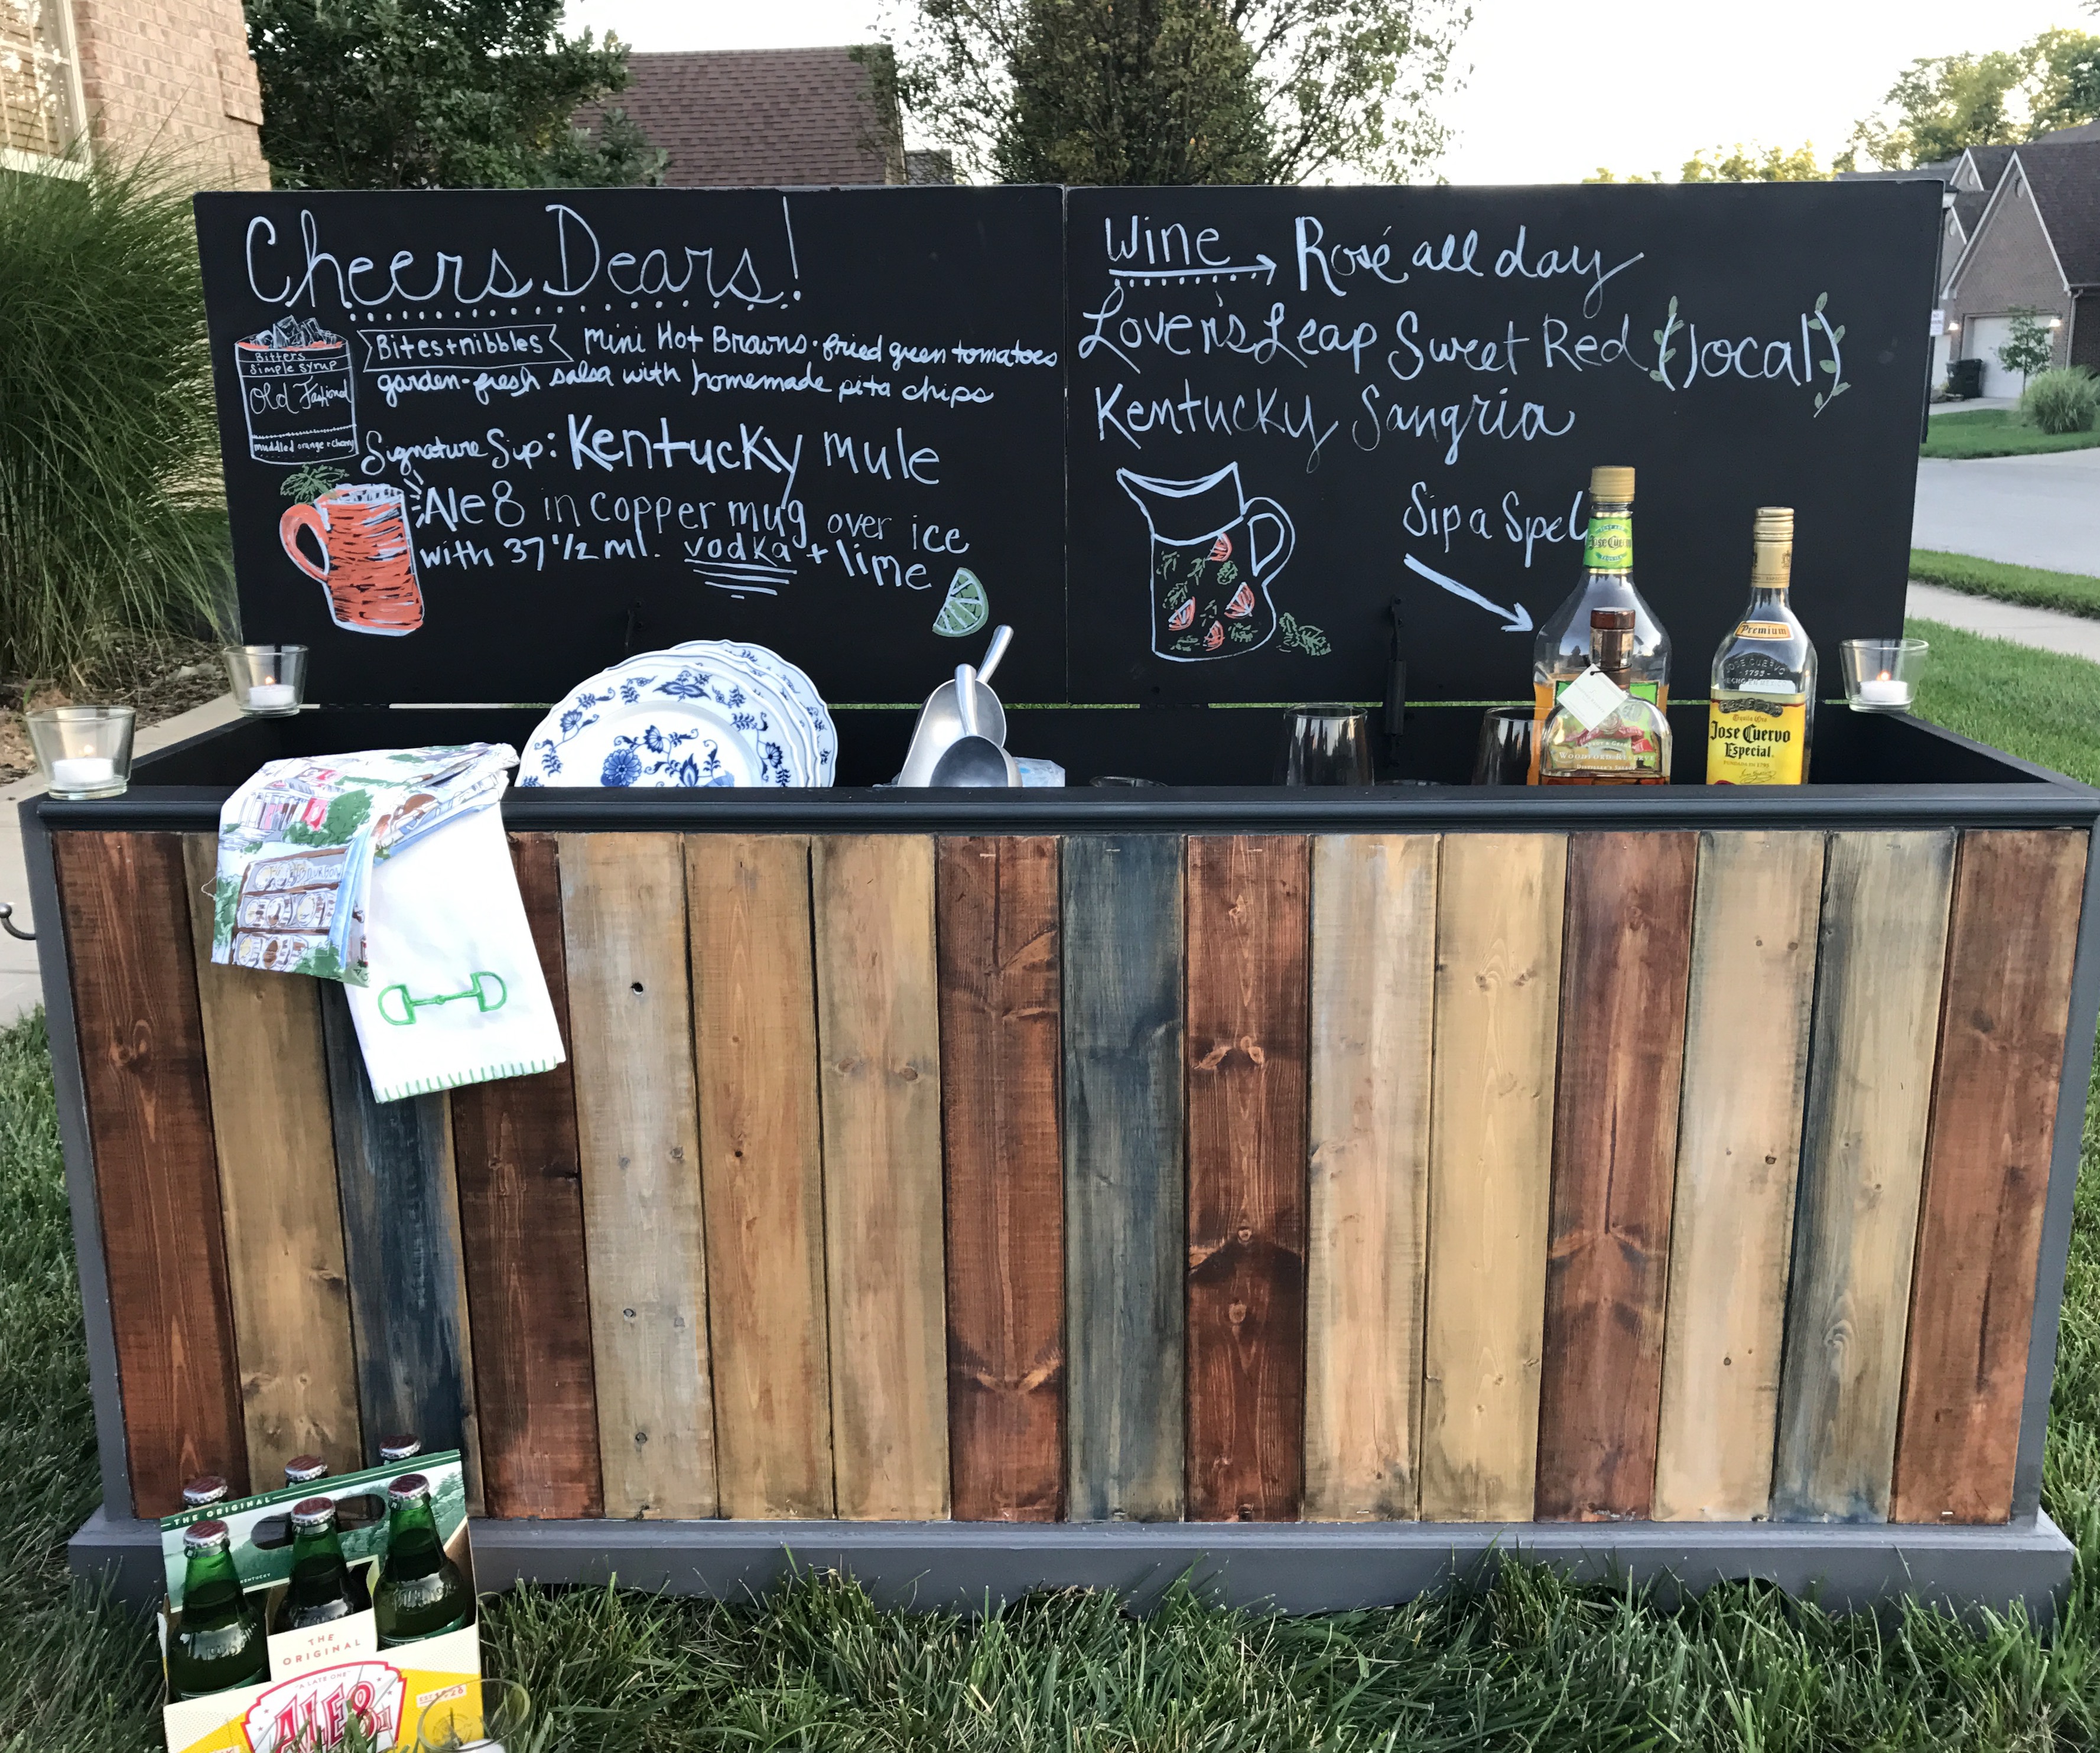
The only part left was to style and shoot the finished product!
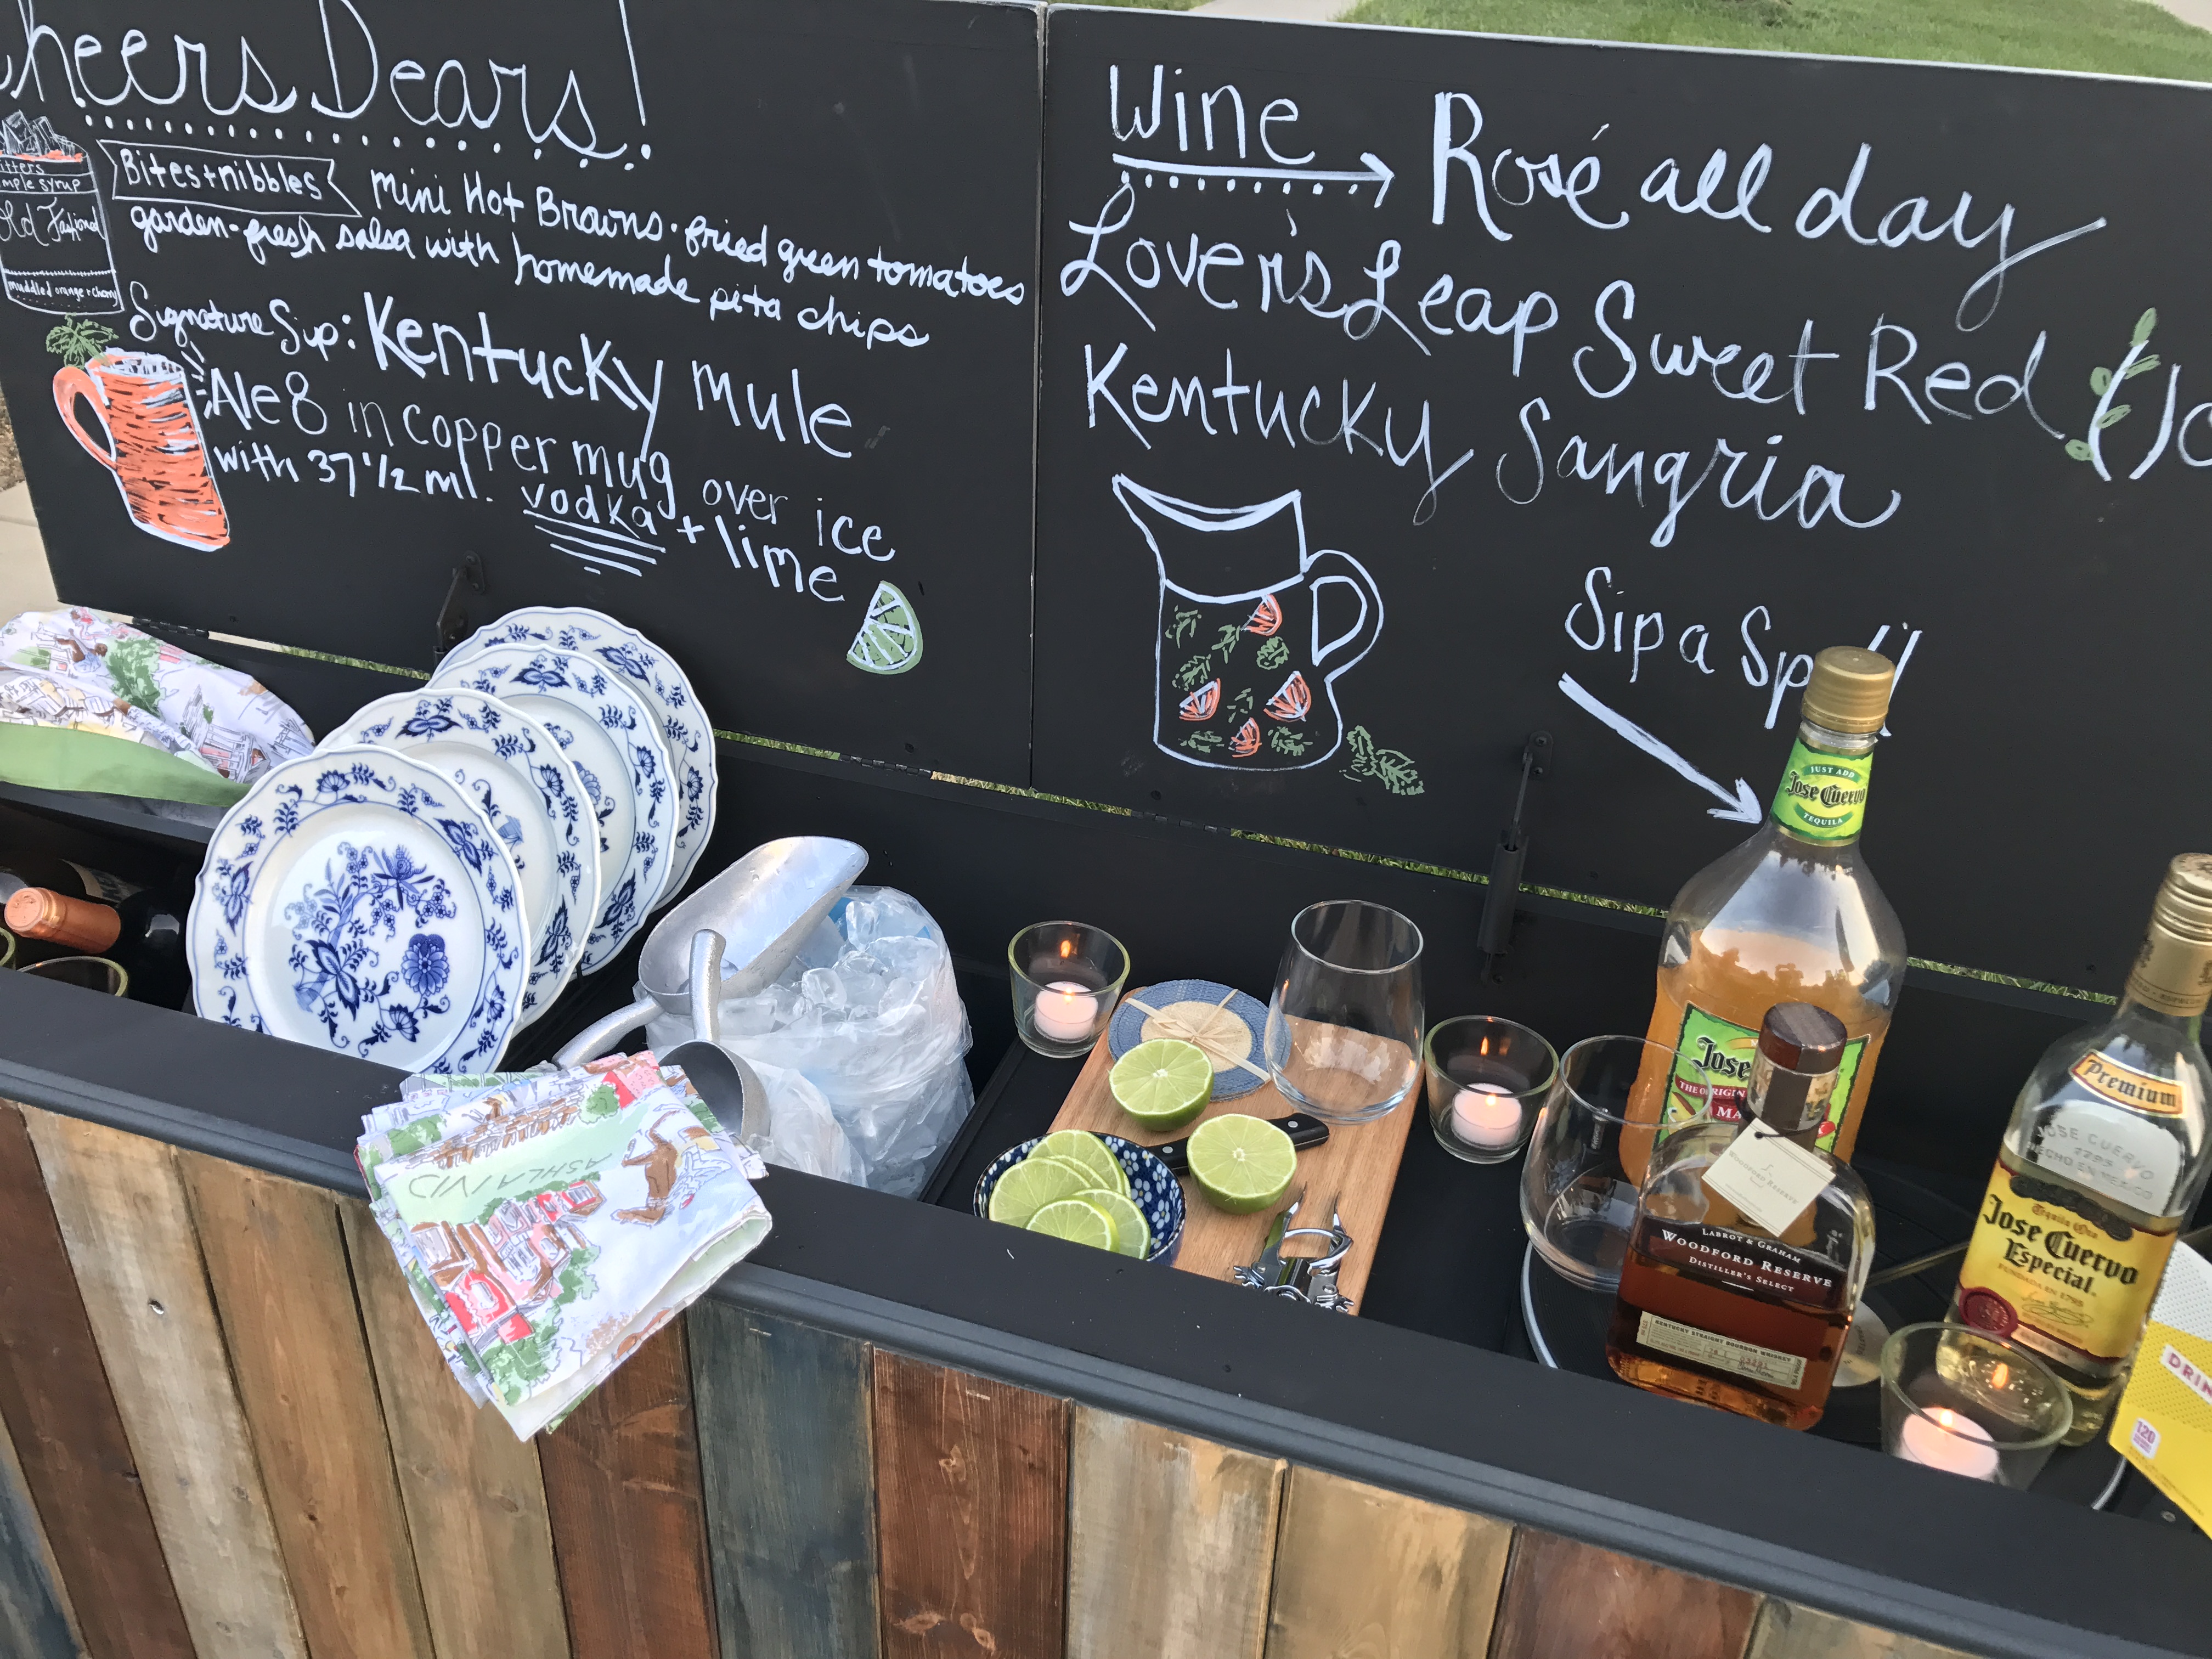
*A special thanks to Pomegranate, Inc. for providing the beautiful linens in the photos. Their prints is are festive, classic and perfect for entertaining, so be sure to go and visit their website!