
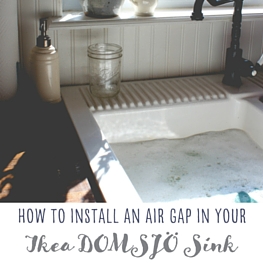
I had a yard sale to buy my Ikea farm sink. True story. I sold everything that wasn’t nailed to the floor so I could make one massive trip to Ikea with a friend’s horse trailer to buy the butcher block countertops and sink.
I love this sink.

Which is good because I’ve spent a lot of time here since we installed the sink nearly three years ago. That’s about how long I’ve been without a dishwasher. You see, apparently European countries don’t require an air gap in their sinks because the popular farm sink comes with only one pre-drilled hole, where you’d install your faucet. The problem is that most American states require the installation of an air gap or this thing…
As I understand it (remember, I’m not a plumber,) the air gap provides backflow prevention in order to prevent contaminants from the dishwasher from entering the water supply. In order to comply with Kentucky code, we had to have an air gap but our sink didn’t have a hole.
We realized this as we were holding a 130 pound farm sink in our nearly destroyed kitchen. Ah, DIY life. After some research, we read several articles that suggested installing the air gap in the countertop as close to the sink as possible because you shouldn’t have water gushing from it all of the time. As we understood it, the air gap was all about prevention. This wasn’t what we wanted to do but…we did. We drilled a hole in our brand new butcher block and installed the air gap.
Friends, DO NOT INSTALL YOUR AIR GAP ON YOUR COUNTERTOP. JUST. SAY. NO.
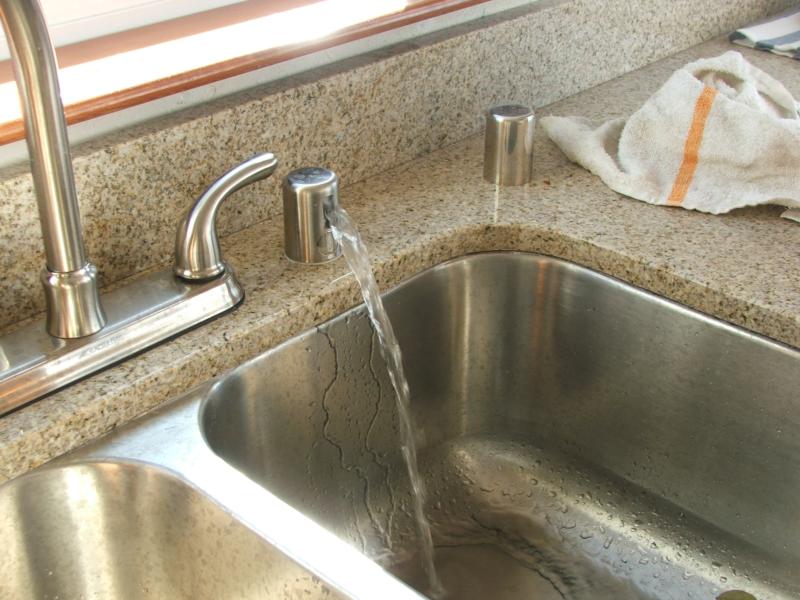
This isn’t a picture of our air gap but you’ll get the idea. This is what happened every time we ran the dishwasher:

Except, the water spewed all over our countertop and then flooded the cabinet underneath filling all of my pots and pans with nasty water. We tried everything we could think of to fix the problem but nothing stopped the gushing of water. So I started doing dishes the old-fashioned way, which was charming at first.
Yeah, this wasn’t so bad. And doesn’t the baby look cute in a farm sink?
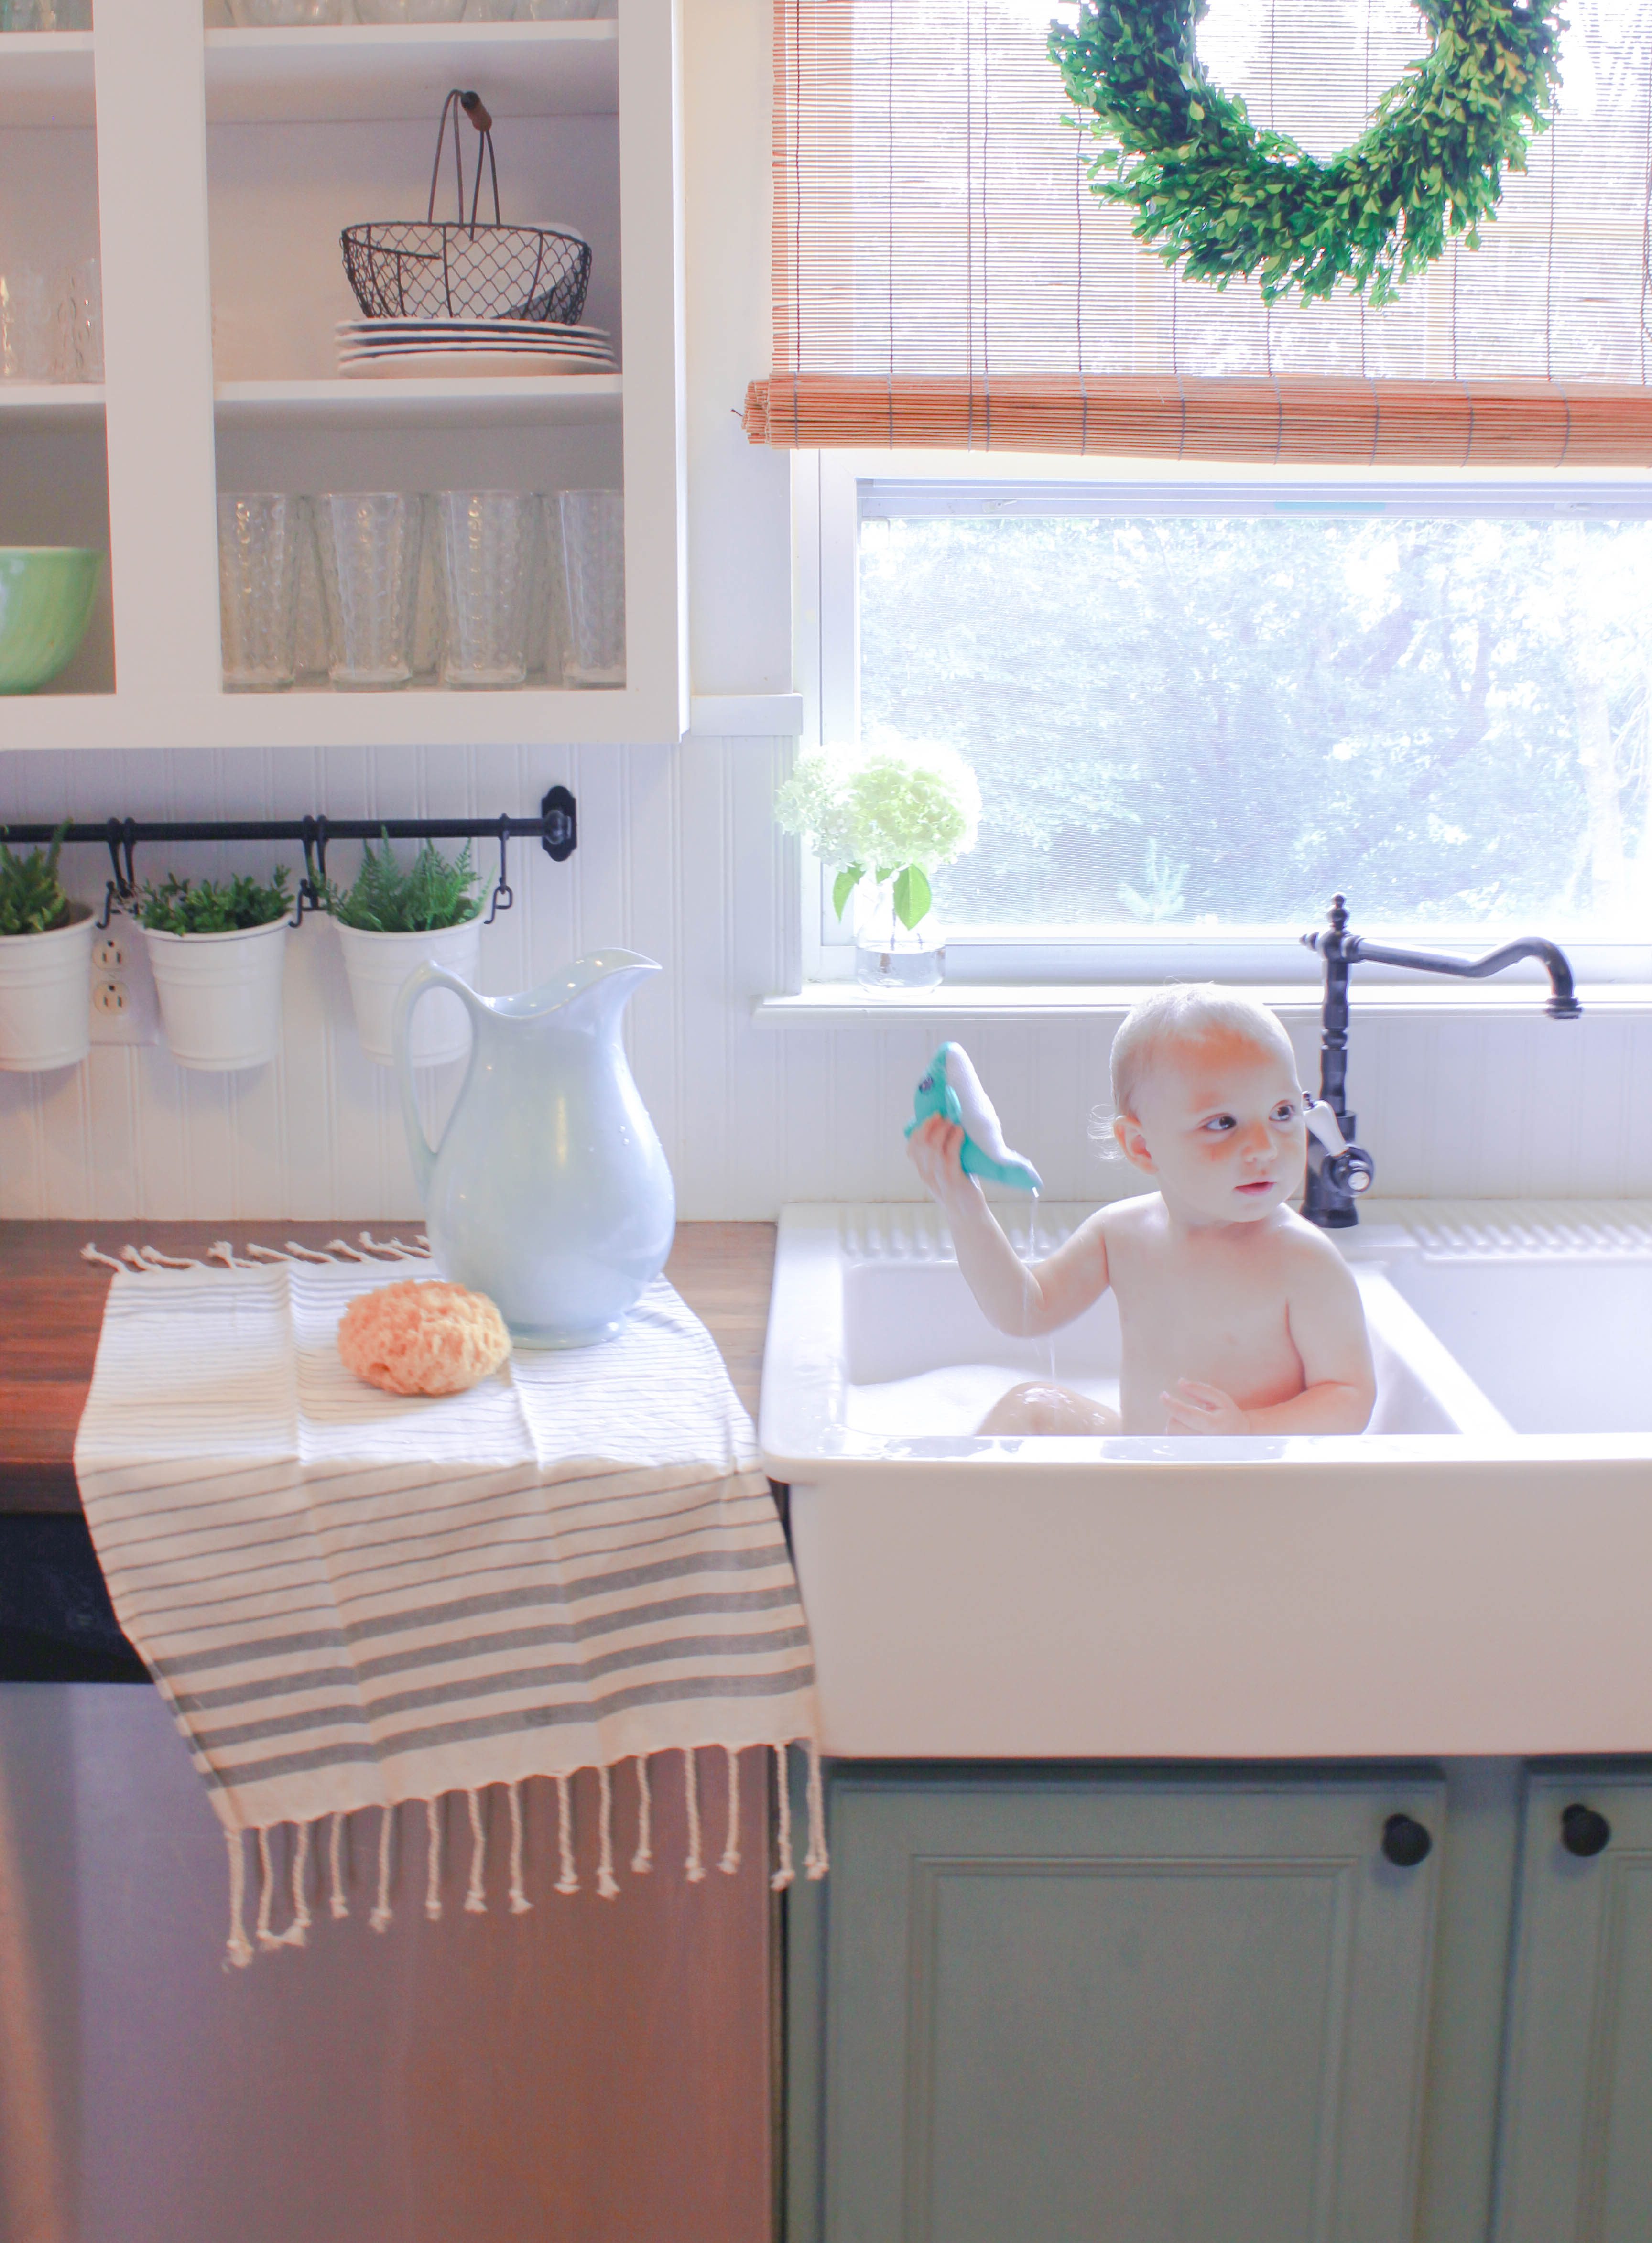
Awww…babies in farm sinks. That may work on Pinterest but in real life, I couldn’t keep up. Sometimes I cook three meals a day for three adults and two kids. We go through a lot of dishes. The kitchen was always a mess and we were starting to eat out a lot.
Last month, we installed a new dishwasher thinking that maybe the problem was our 10-year-old dishwasher. We paid for installation (something we’d normally DIY) so we could ask a real plumber about the whole situation. He admitted that installing the air gap on the countertop wasn’t ideal but agreed we didn’t have many options. He even cleaned out the hoses to make sure there were no clogs that would make the air gap gush water.
Problem solved, right? Nope. Last Monday, Eli woke up at 4 am and wouldn’t go back to sleep. I turned on the dishwasher, thinking I’d get ahead for the day since we were up anyway, and within minutes, the countertops and floor was flooded with water. As soon as I got that cleaned up with a fussy baby on my hip, Travis came limping down the stairs with a kidney stone that put him in the ER for the day. I was exhausted, frustrated and quite frankly, DONE.
I bought this hole saw, we cut a hole in the sink for the air gap and now the dishwasher works just fine.

Sounds simple, right? It was. It would have been even easier if I had done this before we installed the sink. I really cannot stress this enough: If you’re buying an Ikea farm sink, do yourself a favor and drill the hole BEFORE you install the sink. It can be done while installed but measuring the exact placement of the hole was tricky since there are little compartments underneath the sink like this:
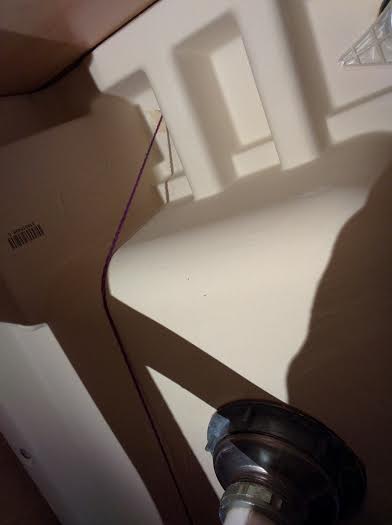
We taped a string to the center of the compartment we needed to be in then pulled the line carefully, checking to make sure it was straight, until we got to the top of the sink. This was the best way we could think of to figure out the placement without removing the entire sink.
Here are a couple of other helpful tips:
- We used a 1 3/8″ hole saw to create the hole.
- In order to hit the center of the “pocket” on the underside of the sink the guide mark ended up being about 9 1/4″ from the right edge of the sink. Originally we had centered that mark between the top edge and basin edge but the window ledge didn’t provide enough clearance for the drill so we moved the mark about 1/2″ towards the basin. Please treat these measurements as a guide and not gospel as the underside of the sink design may have changed and you could end up with an expensive mistake.
- You can use a block of wood with a 1 3/8″ hole in it as a guide to help prevent the hole saw from walking around your intended mark.
- When drilling, start slow to prevent the hole saw from jittering around too much.
Here’s a video of us cutting the hole. You need to squirt water on the hole saw as you’re drilling to prevent it from getting too hot. As you can see, cutting the hole was simple once we figured out the placement and swallowed our fear:
I ran the dishwasher last night without any problems, which as you can imagine, was a HUGE relief. Have you had problems with the air gap/farm sink situation?


8 Responses
ooooh mmmmm ggggeee. This looks horrible! Thankfully Oregon must not require this because I have never heard of an air gap! That sounds awful having water gushing! Great job fixing the issue!
Do you have a picture that you can show with the final results? We want to instal this sink, but the air gap is a major concern.
Hi Jenny! Yes! Go to my main page and check out my summer home tour. If you want me to send more detail shots, I’d be happy to do so! You can email me directly at amanda@ourstoriedhome.com
I just bought the same sink, not knowing about the airgap issue. How did your solution work out? Were you happy with the airgap on the sink?
Funny enough – I did not know so much water typically came out of an airgap. Do you still have that same situation? I was just about to drill a hole in our countertop!
Thank you!!!!! I installed the same sink last summer. DIY. I made a loop in the line for a temp. fix, but know full well that I will have to fix this down the road. I looked online for this solution last year. If you have more pics of final product and process, I would be So Thankful!
Good day!
I was wondering how you handled the gaps between air gap and the uneven surface. We are installing a faucet with with a sprayer which also needs a hole drill but there will be big gaps between the base of the sprayer and sink. Did you just silicone the gaps? I am worried splashed water will leak into the cabinet.
Thanks!
I came here to ask the same question. We have an RO filter and it uses a gasket that seal to the top of the sink surface as well as an air gap. How did you ensure a good fit with the grooves?
I tried to email for more photos and my email was returned saying no such address. Is there another address I can send it to?