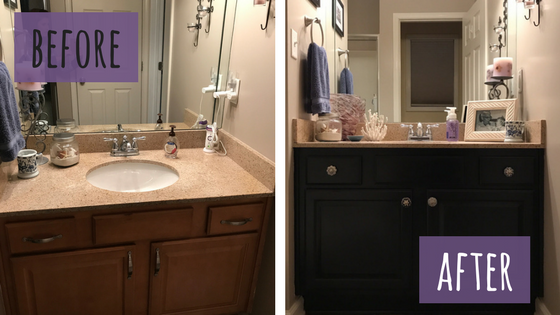
I have been wanting to paint my bathroom vanities for a loooooooong time. I changed my mind no less than ten times on the color. The bathroom isn’t bad….it just has ZERO personality. It’s very “ehh”. It was like that when I moved in to the house and once I got the bulk of the painting done, it has been hard for me to go back to finish smaller projects like the bathrooms, hallways, doors, things like that.
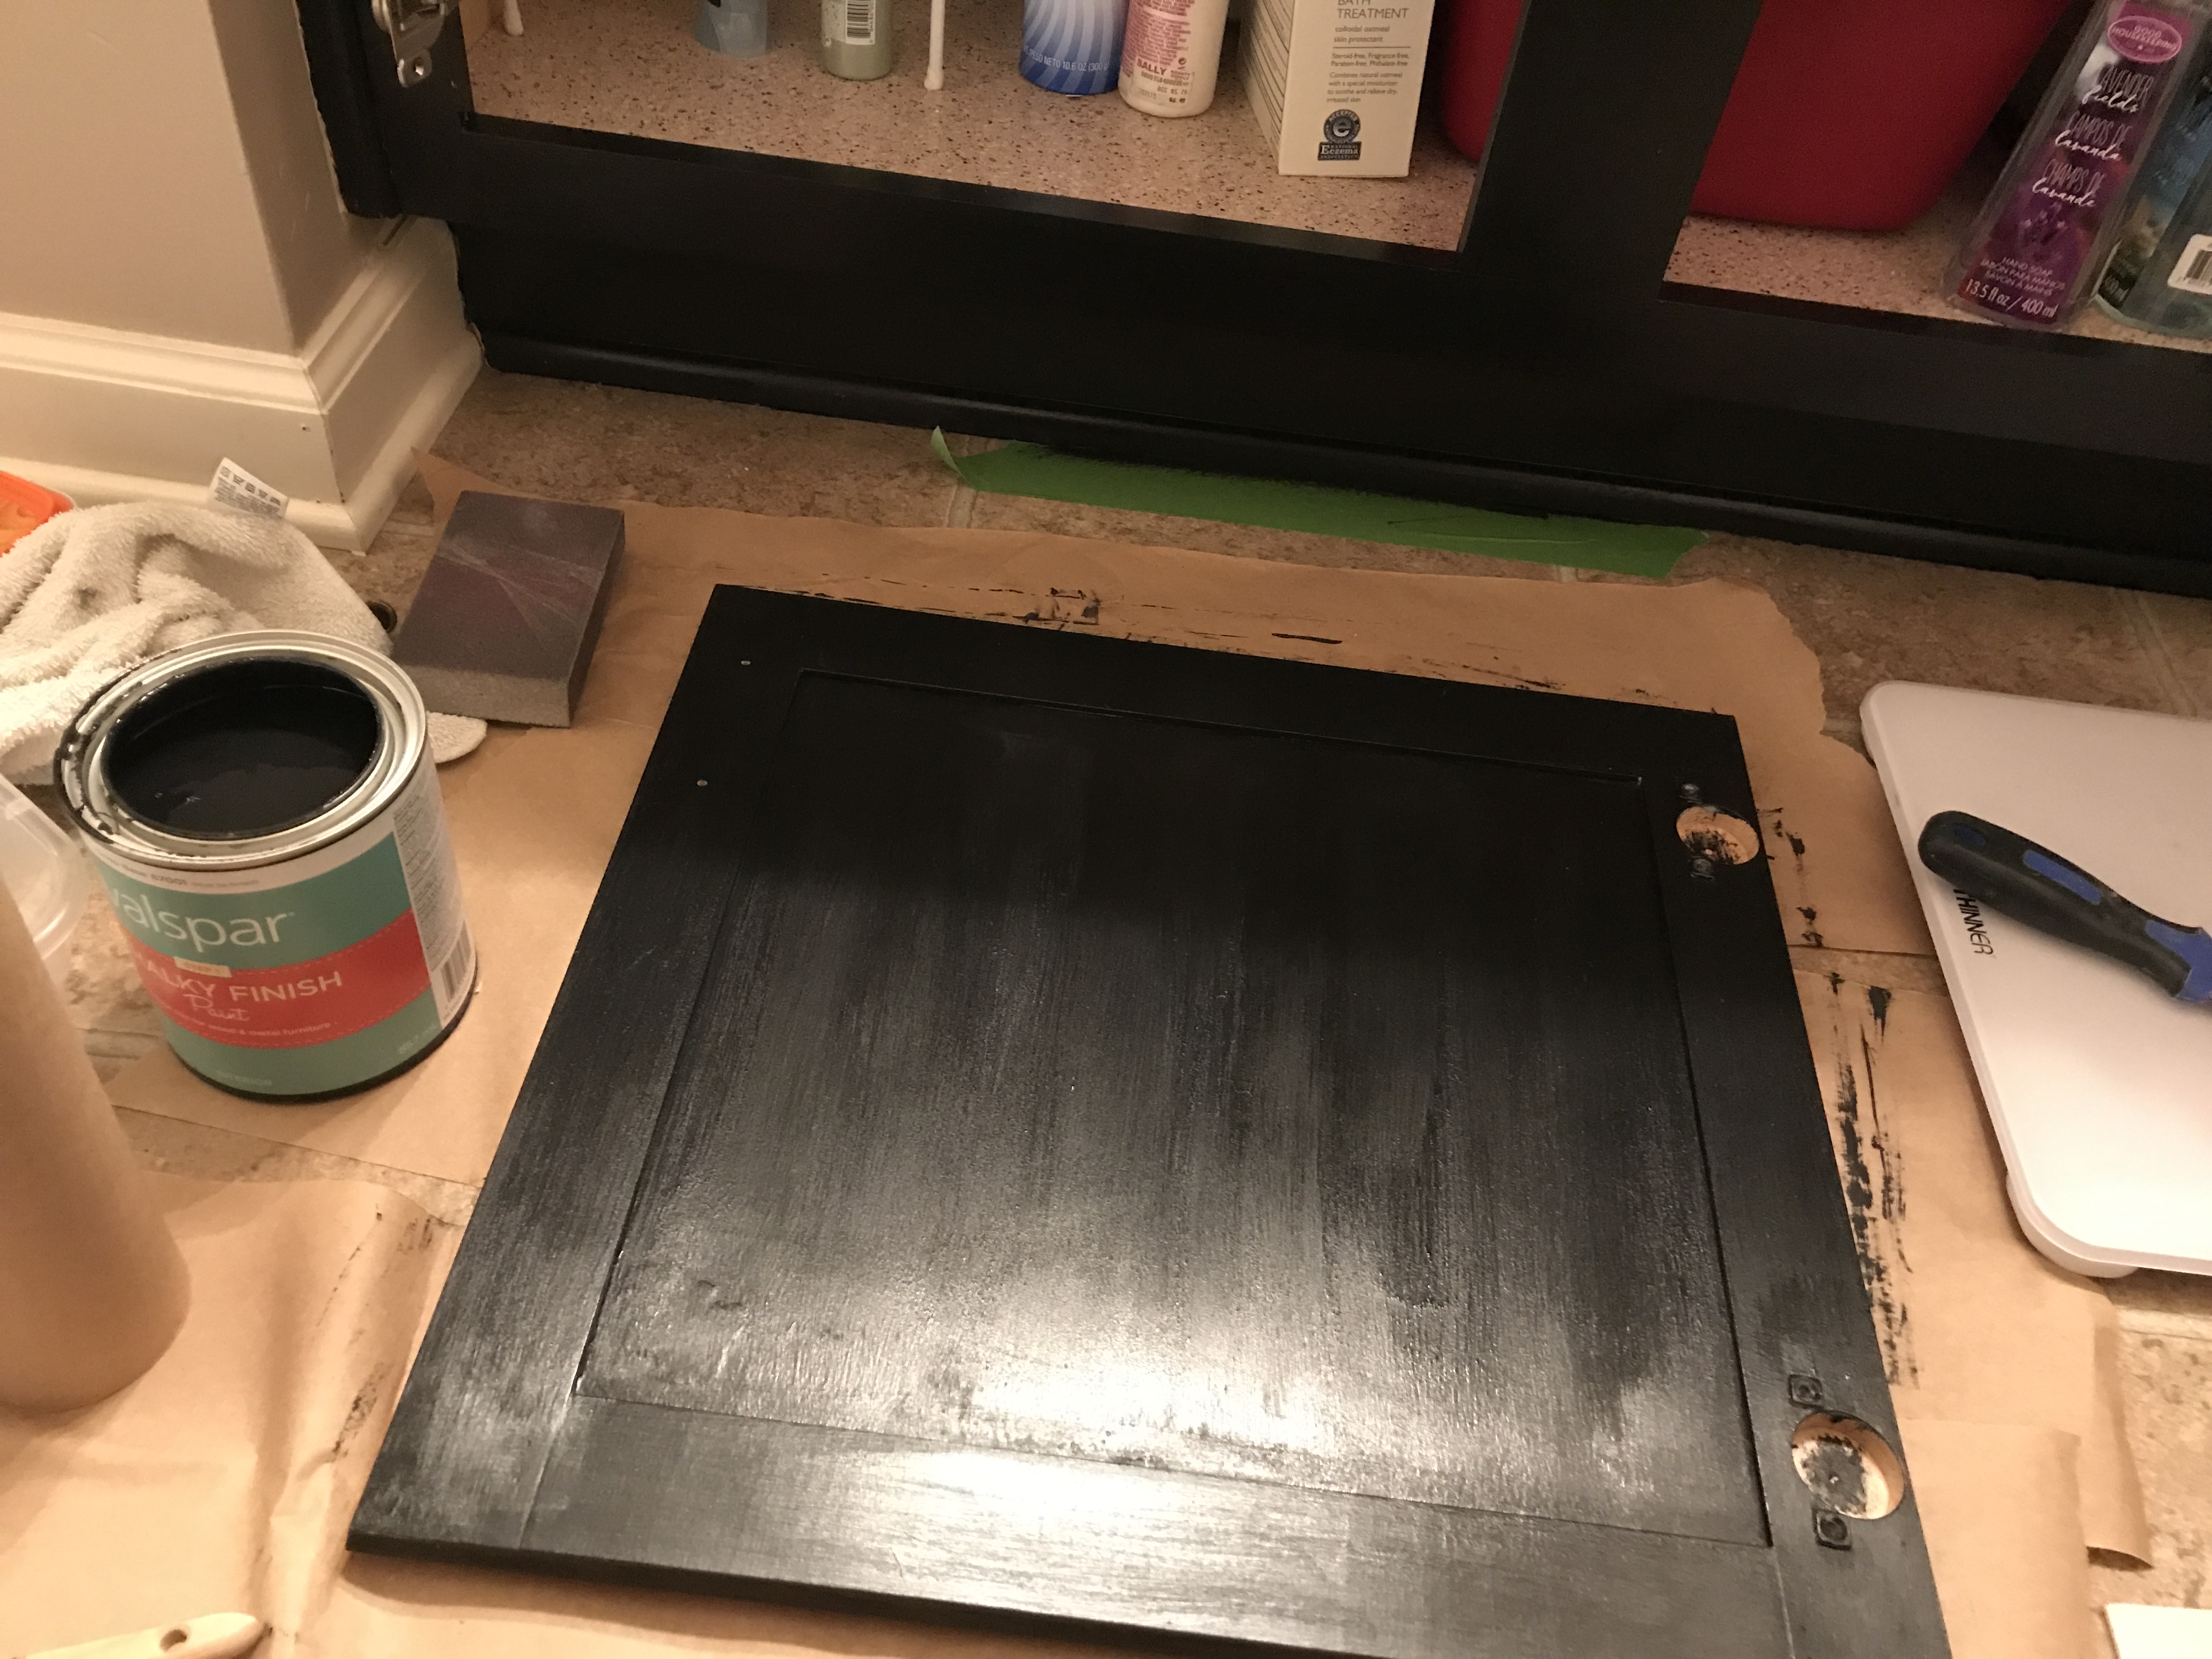
Blue is one of my favorite colors and I was thinking of painting the vanities a slate blue. Blue. Yes. Definitely blue. But I got to Lowe’s (I had a gift card from Christmas) and for some bizarre reason, I bought black paint. Lowe’s Valspar Chalky Finish chalk paint in Boot Black.
So I guess I’m painting the vanities black.
It took me forever to do this project but only because I did a little here and there, even did the doors one at a time. I didn’t want to have to cart everything to the garage and I didn’t want everything in the way in the bathroom, so I tried to use as little space as possible — hence the one door at a time.
I removed the doors, the drawers and that piece in the center of the vanity that pulls right off.
 I’m old school and a taper when I paint. As I have mentioned before, my hands are not very steady and I don’t trust myself to not get paint somewhere where there shouldn’t be. The great thing about chalk paint is you can just jump right in and start painting pretty much, which is exactly what I did.
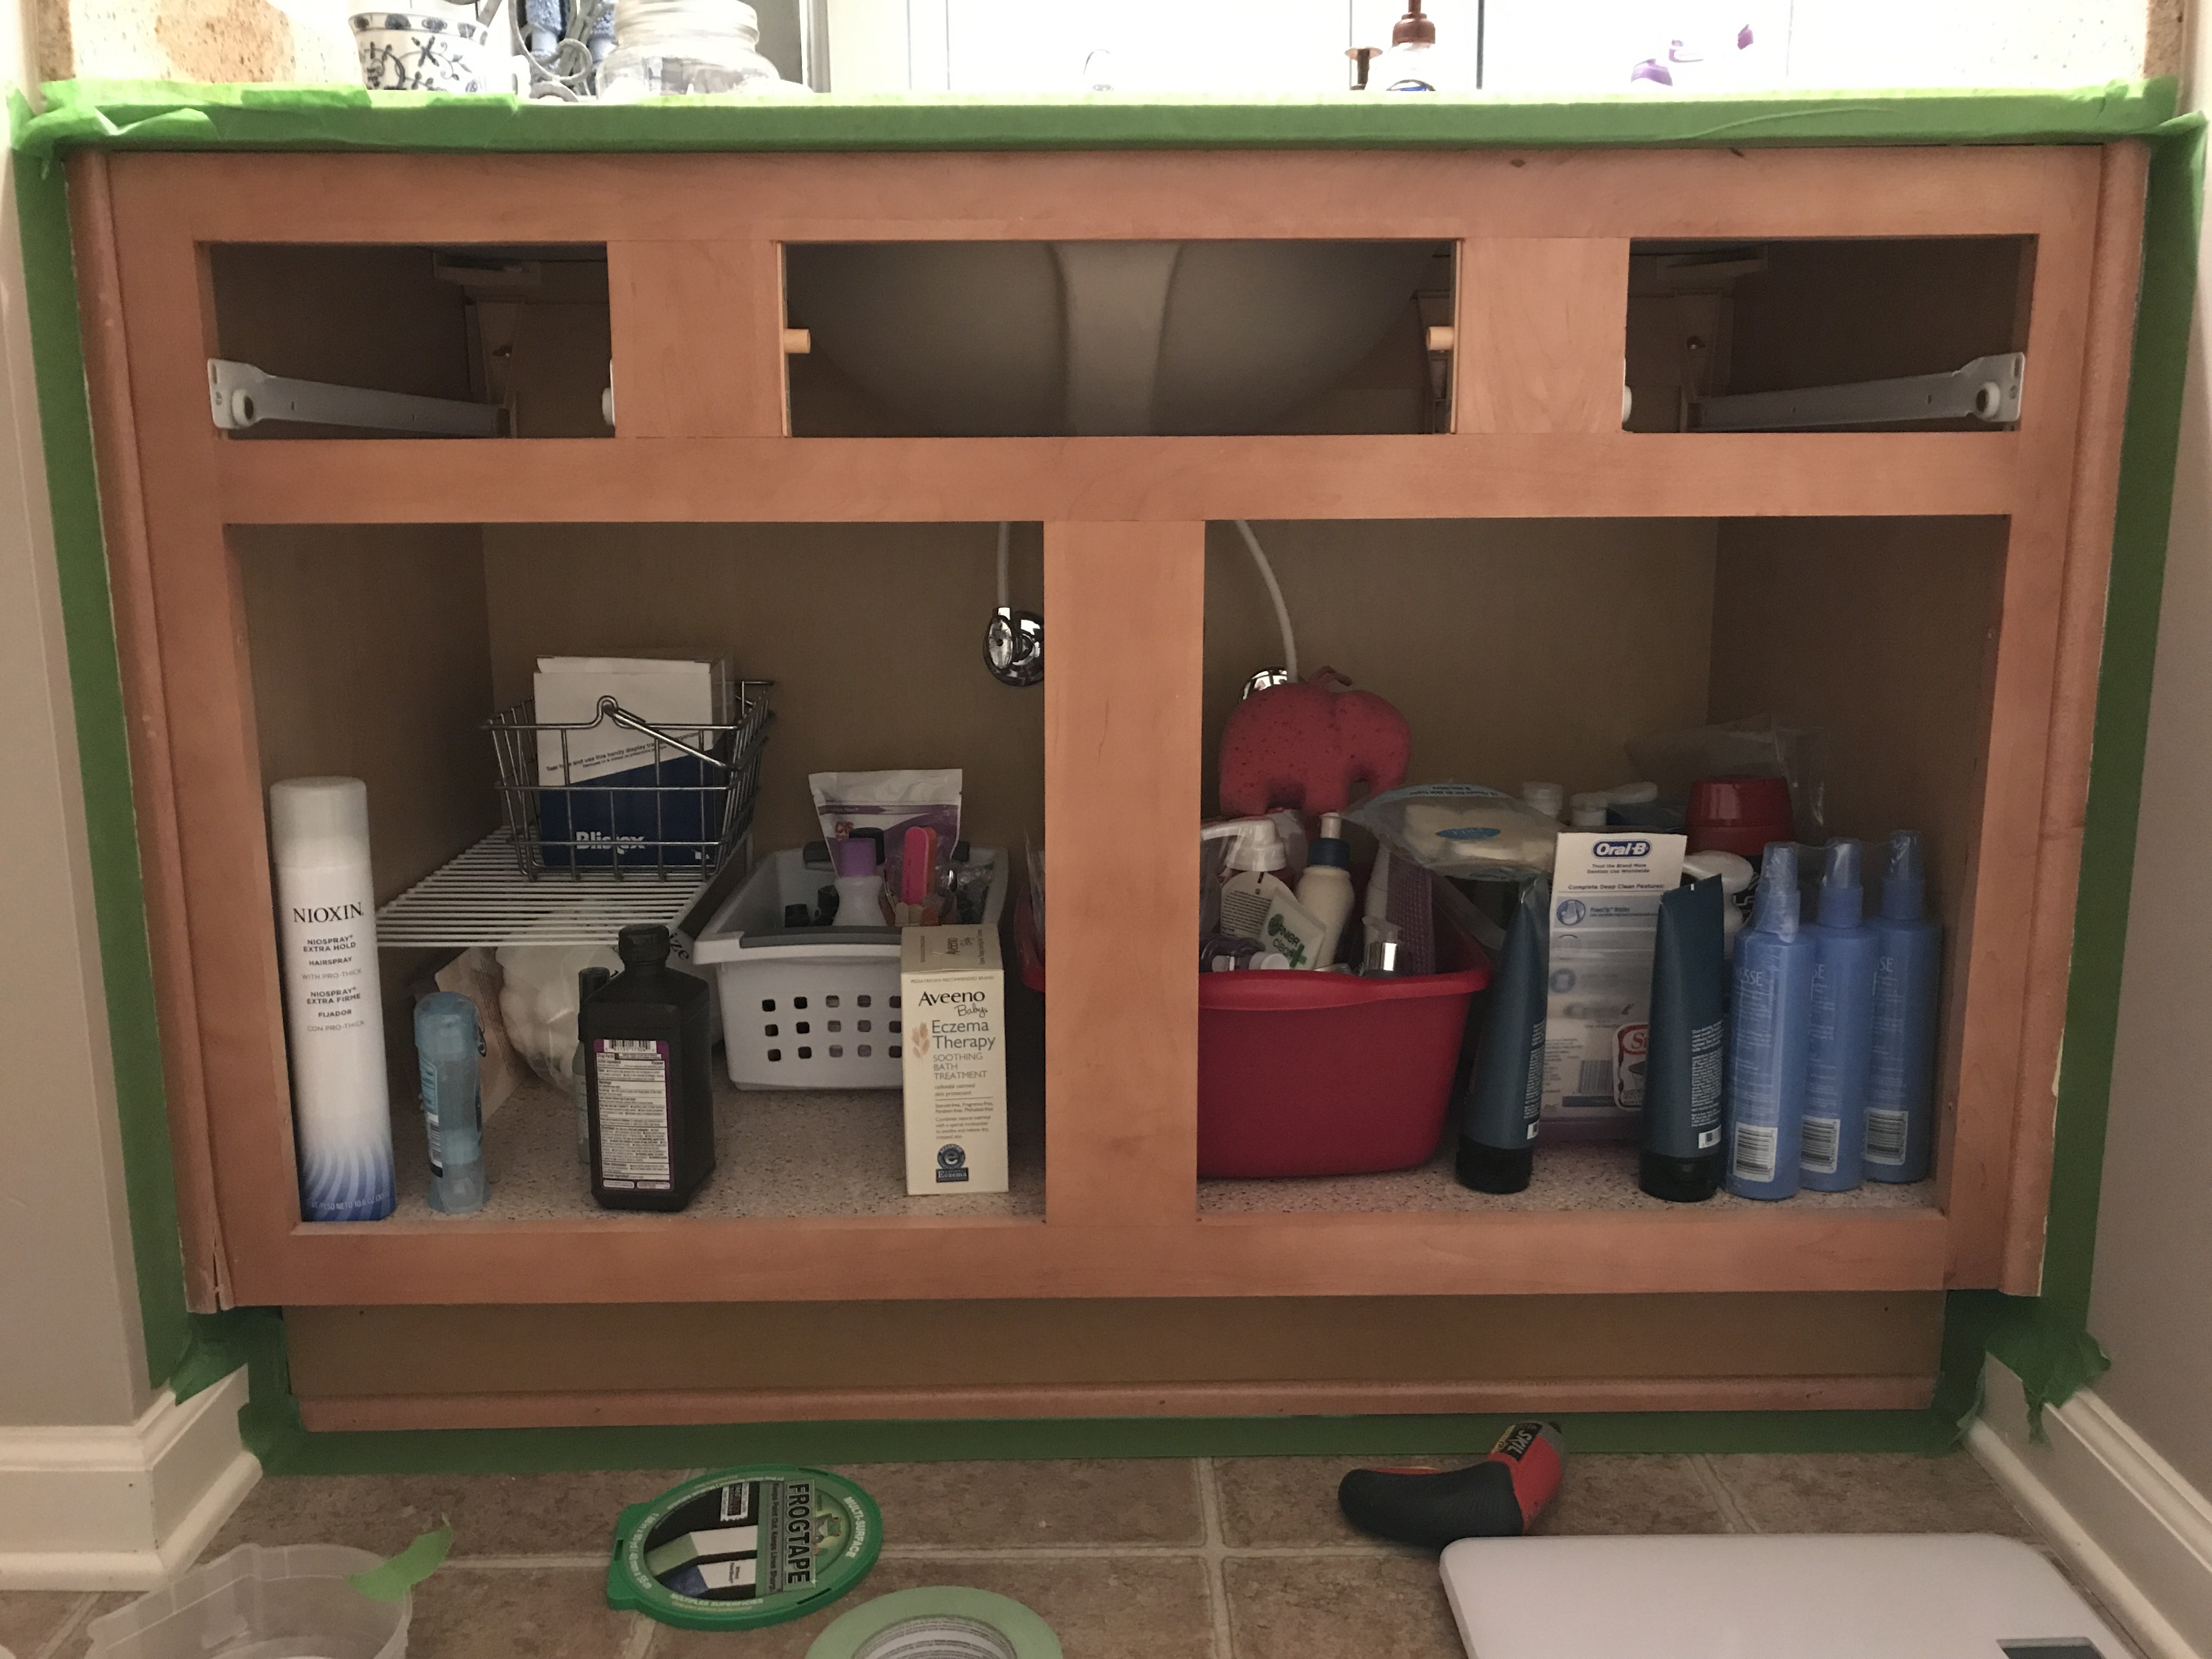
Once everything was clean and had been taped and everything removed that I wasn’t working on, I started painting the front of the vanity. I don’t know what most people do, but I had no plans to paint the entire inside of my cabinets. I painted the front and then the edge pieces you could see before you actually got to the “inside” of the cabinets. I painted everything with three coats of chalk paint.
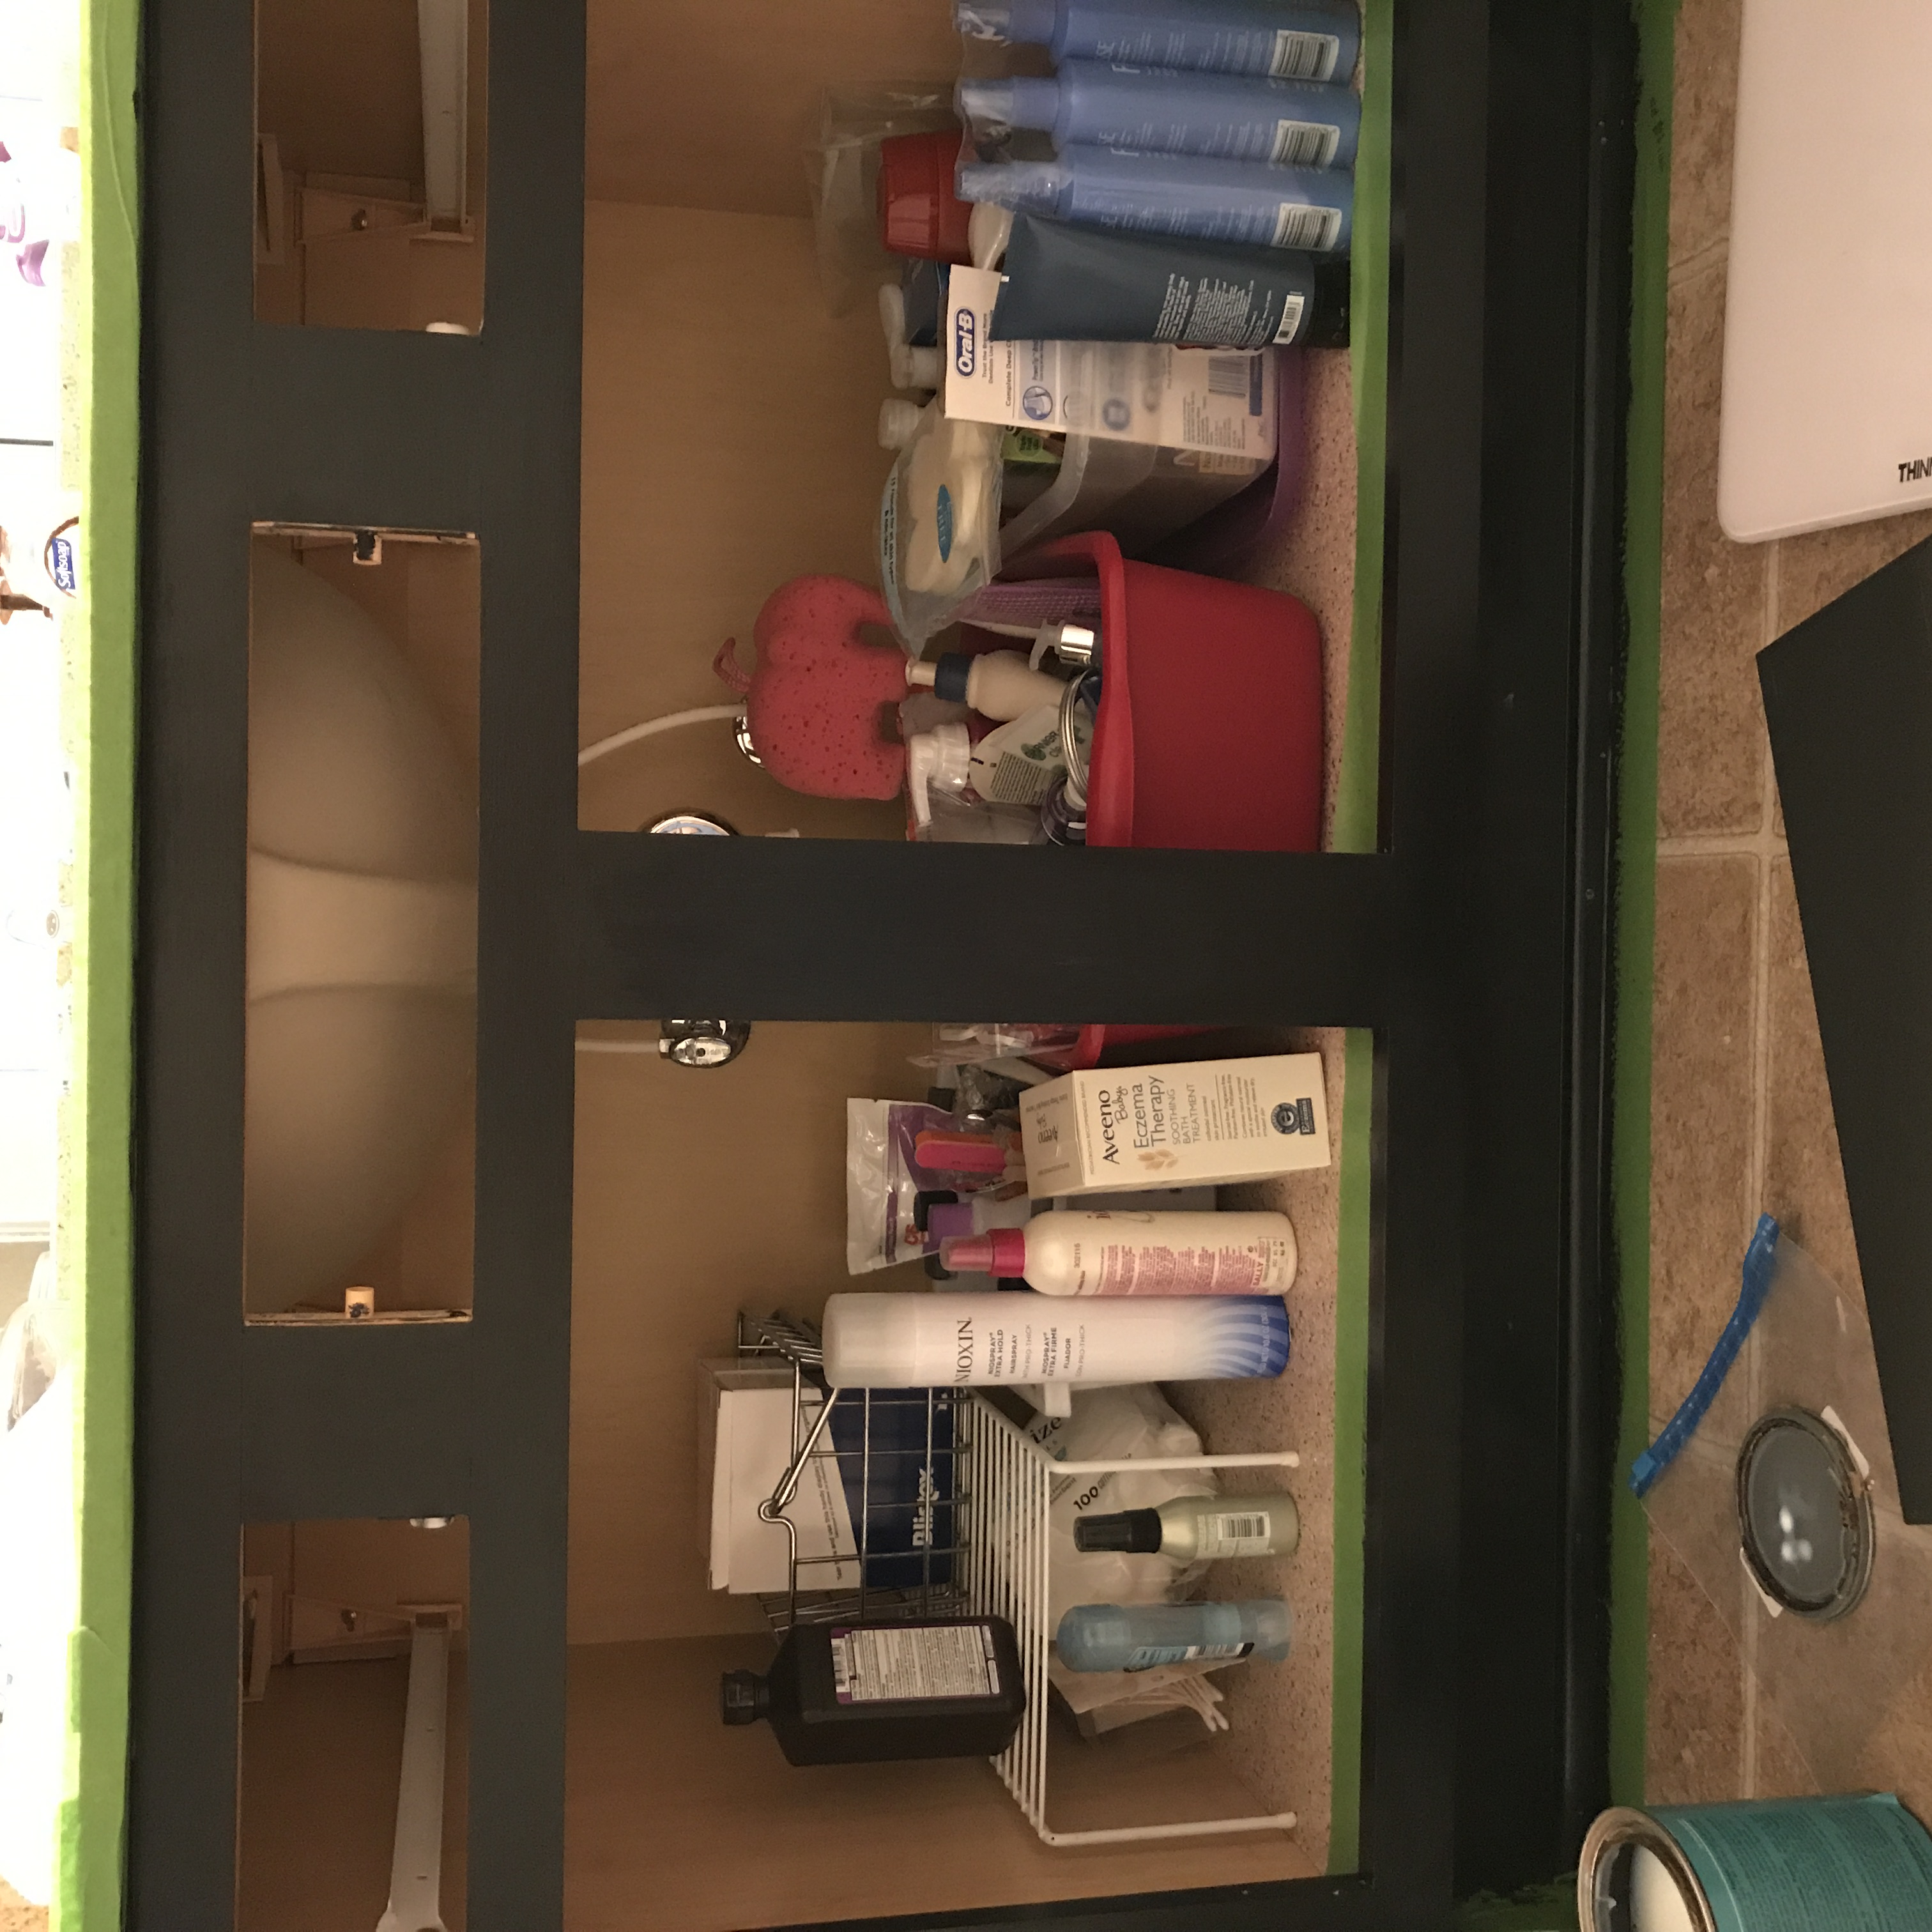
Here’s where I went down a different path. Was it the wrong path? Time will tell. There are two vanities in the master bathroom, this one being the smaller one. Both are used pretty frequently and I was concerned with the durability issue. Once I finish a project I AM DONE. The last thing I want to do is go back and have to redo something. I decided instead of using the chalk paint sealing wax, I would use Polycrylic as my sealant. I know it’s not the choice for everyone, it does have a sheen about it, which some people don’t care for. It doesn’t bother me. What I like about it is it’s easy to use, doesn’t turn yellow over time, holds up well over time, and cleans up easily.
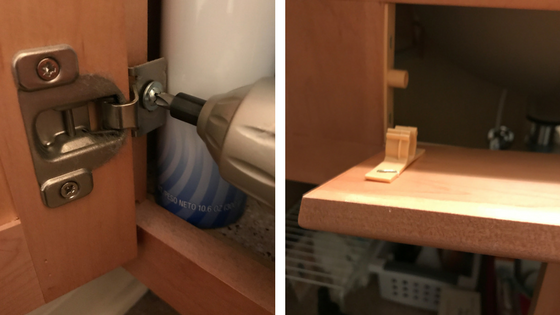
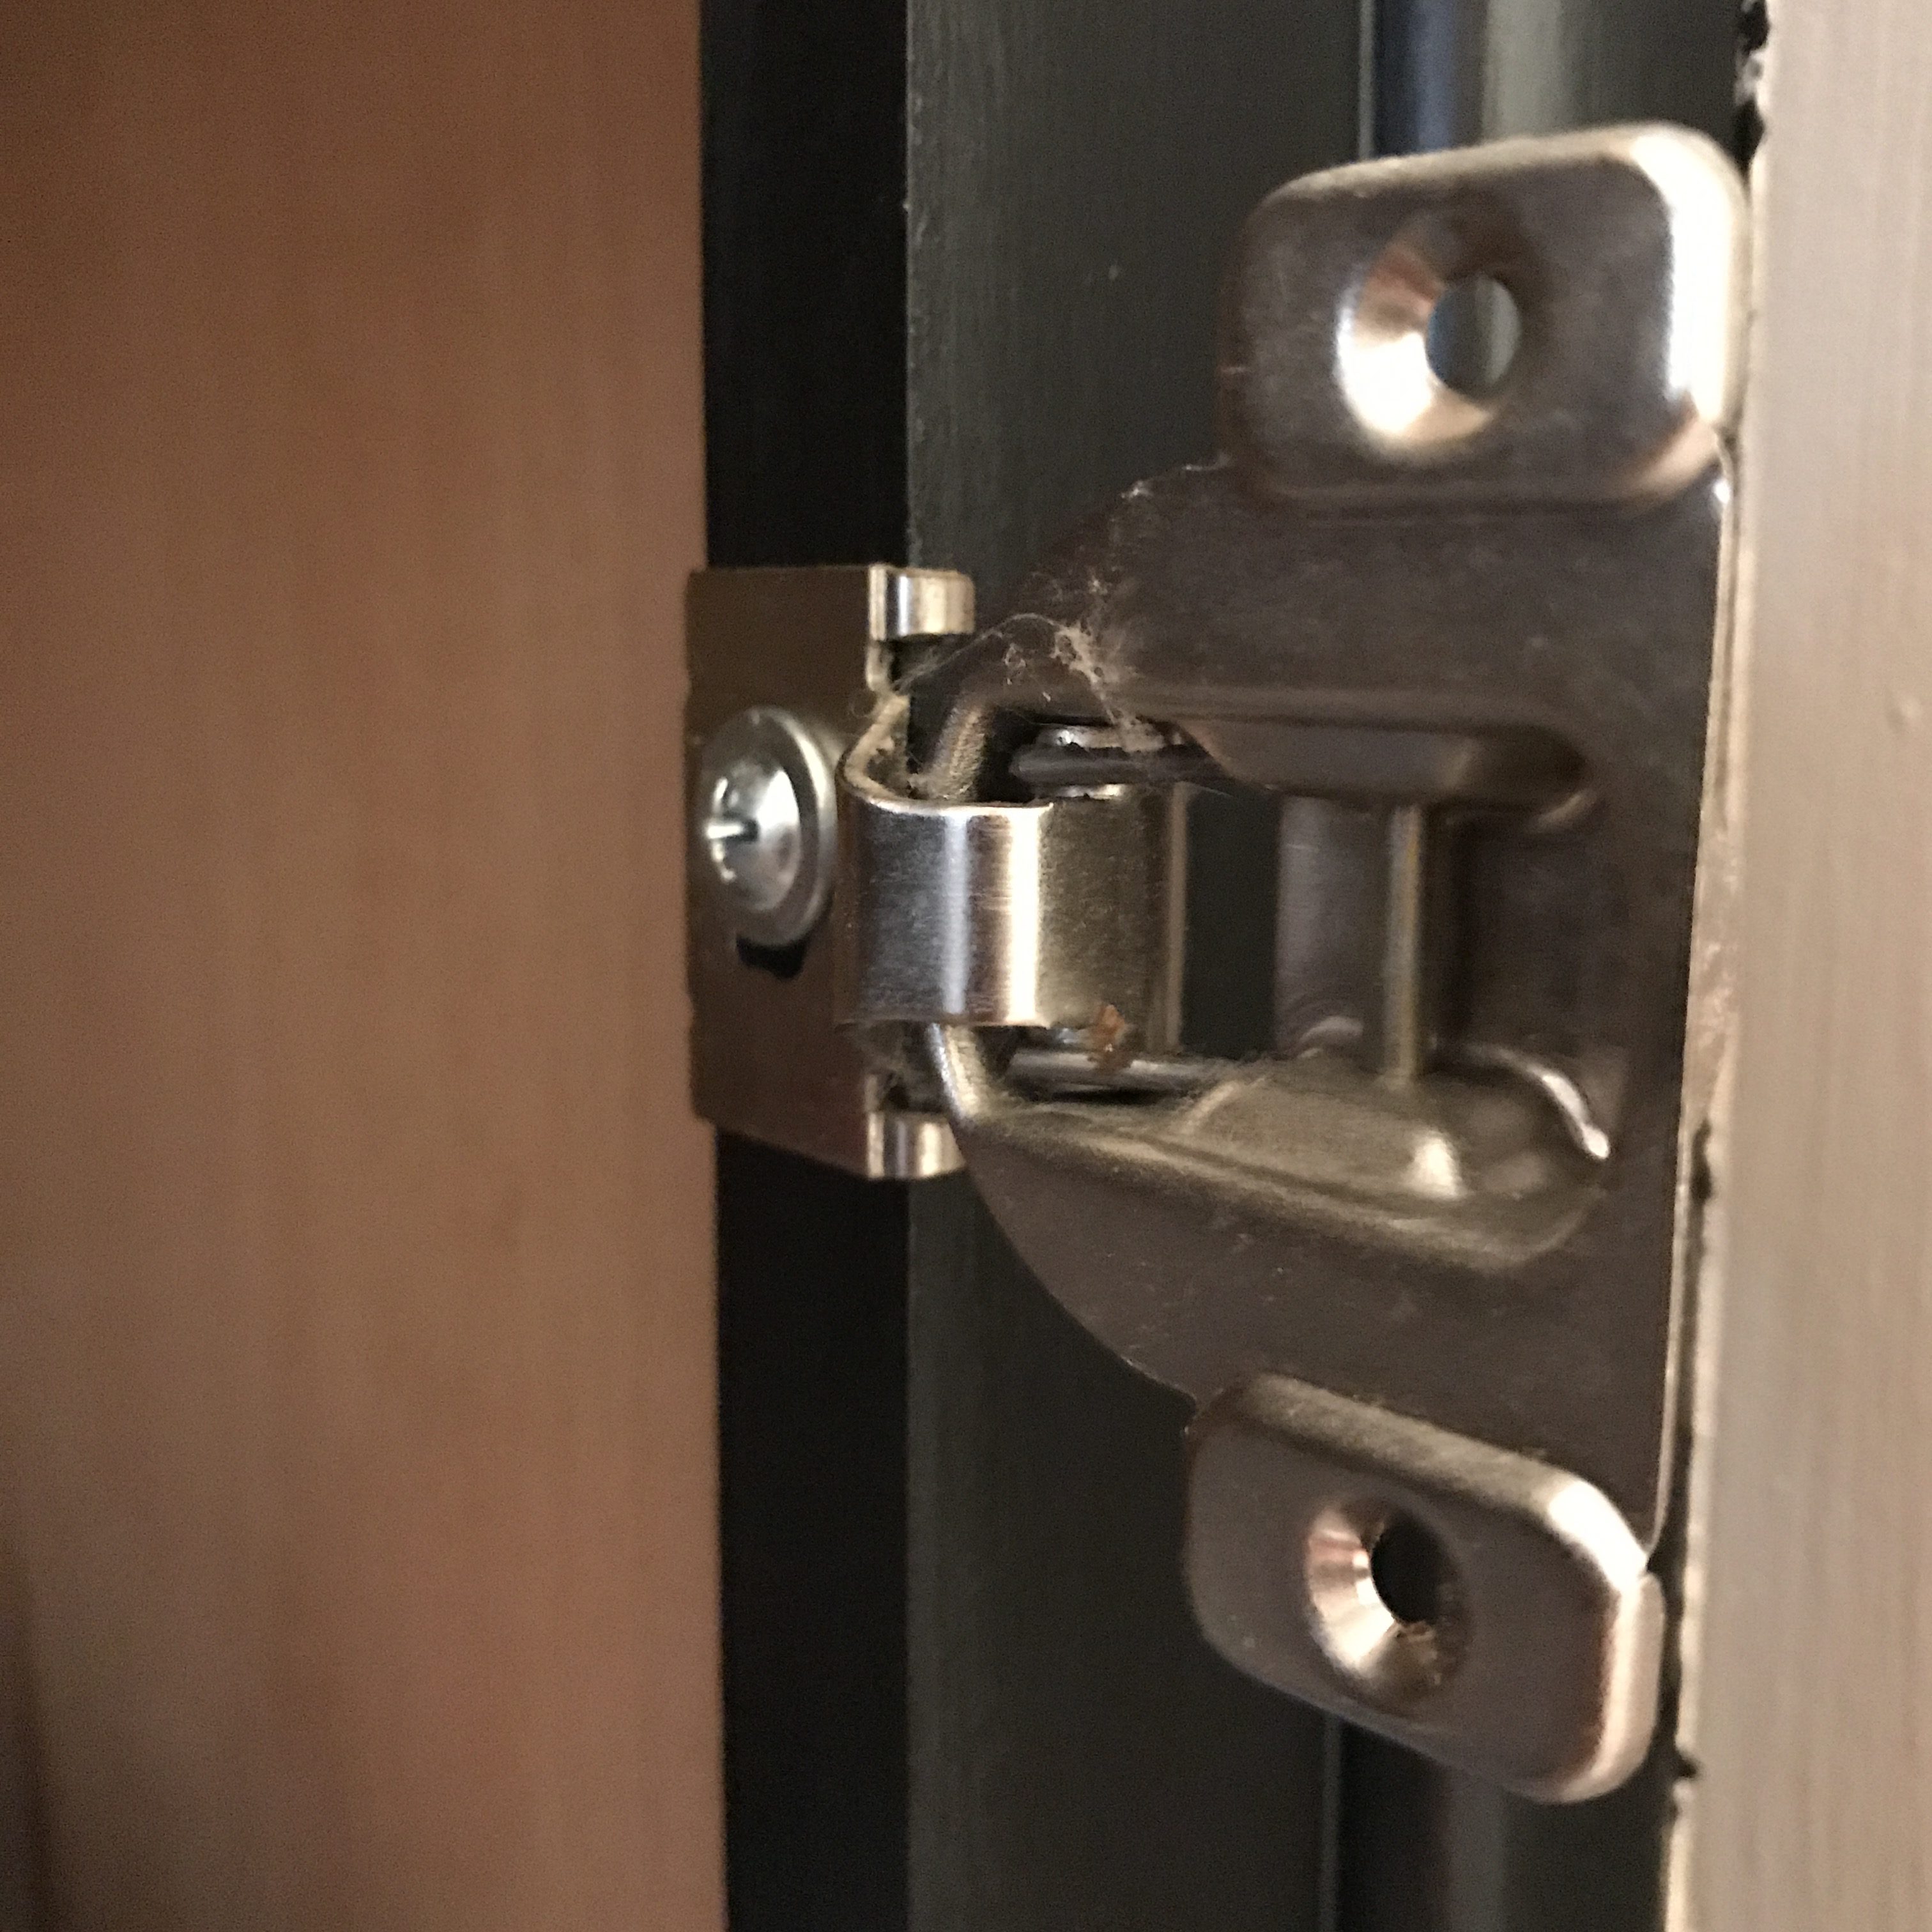 So I went on and sealed the front of the vanity so I could put the hinges back on the vanity, then remove the cabinet doors from the hinges. I have this fear (concern?) that if I completely take everything apart, somehow something will get put back in the wrong place and it won’t all fit together again. So, I attached the doors again, then removed the doors so the hinges remained. I realize this is overkill.
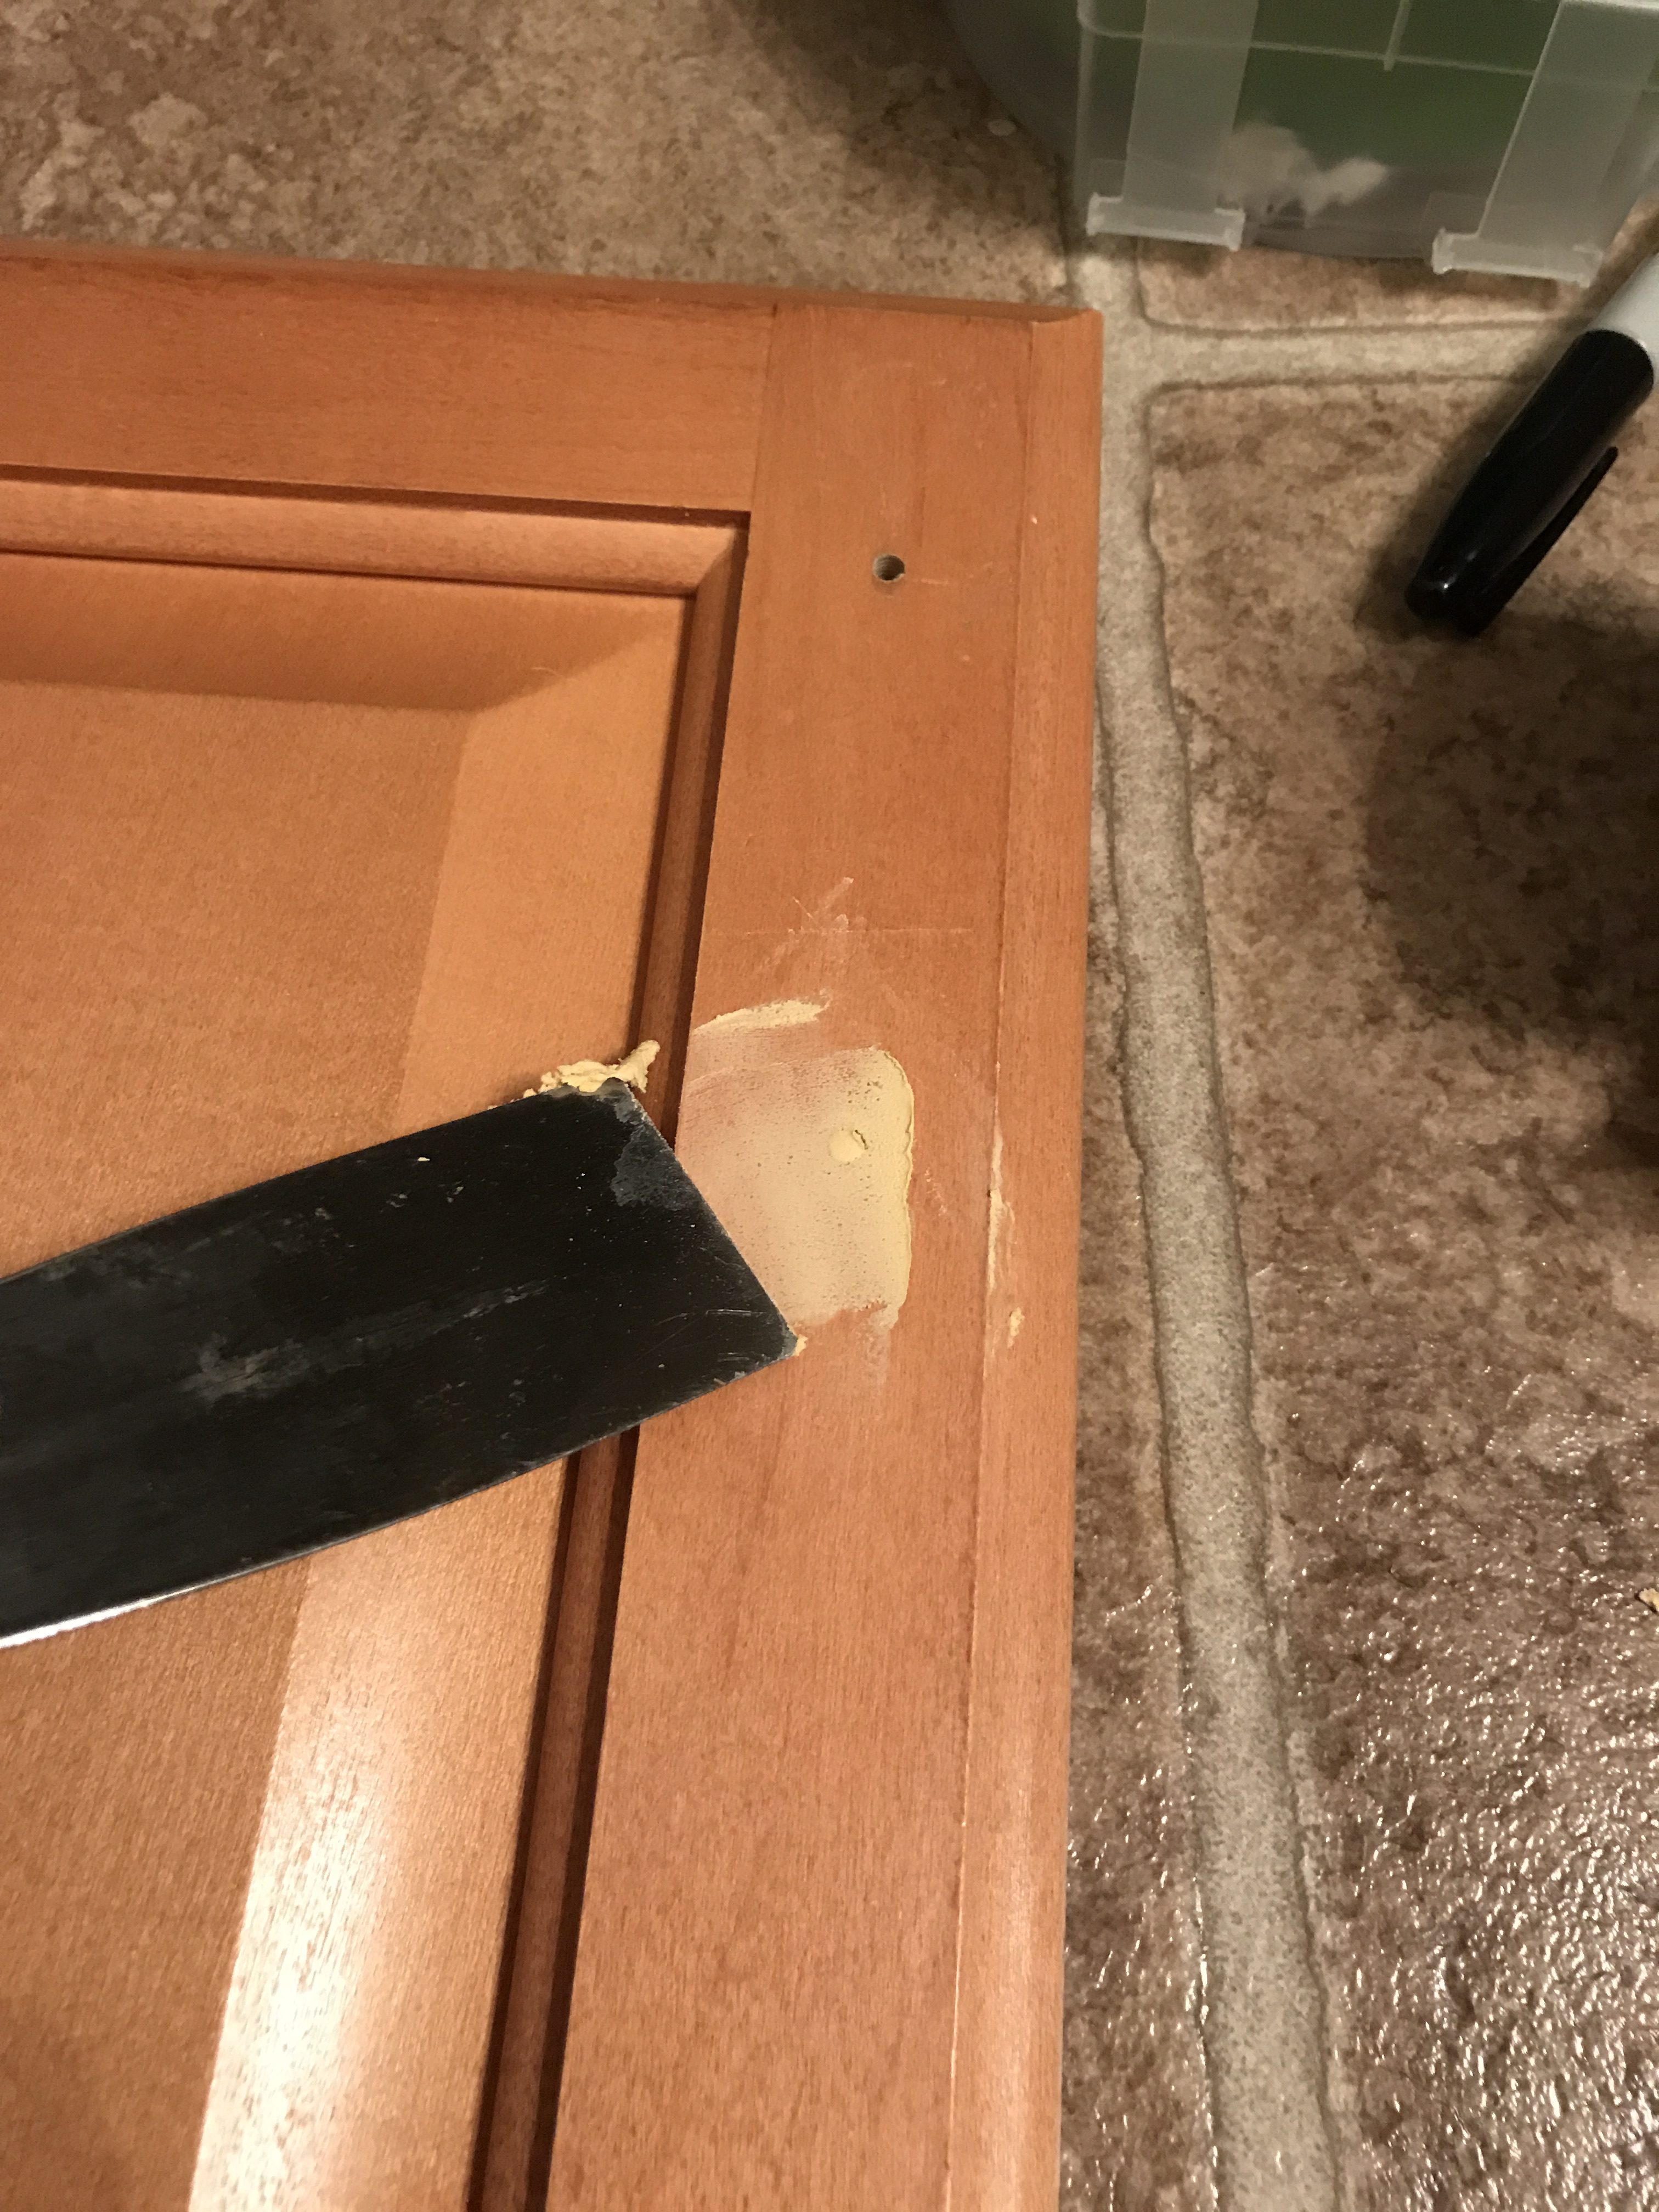
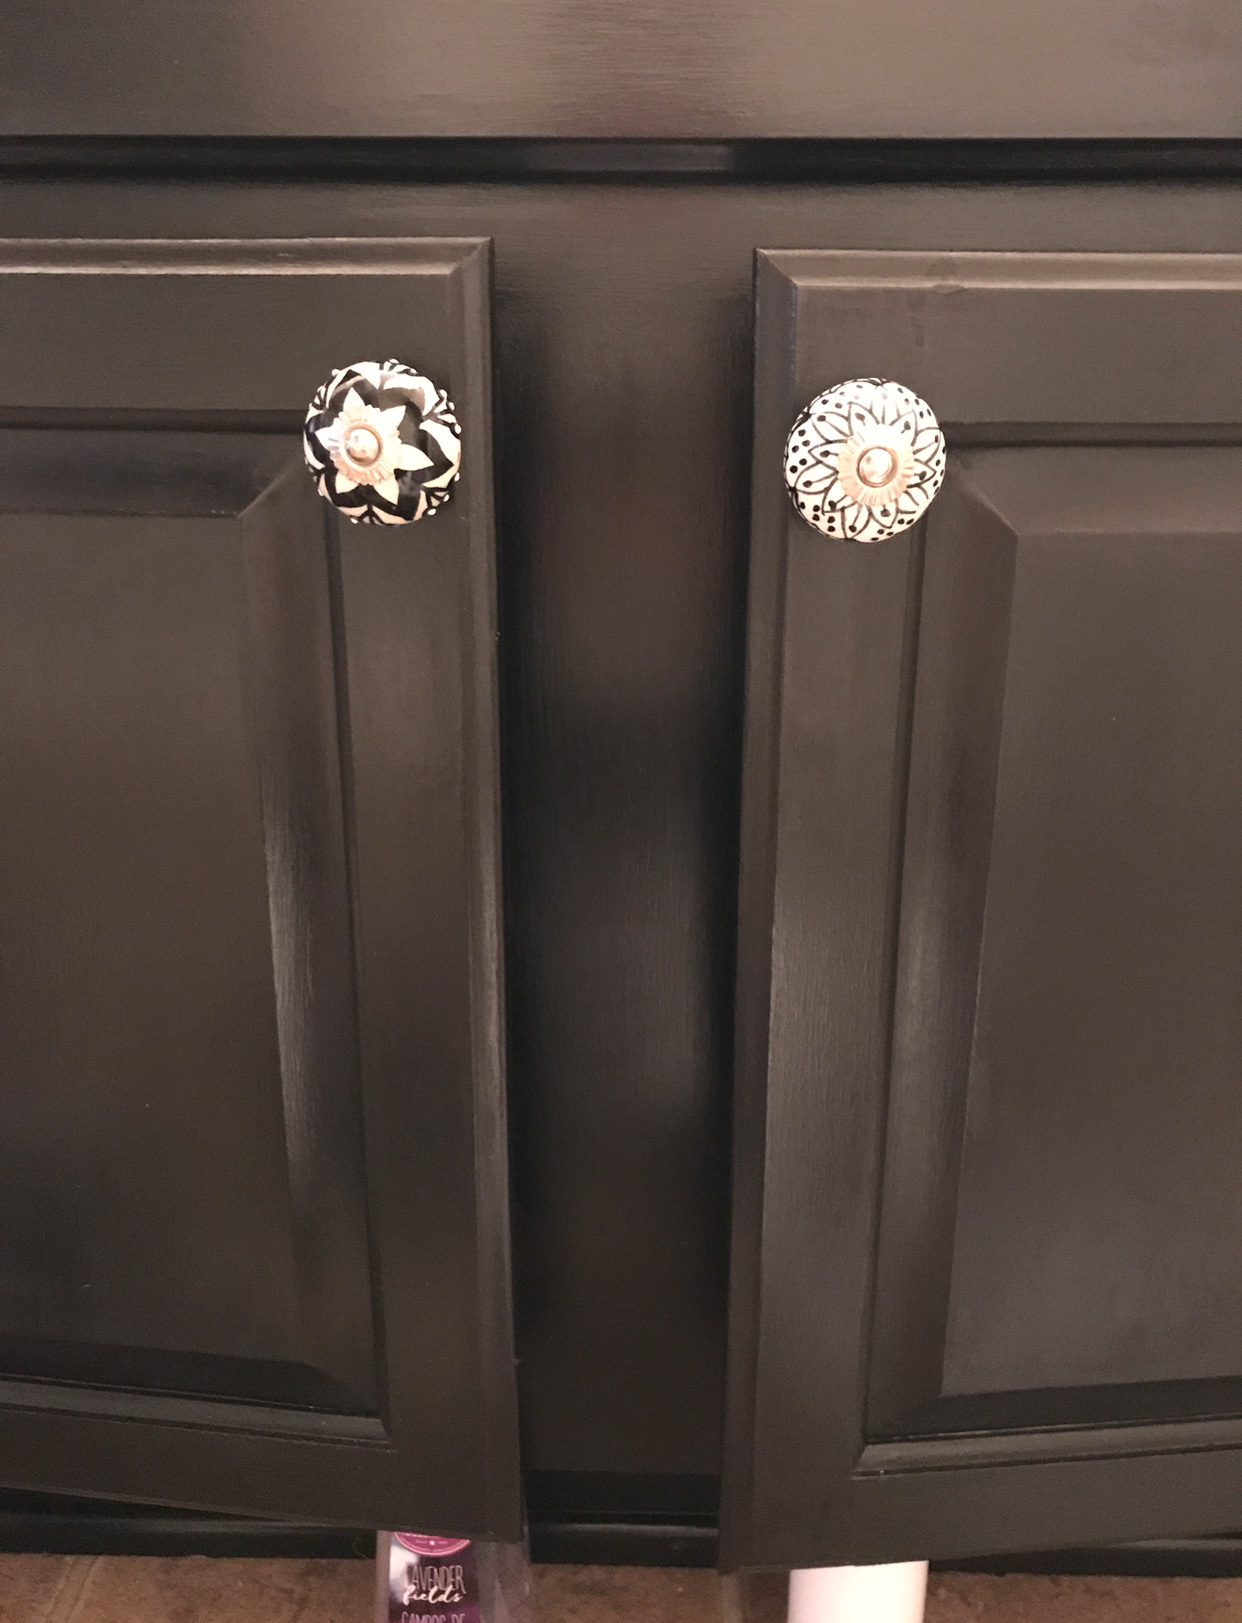
Back to the cabinet doors. I removed the hardware and clean those spots really well. While there wasn’t anything wrong with the brushed nickel handles on the drawers and cabinets, I wanted something a little unique with a little character. I ordered these black and white knobs from Amazon and I LOVE THEM! Each of them is different which was exactly what I wanted. Only problem was the handles that were previous on everything had two screw holes. I would have to patch one on the cabinet doors (the lower one) with wood filler and then patch both holes in the drawers and make a new hole in the center for the knobs. Once the wood filler dried, I sanded it very well and then was able to paint it.
Not too much exciting here. I did one at a time, three coats of chalk paint on each side, then three coats of Polycrylic over the chalk paint. When one door was finished, I hung it up to start on the other.
Because I’m impatient I went on and put the new knobs on the cabinet drawers. I have to say they were amazing and a huge reason why I had the determination to finish the drawers as quickly as possible.
I went on and painted one coat of chalk paint on the drawers and then used the wood filler to fill the holes. I have no idea why. I think I needed a more finished visual? Once I sanded the wood filler I finished painting and sealing the drawers. And finally I was finished.
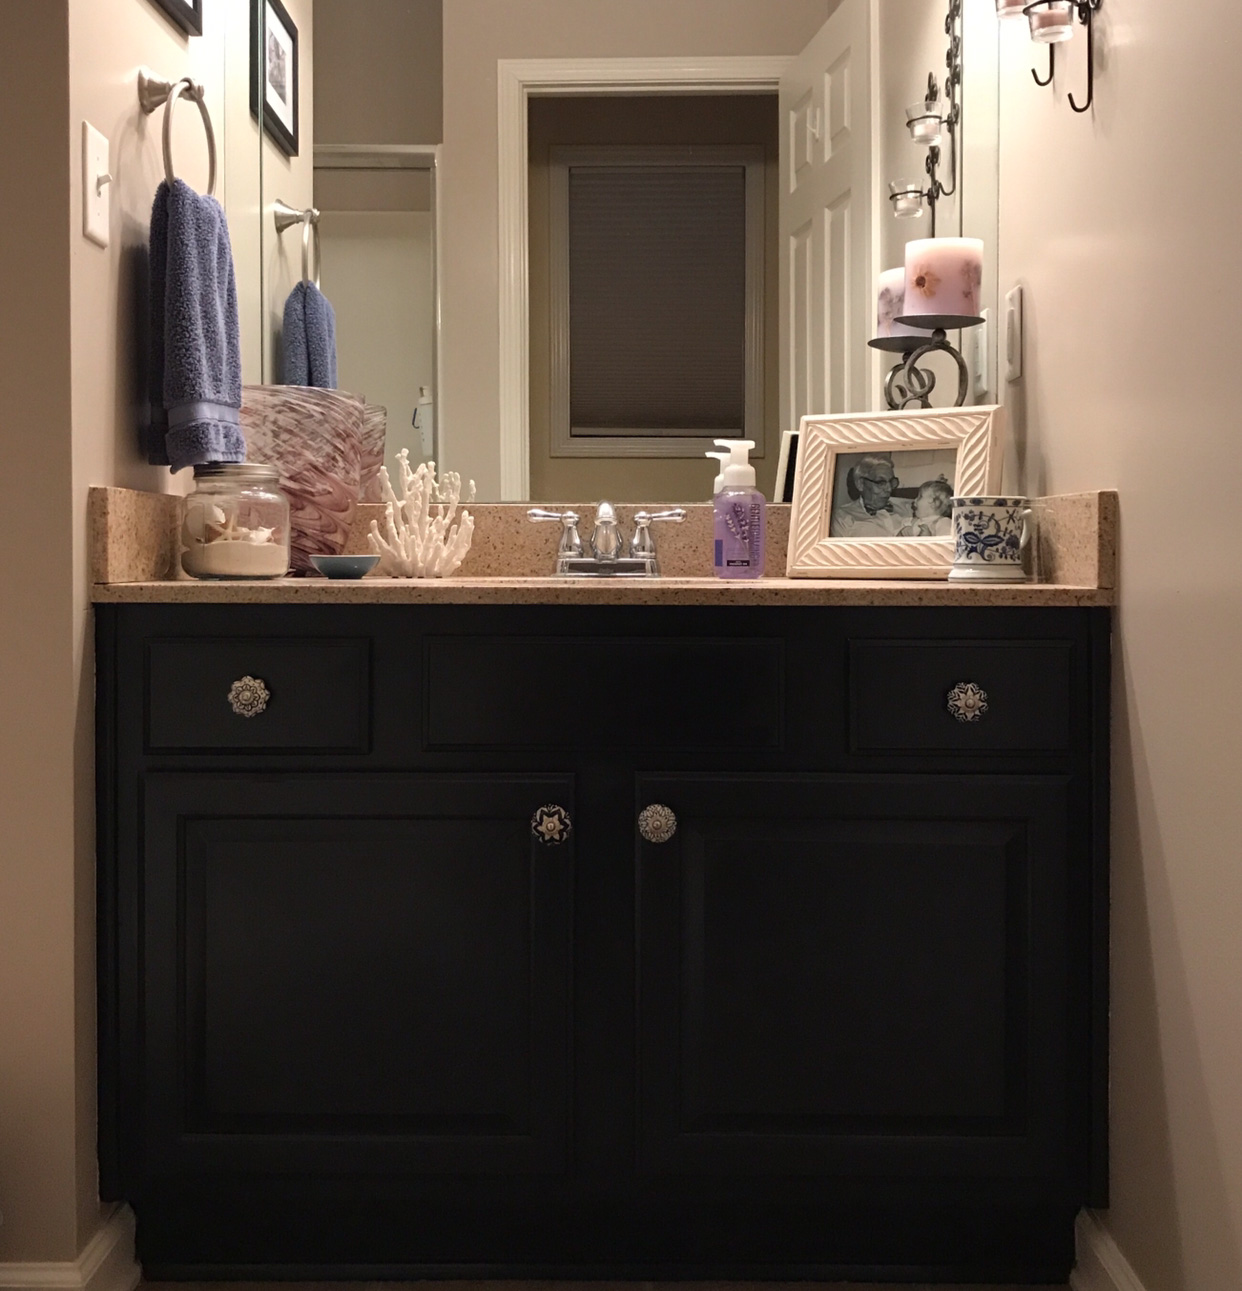
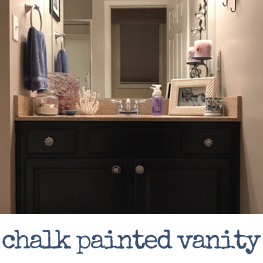
I really do love it! The vanity top has specks of black and it adds a little dimension to the bathroom. I wasn’t sure how I would like painting with black (I use LOTS of colors when I paint usually), but now that I have, I feel a little more brave, maybe a little more sassy too. Or maybe it’s the porcelain knobs. They add character and make me feel whimsical.
This project didn’t take much. This is all I used:
Valspar Chalky Finish paint in Boot Black
Polycrylic by Minwax
wood filler and putty knife
drawer knobs
drill
Purdy paint brushes (the smaller one is great for doing the sides!)
sanding block
Frog Tape
Because I am curious, I am going to try a different method to the other, larger vanity soon. I’ll keep it to myself for now, but my thought was once it was finished, see which one stood the test of time a few years later and do a post on that.
I have a lot left to do in this bathroom, and I will keep you posted with my progress. There are lots of projects to do for this bathroom!
*There are affiliate links in this post.