
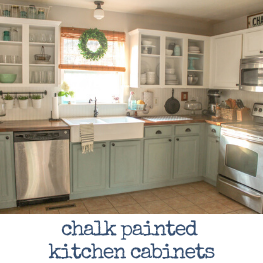
***Note to Readers: This is a republished post from awhile back on chalk painting your kitchen cabinets. It has been a very popular post and I thought it would be a good idea to post again for some first timers who are visiting the site. Enjoy!
It’s been two years since I chalk painted our kitchen cabinets. Here’s the top 10 questions I get about my chalk painted kitchen cabinets:

1. What did you use?
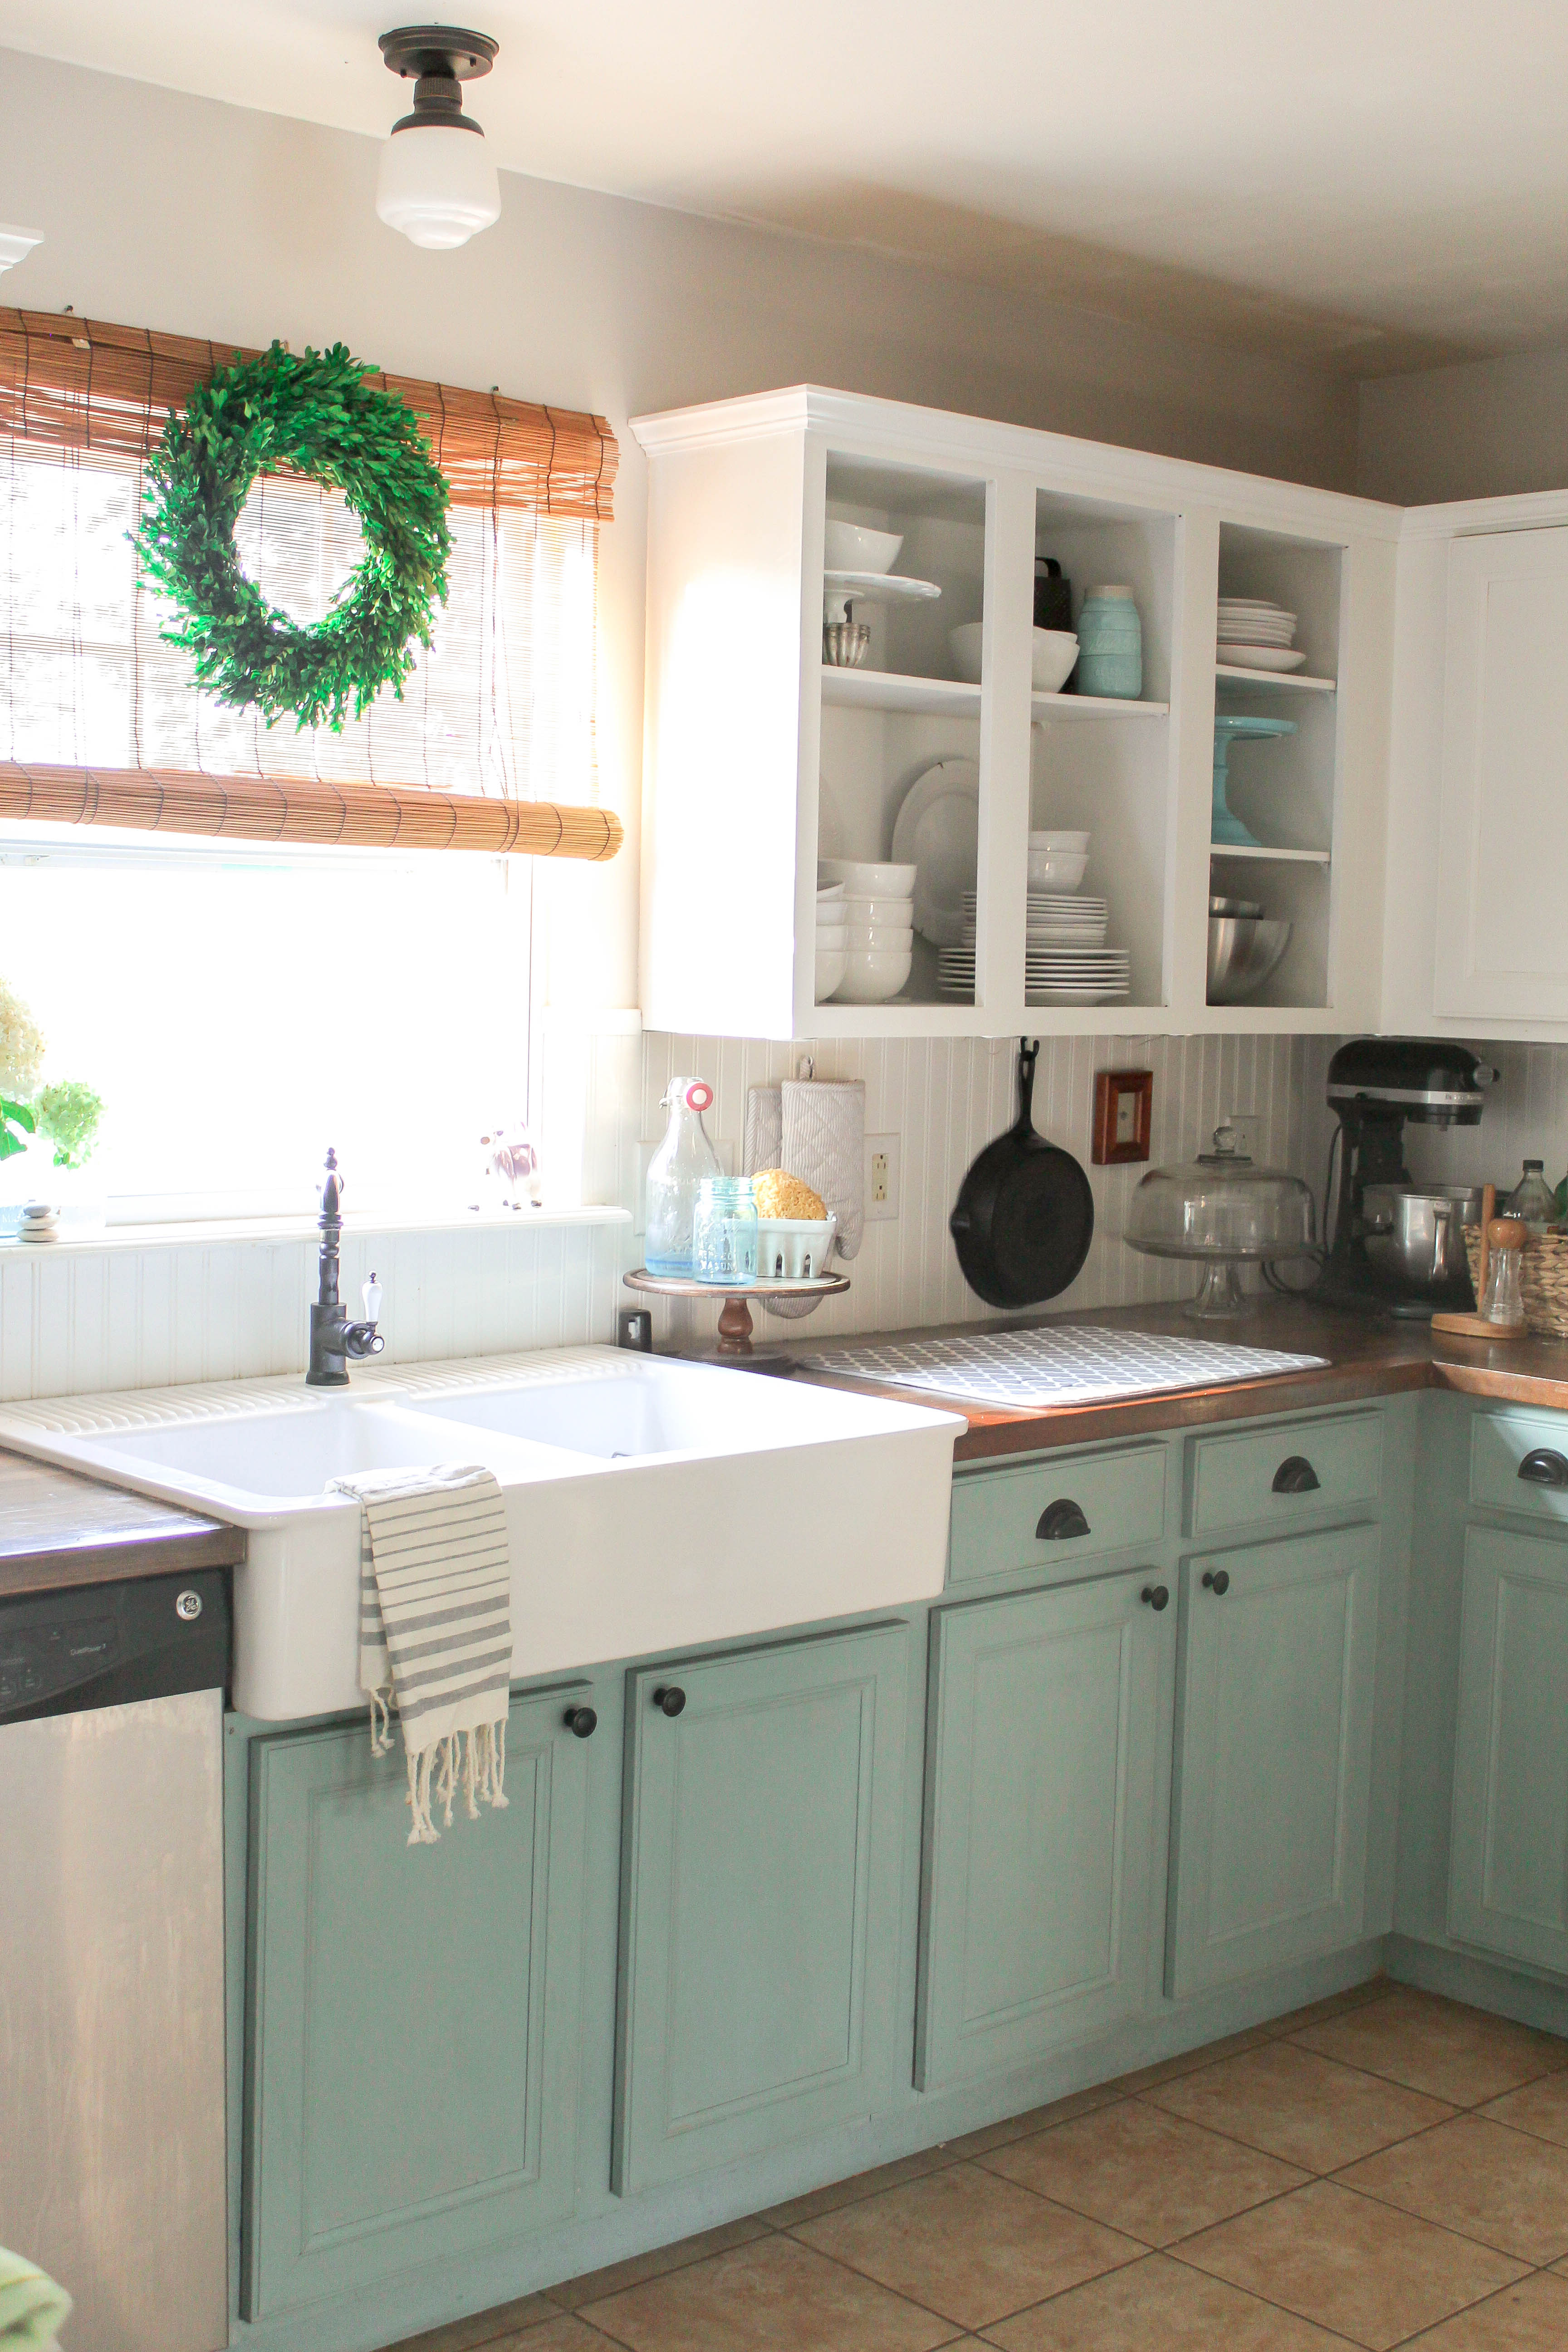
Originally, I used Annie Sloan Chalk Paint in Old White on the uppers and Annie Sloan Duck Egg Blue on the lower cabinets. You can roll the paint on but I felt like brushing it on gave me a better result. You may find it useful to have brushes in a variety of sizes depending on the angle you’re painting. Of this 3-pack, I would use the largest and smallest brushes most often. It’s so important to always use good brushes. I use Purdy or Wooster brand brushes on almost any project I do. It really does make a difference on the finished product. I once had a friend tell me 20 years ago that, “if you’re going to do a project and don’t use Purdy or Wooster brushes, it isn’t worth doing.” That was 20 years ago before the DIY craze and it still holds true today (in my experience).
NOTE: Last winter, I removed the doors and repainted the upper cabinets because I found the Old White to be too cream-colored (you may want to try Annie Sloan’s chalk paint in Pure White for a whiter and brighter color. After a year, the uppers looked dull and dirty to me. I only applied one coat of wax on the uppers originally so I was able to apply Sherwin Williams Pure White directly over the chalk paint and wax with excellent adhesion. I love SW Pure White. It is my go-to white because it is clean without looking too sterile or cold. I used a $5 sample quart to repaint the entire set of uppers.
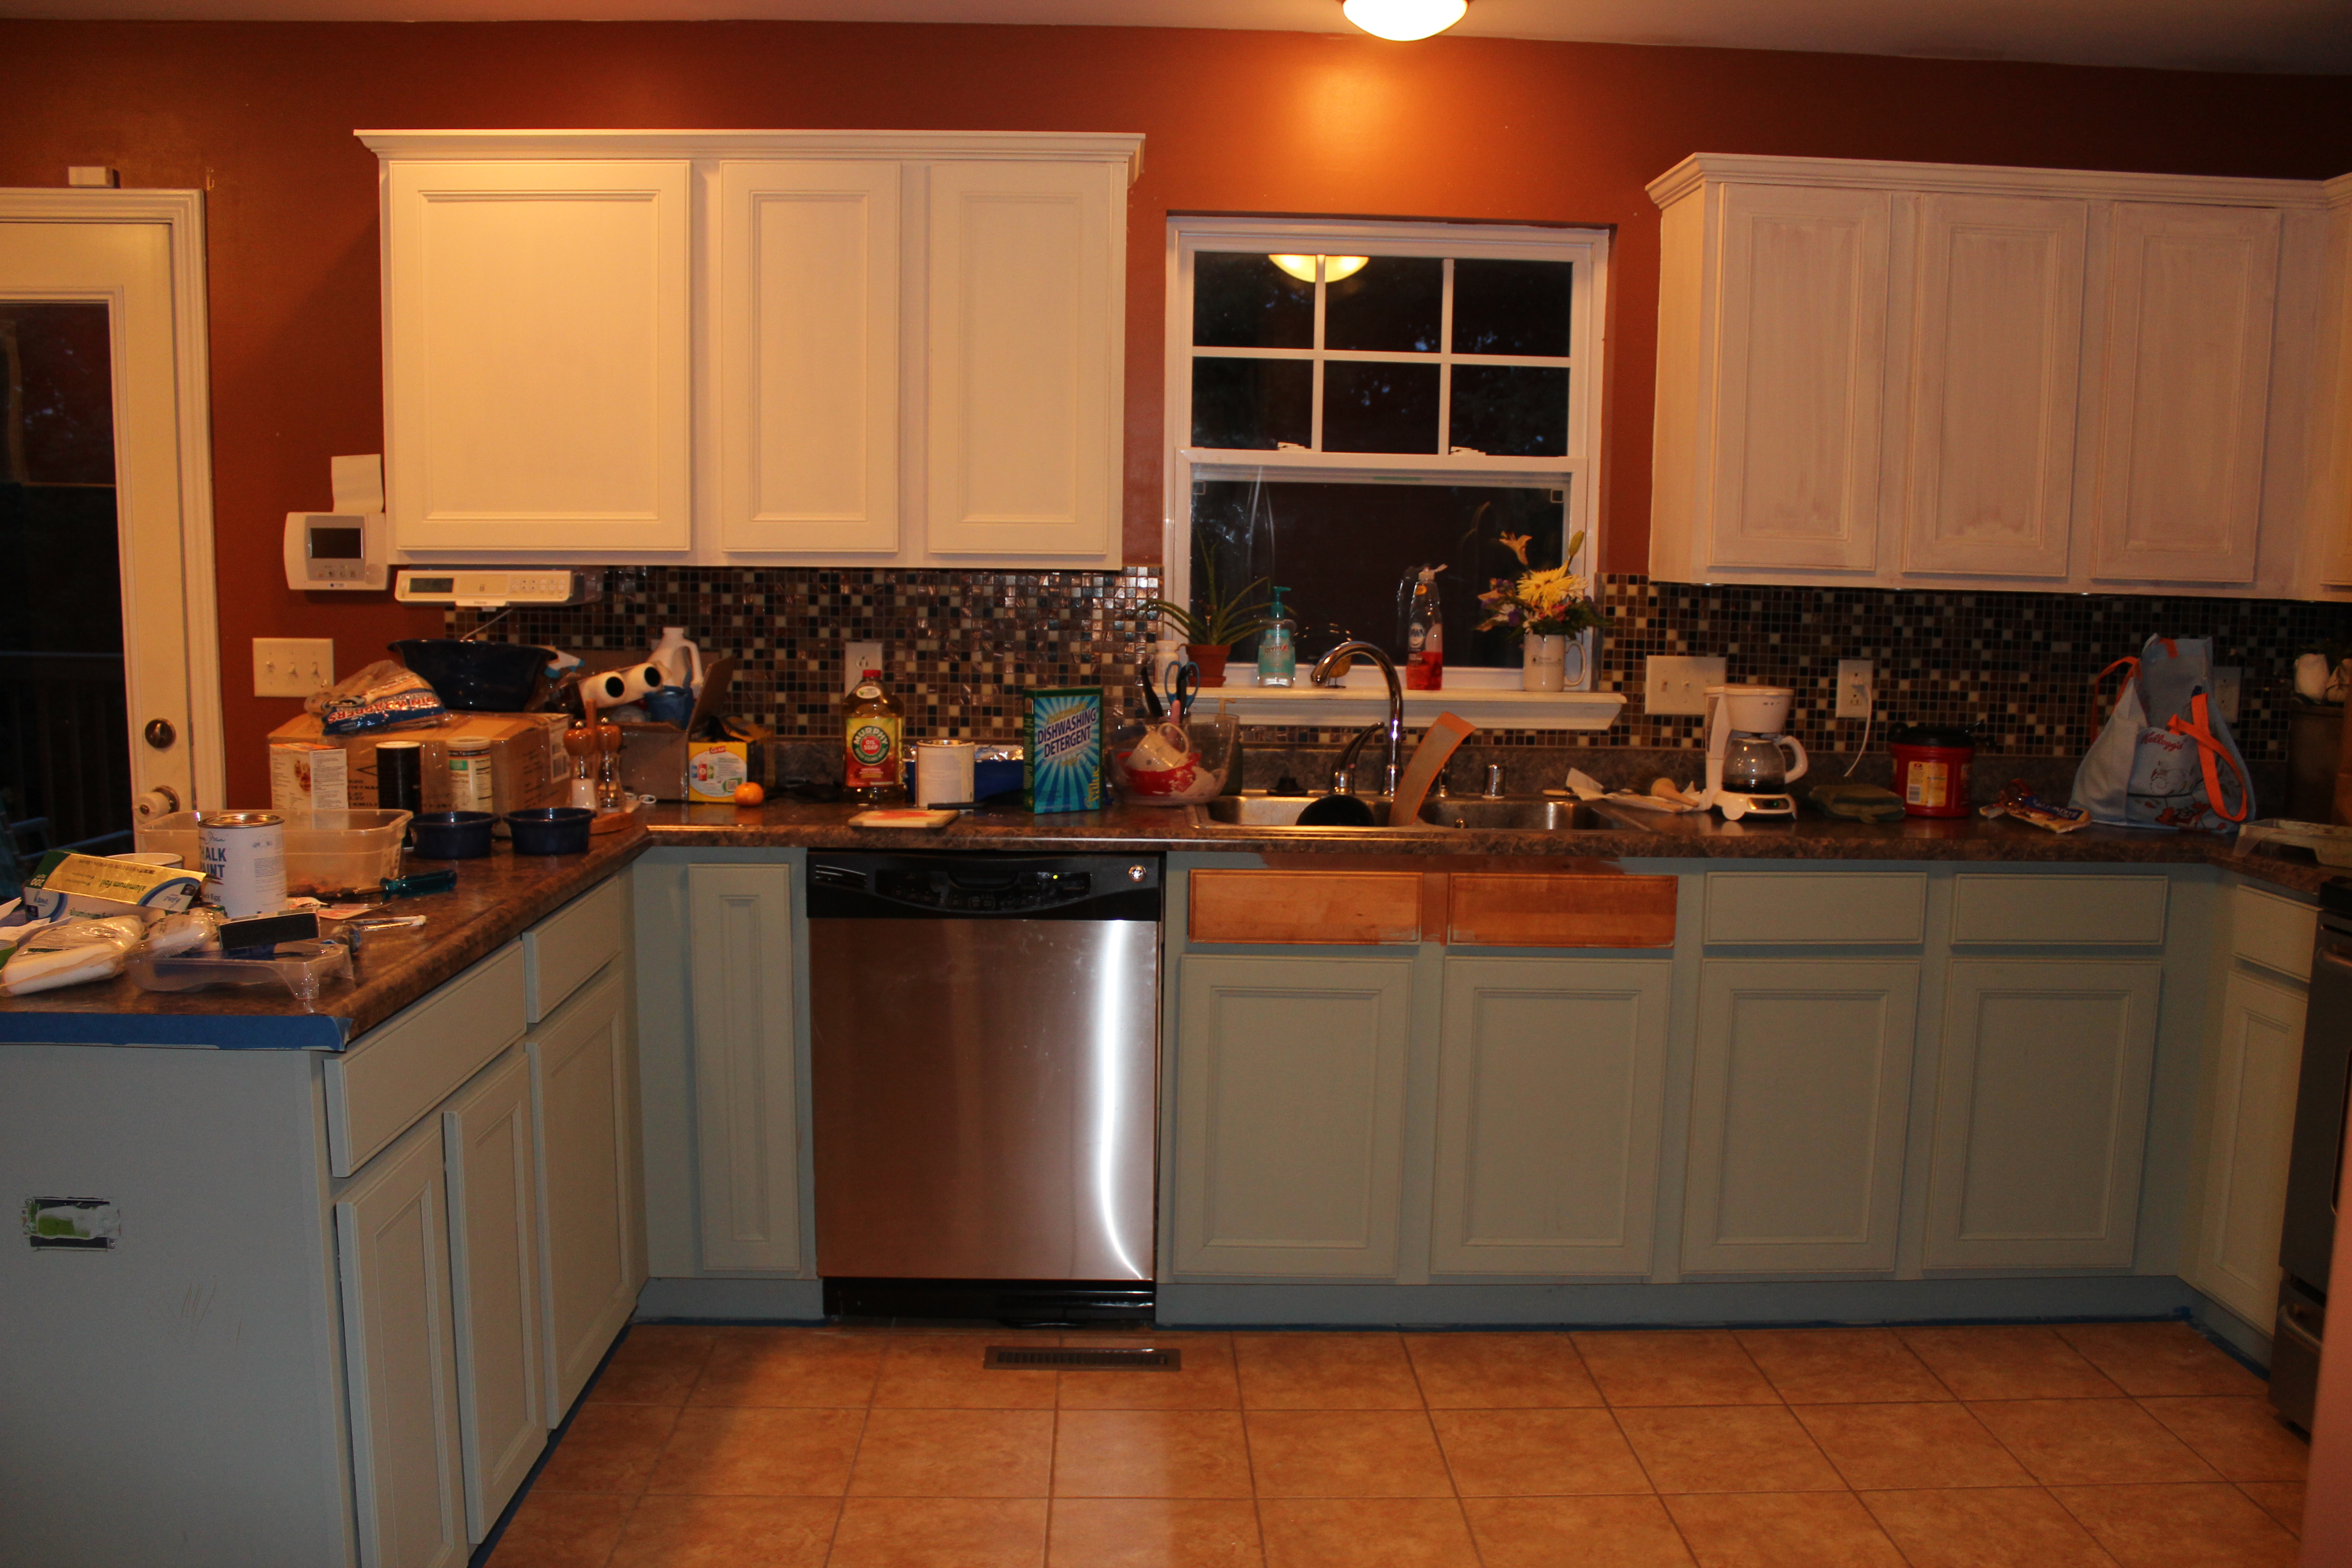
2. How did you prep the cabinets?
I used Dawn Simply Clean and water to remove the greasy build-up on the cabinets. Once the cabinets were dry (and the kid was asleep) I started painting. I did not take the doors off or prime the cabinets.
3. How much paint and wax did it take?
I originally bought two cans of chalk paint (one Old White and one Duck Egg Blue.) If you use white paint, it will take several coats to achieve the look you want. You may end up needing two cans of white depending on the number of cabinets you’ll be painting. The Duck Egg Blue went on so well, I did two coats and still had paint leftover to use on a few other projects.
I’ve always heard that on kitchen cabinets, you should use at least three coats of wax. I did wax the lower cabinets three or more times but only did one on the upper cabinets. Honestly, my arm got tired and…life. You should have most of a can of wax leftover once you are finished.
4. How much did your cabinet makeover cost?
Here’s the breakdown:
Duck Egg Blue Chalk Paint $34.95 plus tax
Old White Chalk Paint $34.95 plus tax
Chalk Paint Wax $24.95 plus tax
Wax Brush for Chalk Paint $24.95 plus tax
Paint Brushes (Had these)
Hardware Approx. $50
—————Total
About $170
For under $200, I was able to drastically change the look of the kitchen and fast. *Prices may differ
5. Is it difficult to wax the cabinets?
Difficult? No.
Time-consuming? Yes, but if you have an iced coffee/wine and some good music, you’ll be set.
I waxed the cabinets over the course of a week, during Ada’s naps or while everyone was sleeping. If you’ve never used wax before, it may be a good idea to chalk paint and wax a piece of furniture first to get the hang of waxing. You want to apply a thin, even layer. I love this tutorial by Cindy from Simply Reinvented. She does a great job of explaining wax and prepping your brush in simple language. Also…she likens wax to Crisco, which is my kind of girl.
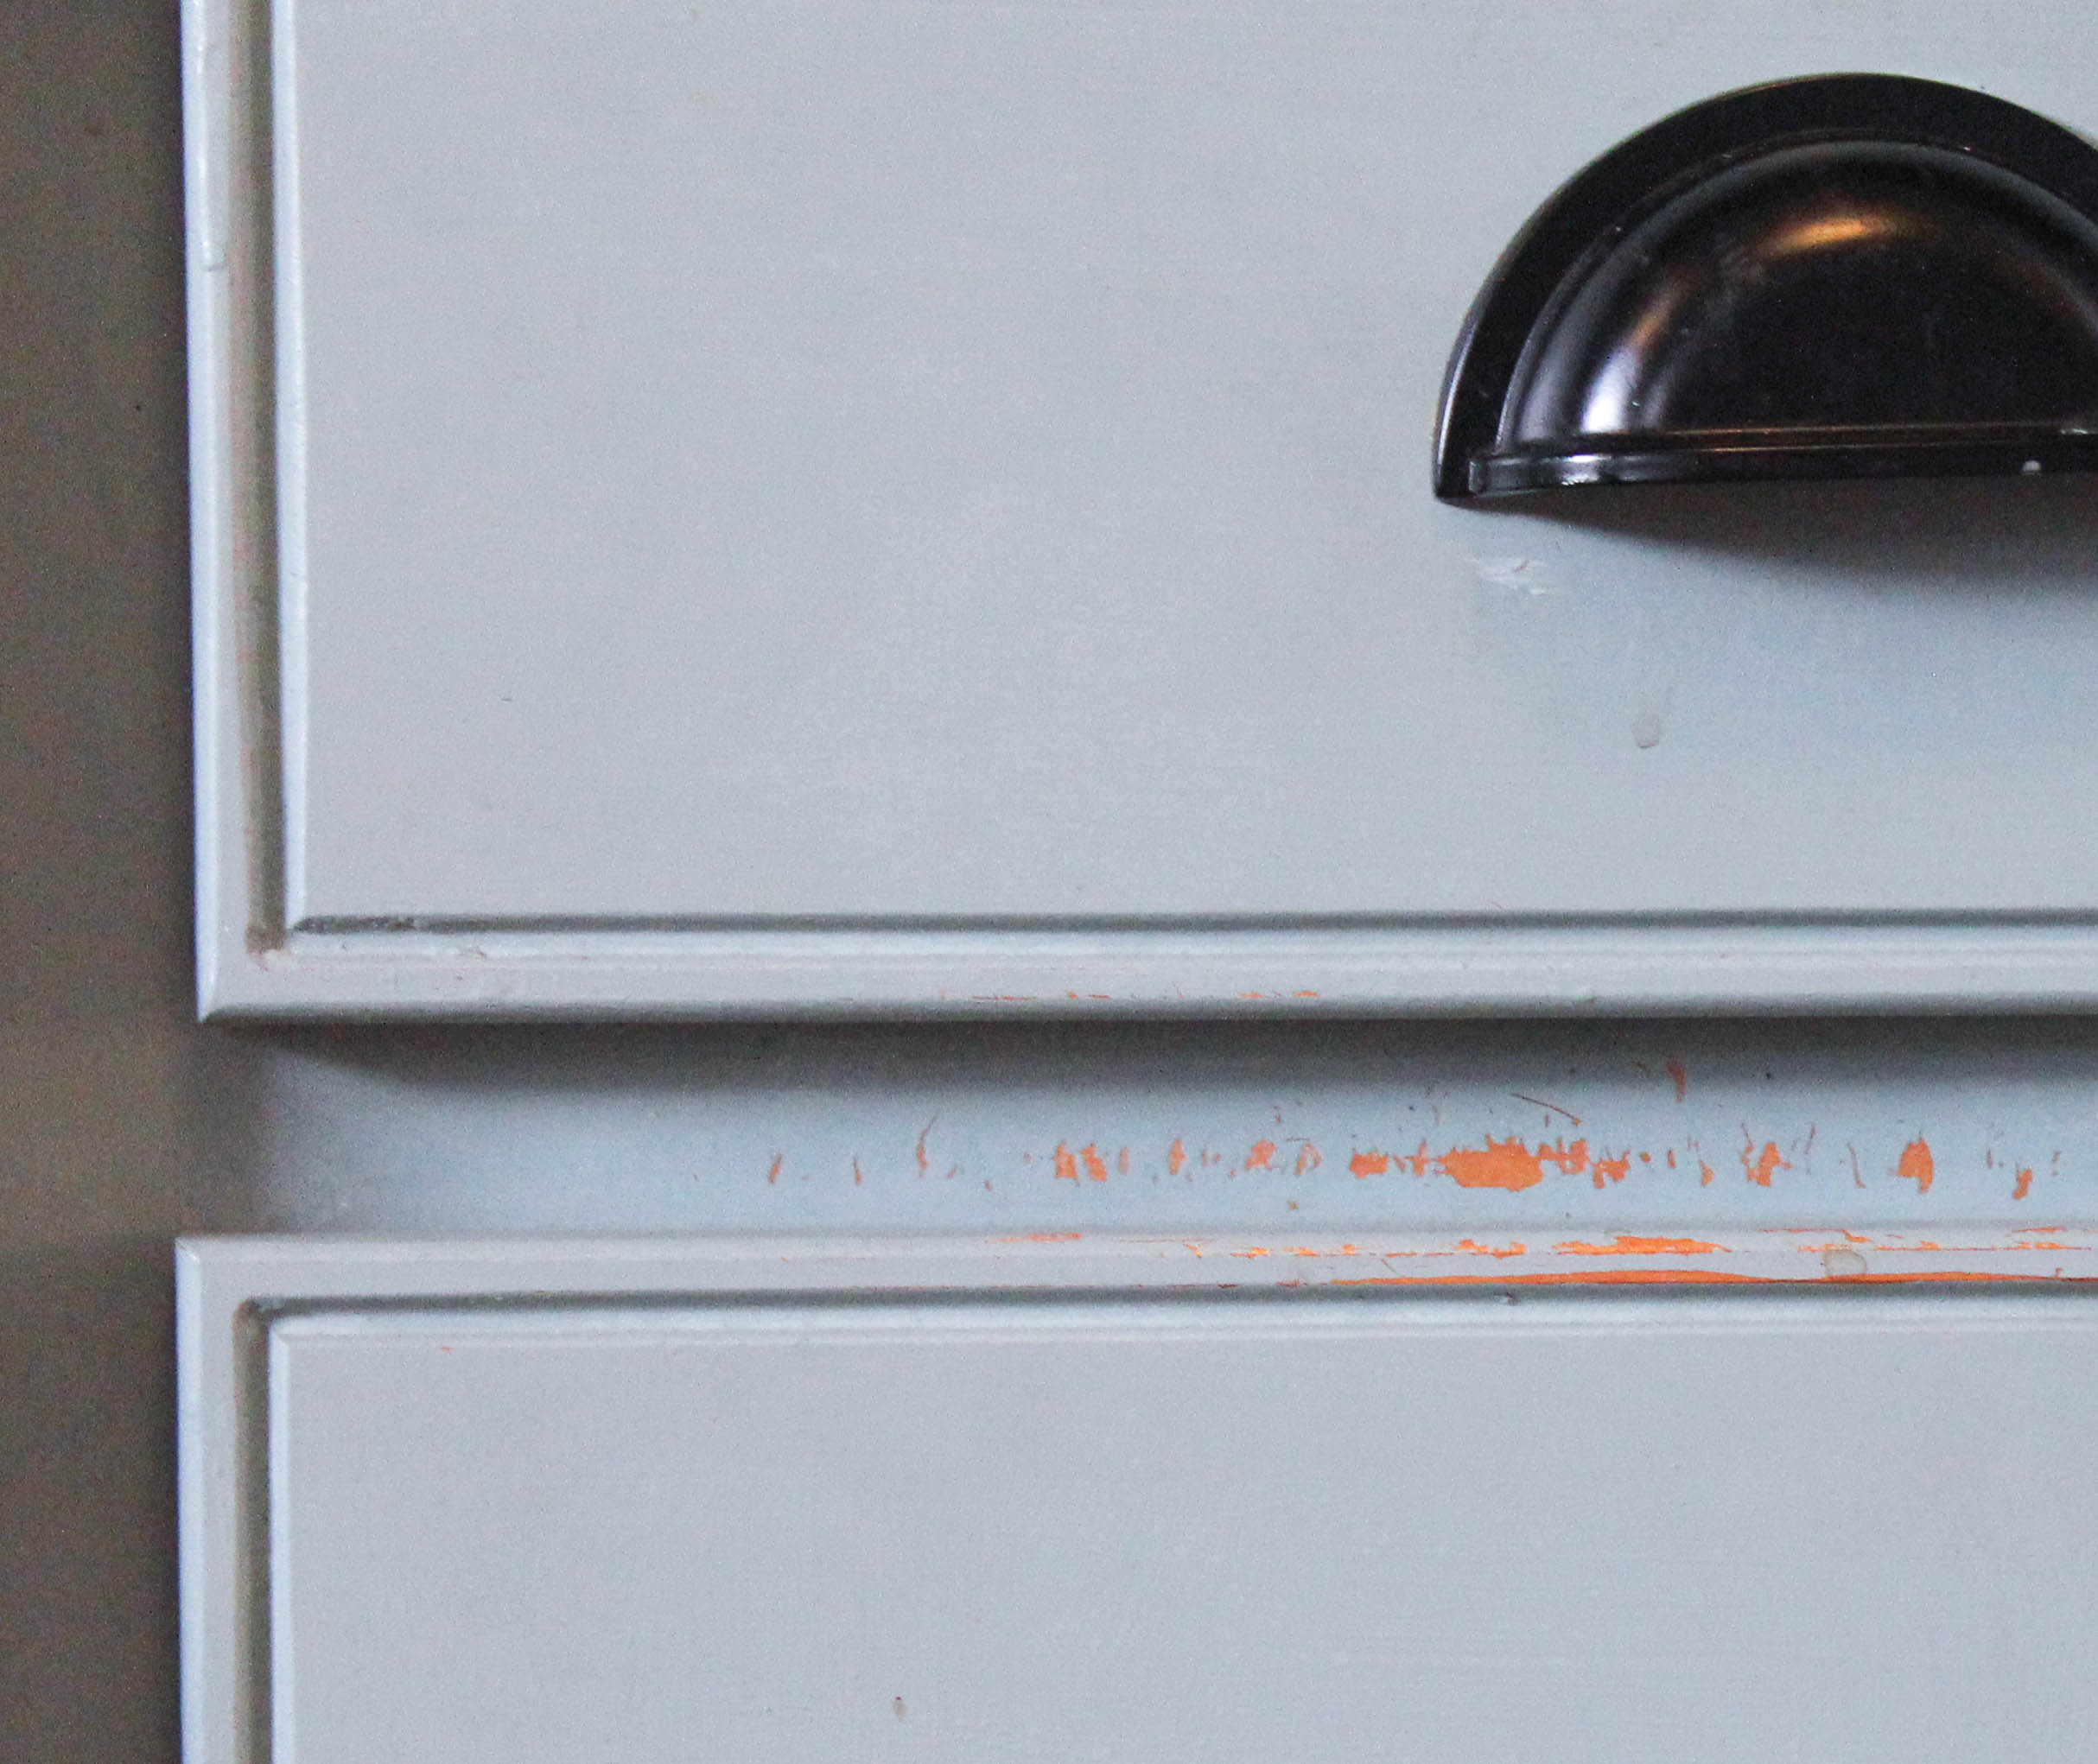
6. What would happen if I skipped waxing the cabinets?
Chalk paint is, well, chalky. You have to apply wax to protect the finish. It is crucial. Here is an area on my cabinets that didn’t get enough wax. As you can see, over time the paint has flaked away.
One common misconception is that the wax will make your cabinets feel tacky. The wax cures and will have a hard finish. The wax also brings the color of your paint out, making it look richer.
7. How has the paint held up with kids?
Like anything in a house with kids (or pets), there is wear and tear. I do, from time to time, have to touch up areas. This is super-easy and shouldn’t keep you from painting your cabinets.
8. How do you touch-up your cabinets?
I pick up a sample pot of chalk paint ($12) from my local stockist and touch up the areas if the paint has been damaged (as above.) If there is a water stain, which happens once-in-a-blue-moon when the wax has been worn thin, I just add more wax and buff the area out.
It is an easy fix.
I should probably recommend waxing once a year because that is what a stockist would say. Do I? Eh. Maybe? Life is busy. I don’t have time to think about my cabinets too often. I have never made a big production of waxing them again but instead do touch-ups.
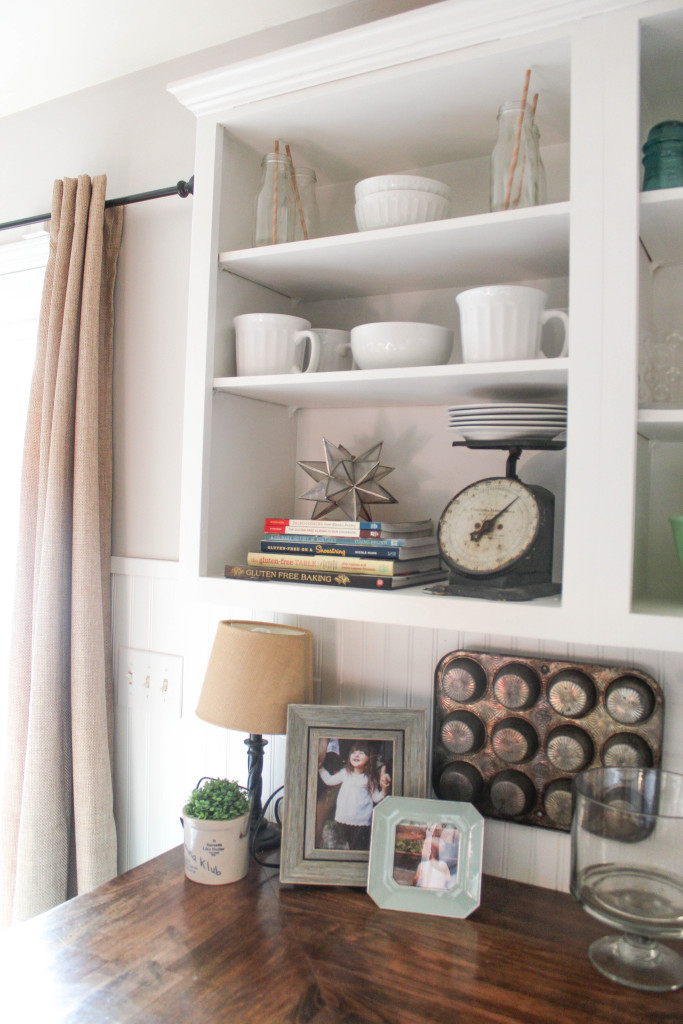
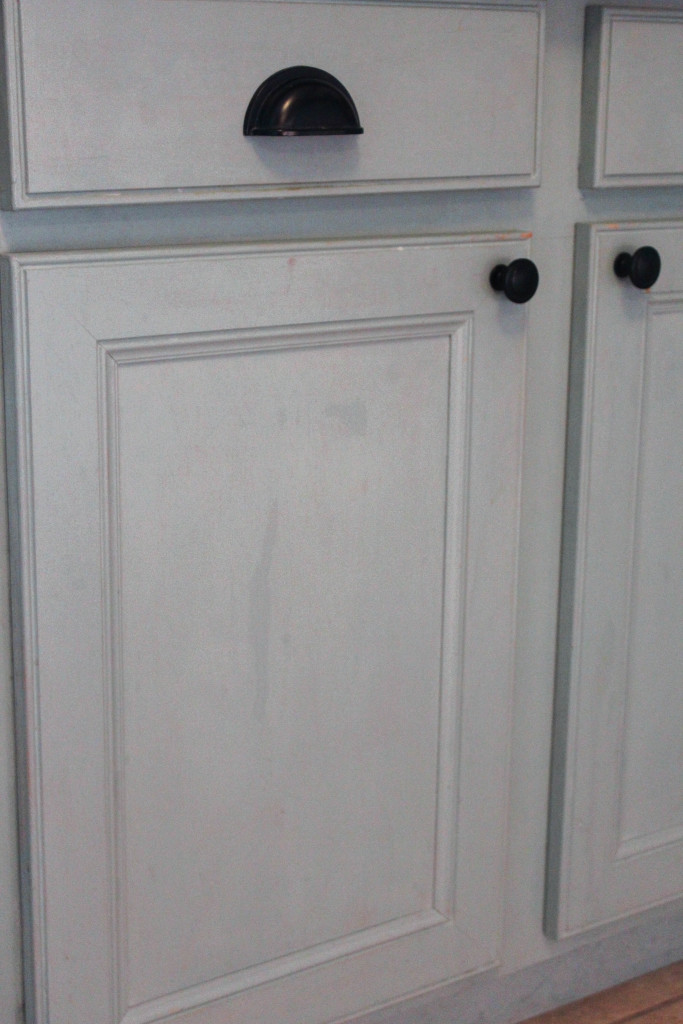
9. Why did you do two different colors?
I used two different colors because I think it makes the kitchen feel a little bigger with white on top. I also think two different colors gives you a more custom-look.
10. Are you still happy with the results?
Yes, I think chalk painting the cabinets was a fast, affordable and easy way to makeover our kitchen. I would do it again. Even in a house with kids, they’ve held up well.
My advice:
- Invest in hardware. Even on unpainted wood, hardware will protect the finish of your cabinets from the oil in your hands. Plus, it’s a cheap way to add personality to your kitchen.
- Browse Pinterest for kitchens that inspire you. I never would have thought of painting the cabinets blue until I realized I consistently was drawn to kitchens that incorporated that color.
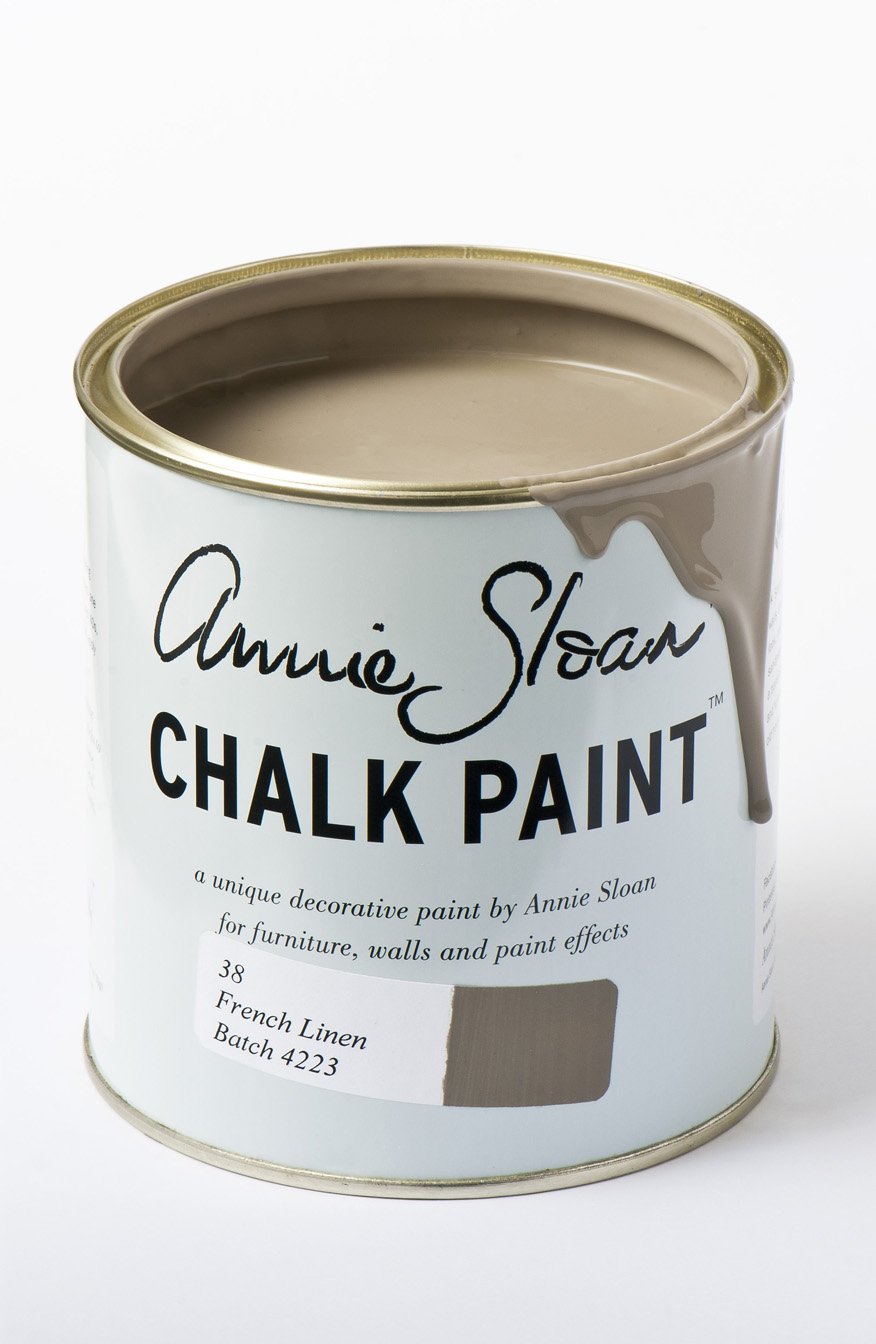
- If you like white cabinets but worry about kids, paint your uppers with Annie Sloan Pure White and go with a darker color on the bottom. French Linen, Paris Grey, Country Grey or Graphite would be beautiful on lower kitchen cabinets.
- Relax. If you mess up, it’s paint. You can sand it off and start over. Have fun with it!


One Response
Amanda, so glad u reposted your chalk paint cabinets post! I’m intrigued at the idea of painting my laminate cabs with chalk paint since no primer or sanding is required. Qu: If I wanted a glossier finish coat, could I paint one coat of chalk paint to serve as a base coat (not having to sand 40 cabs will save me tons of time!), then do 1-2 coats of a high-quality satin enamel? I realize this isn’t the typical use for CHALK paint, but it seems like it could be an amazing way to save hours of work. Thoughts??