
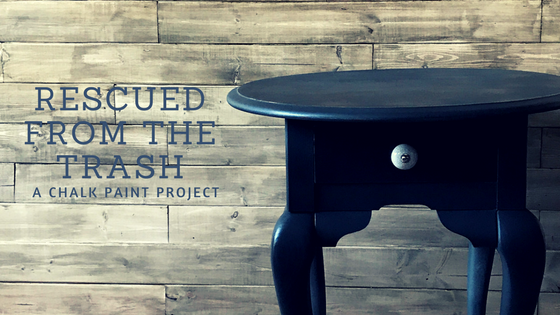
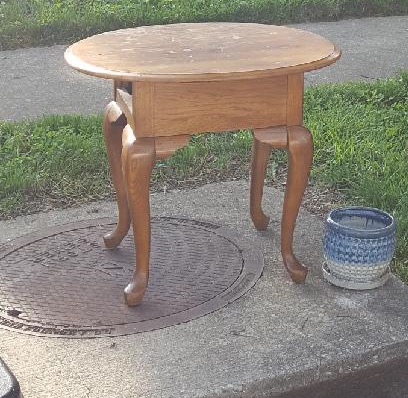
Several weeks ago a friend texted me a photo saying, “You want this? It’s set out in the trash in my neighborhood.” Without hesitation, I responded, “YES!!!” I was just given an adorable, wobbly, drawer-less end table. An end table that was calling out for a little love and some chalk paint.
When I first saw this end table, I thought that I could make a shelf where a drawer had once been. I had to keep in mind my limited woodworking abilities, which meant I could unscrew the legs, readjust the hardware, and wood glue the legs to make the table more steady. But I couldn’t make a drawer. So a shelf it is.
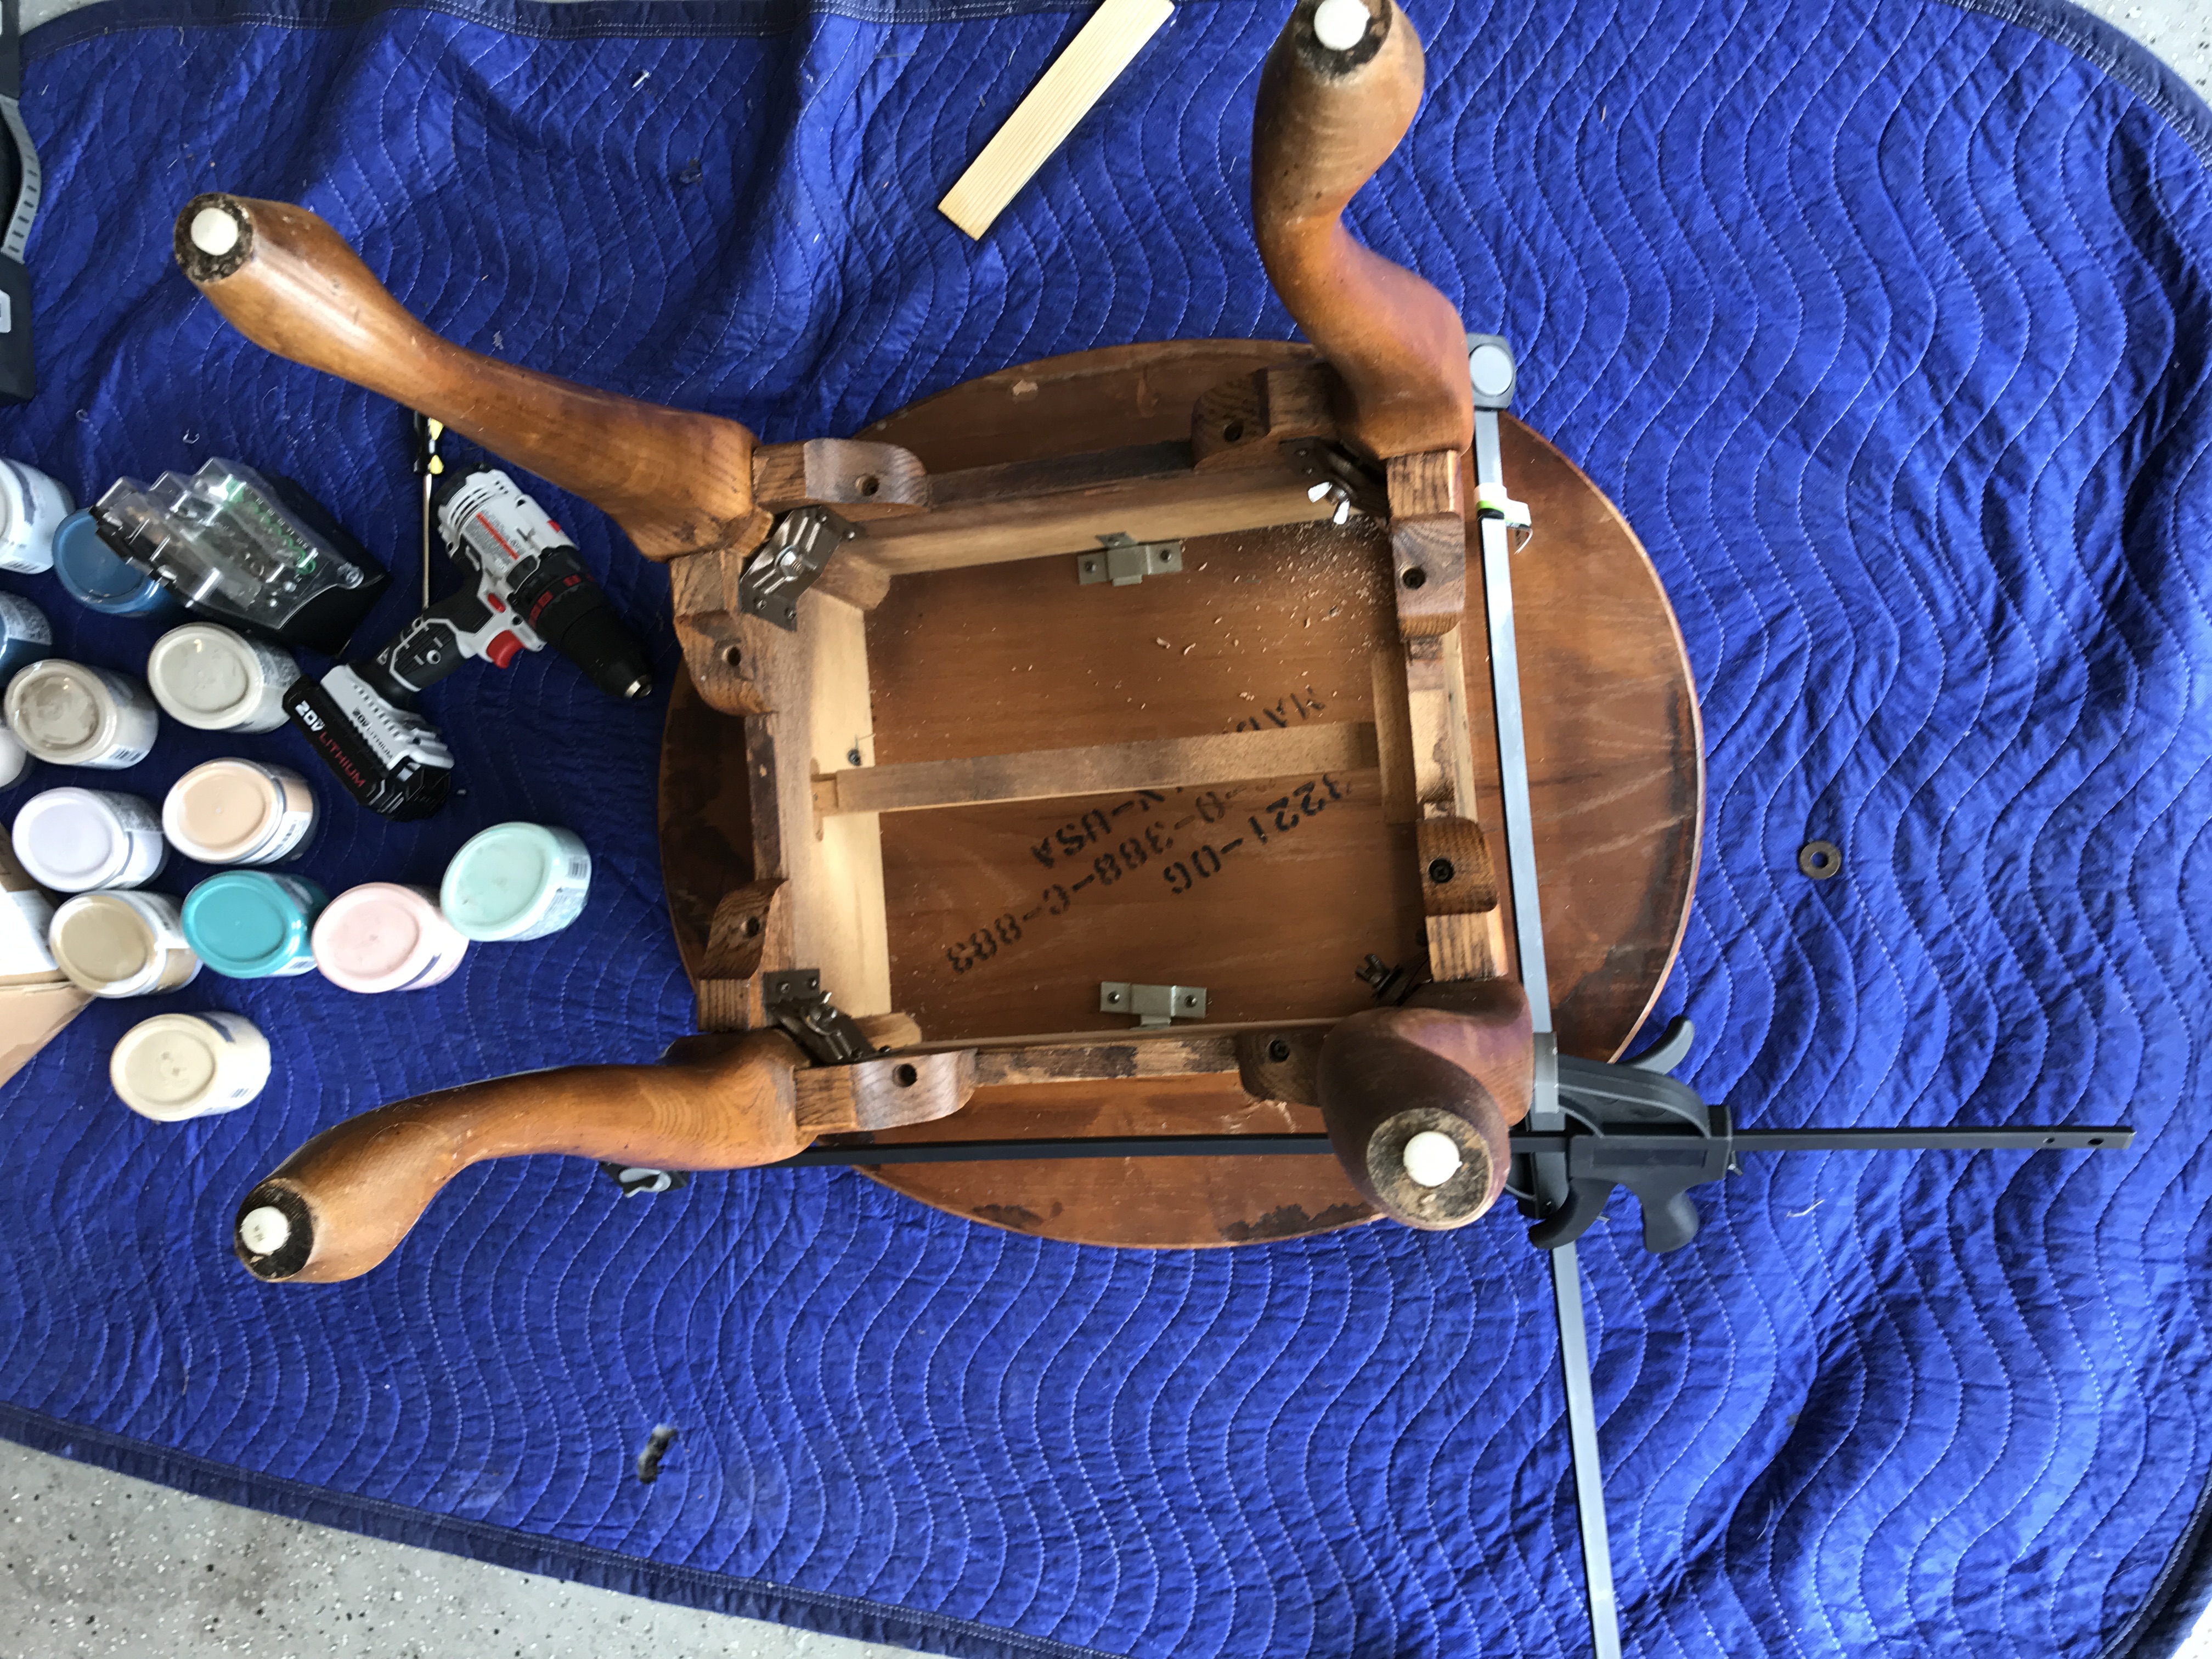 All I did to make the table less wobbly was remove the legs, put wood glue on the legs and the table where the legs attached, clamped and reinstalled the hardware. I let that dry overnight and the next day was when the fun stuff began. After sanding it really well with an electric sander, I bought Valspar spray paint with a chalk finish in a very light gray color. I had never used it before and I wanted to see if I liked spray chalk paint as much as I liked regular spray paint. I’m not going to lie friends — it was a little difficult to get a smooth layer of paint applied like you can with regular spray paint. It was twice the price of regular spray paint and I’m not sure if the different texture made it spray less evenly, but I managed to finish and I ended up using the entire can.
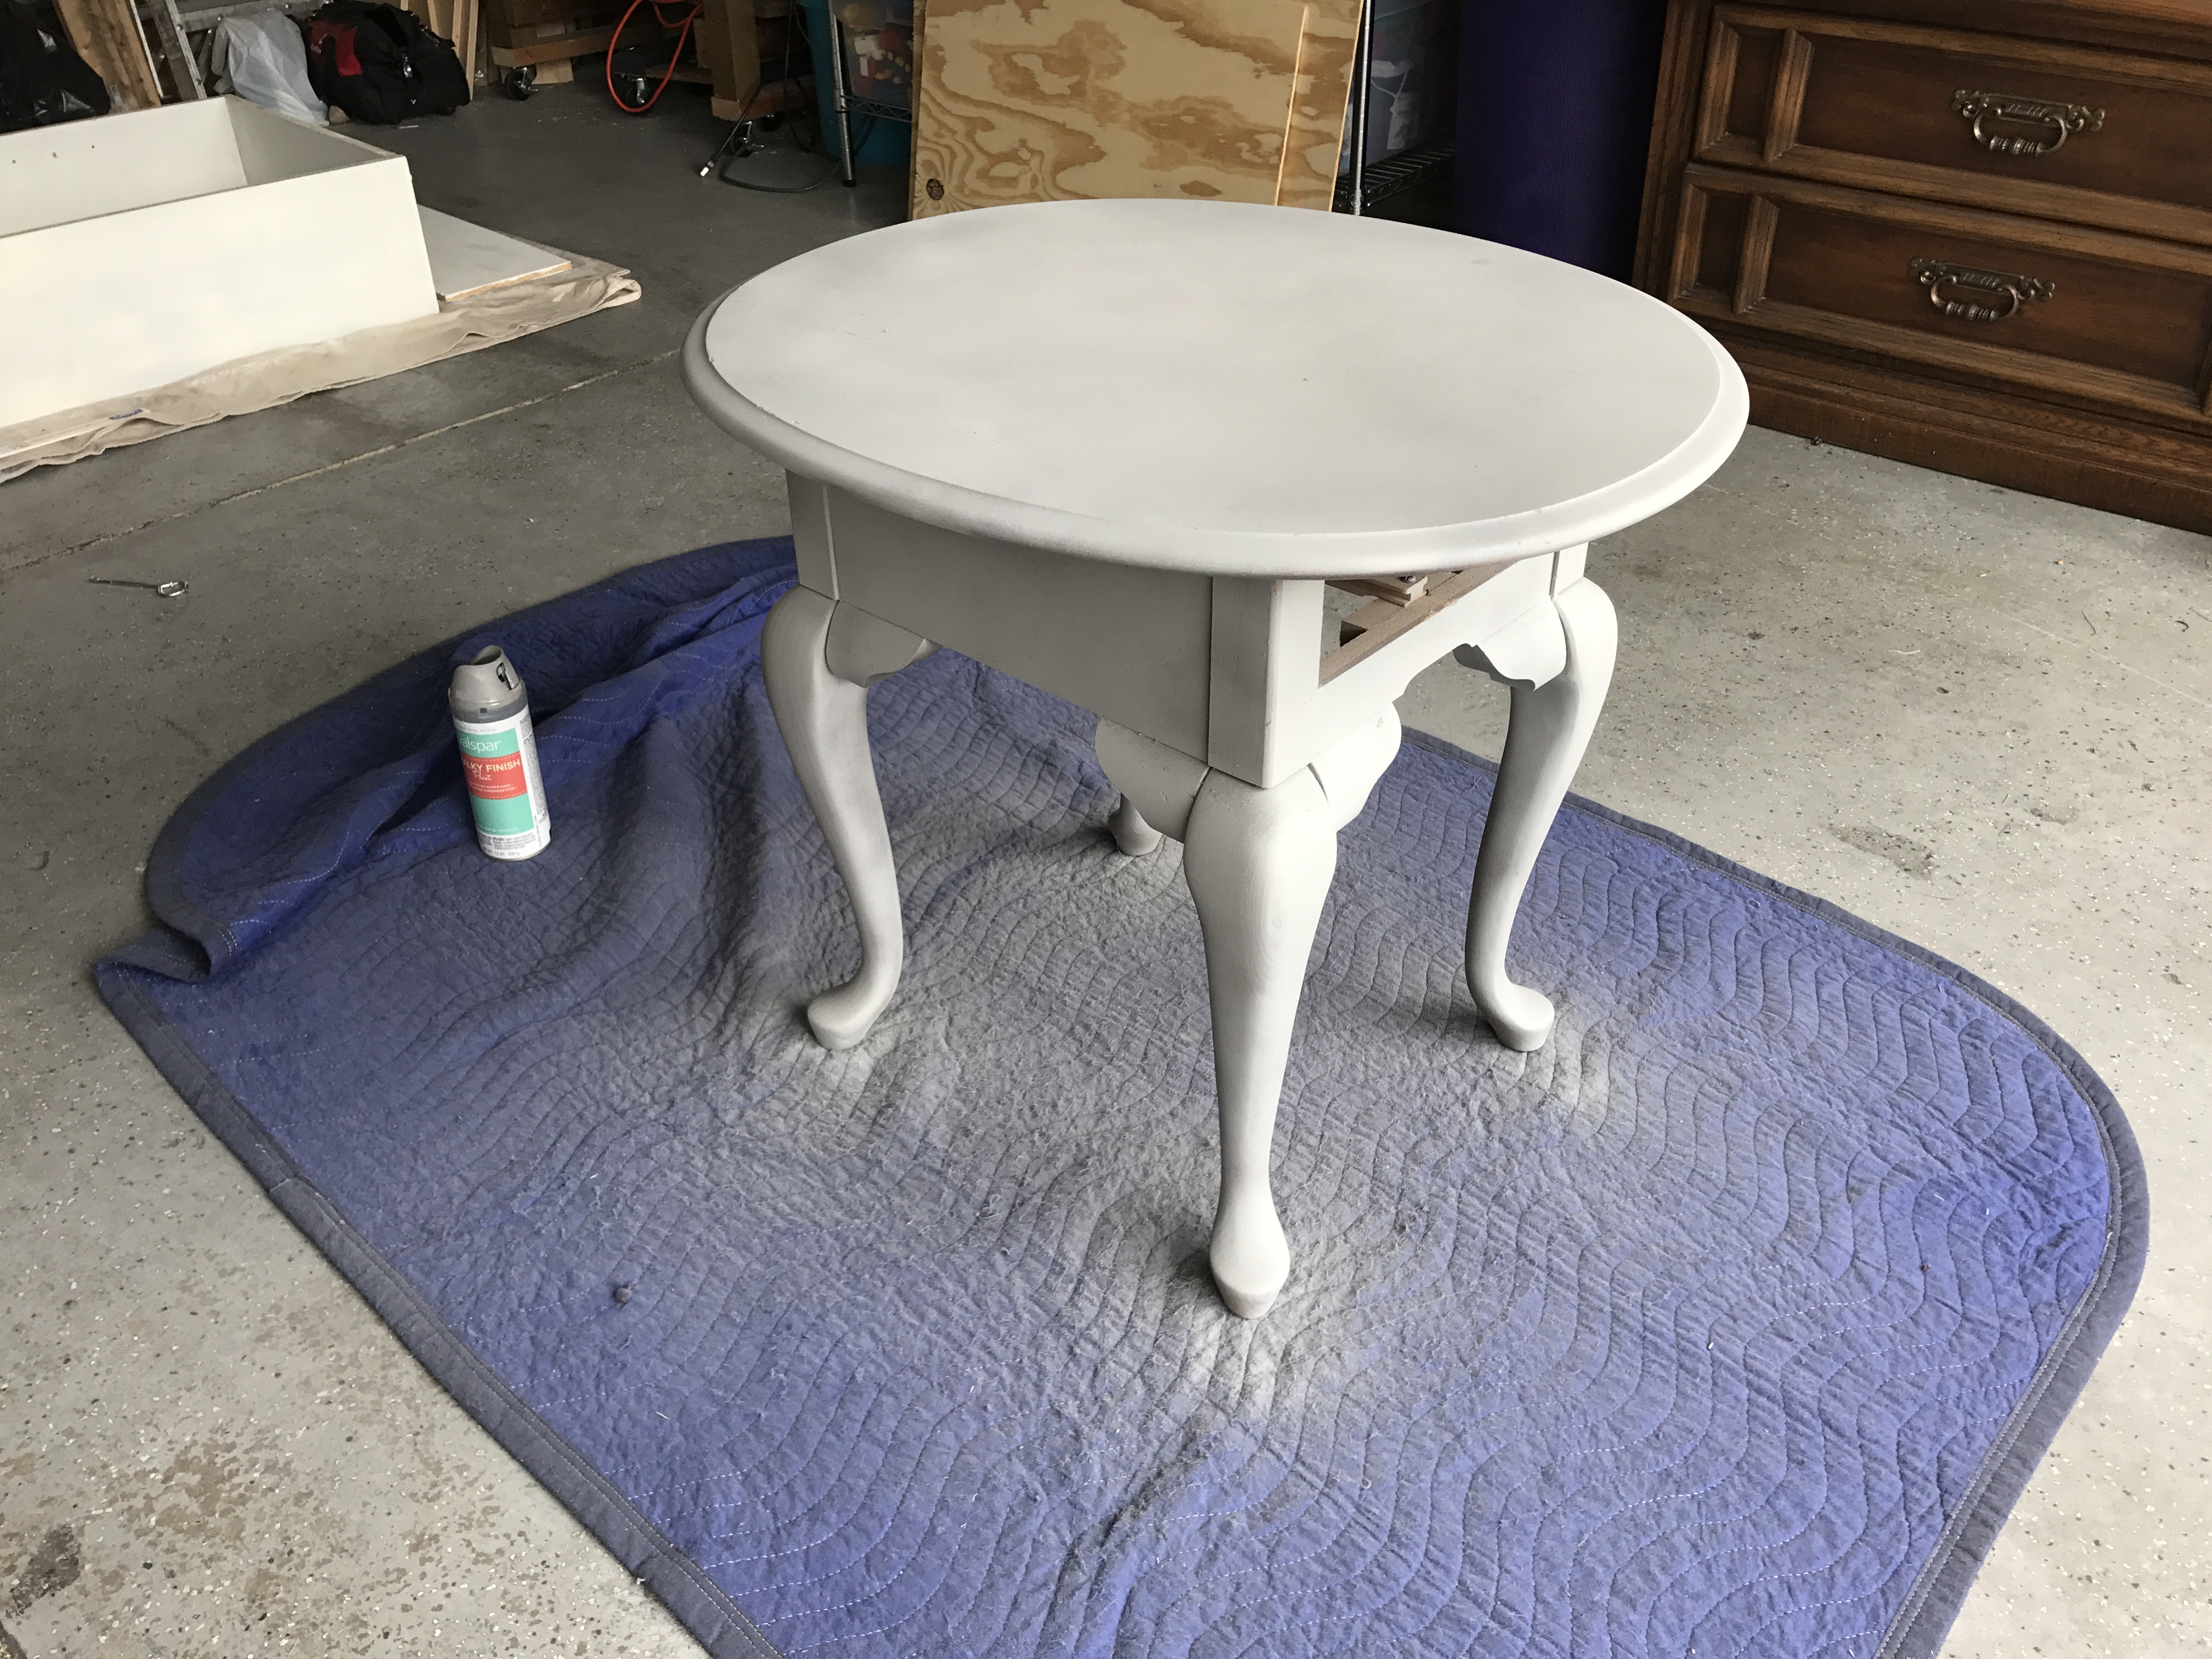
I had a few options at this point: I could paint regular latex paint which I had from another project in a dark gray, I could paint chalk paint from another project with a light blue/gray tint, I could spray another layer of chalk paint on it and pray it does a little better than round one, or I could try spraying it with regular spray paint in a dark gray. I opted for the last choice. For $4.98 I bought a regular can of Valspar spray paint in a gorgeous deep dark gray. I also thought a muted yellow (like a maize color) would look pretty amazing too, but I figured if I flipped it, that dark gray would sell faster. It took two coats and I sanded a little in between because of the uneven spray chalk paint. My investment so far: about $15.
 I consulted my brother, A.J., on how to best do my little shelf in place of the spot where there used to be a drawer. As luck would have it, he happened to get a few new woodworking “toys” and was anxious to use them so he built me a little drawer. I believe the lumber for the drawer was about $7, we already had scrap for the bottom, so I just needed a piece for the sides. I had to sand it quite a bit to make it fit just right, which took awhile. I happened to have one leftover knob that was cream and gray that would look perfect on the drawer. That cost about $2. I took a sanding block and sanded a tiny bit around the raised top of the end table. I knew the chalk paint would come in handy here. It sanded beautifully, took just a tiny bit of the paint off so it looked a little worn, but not too worn.

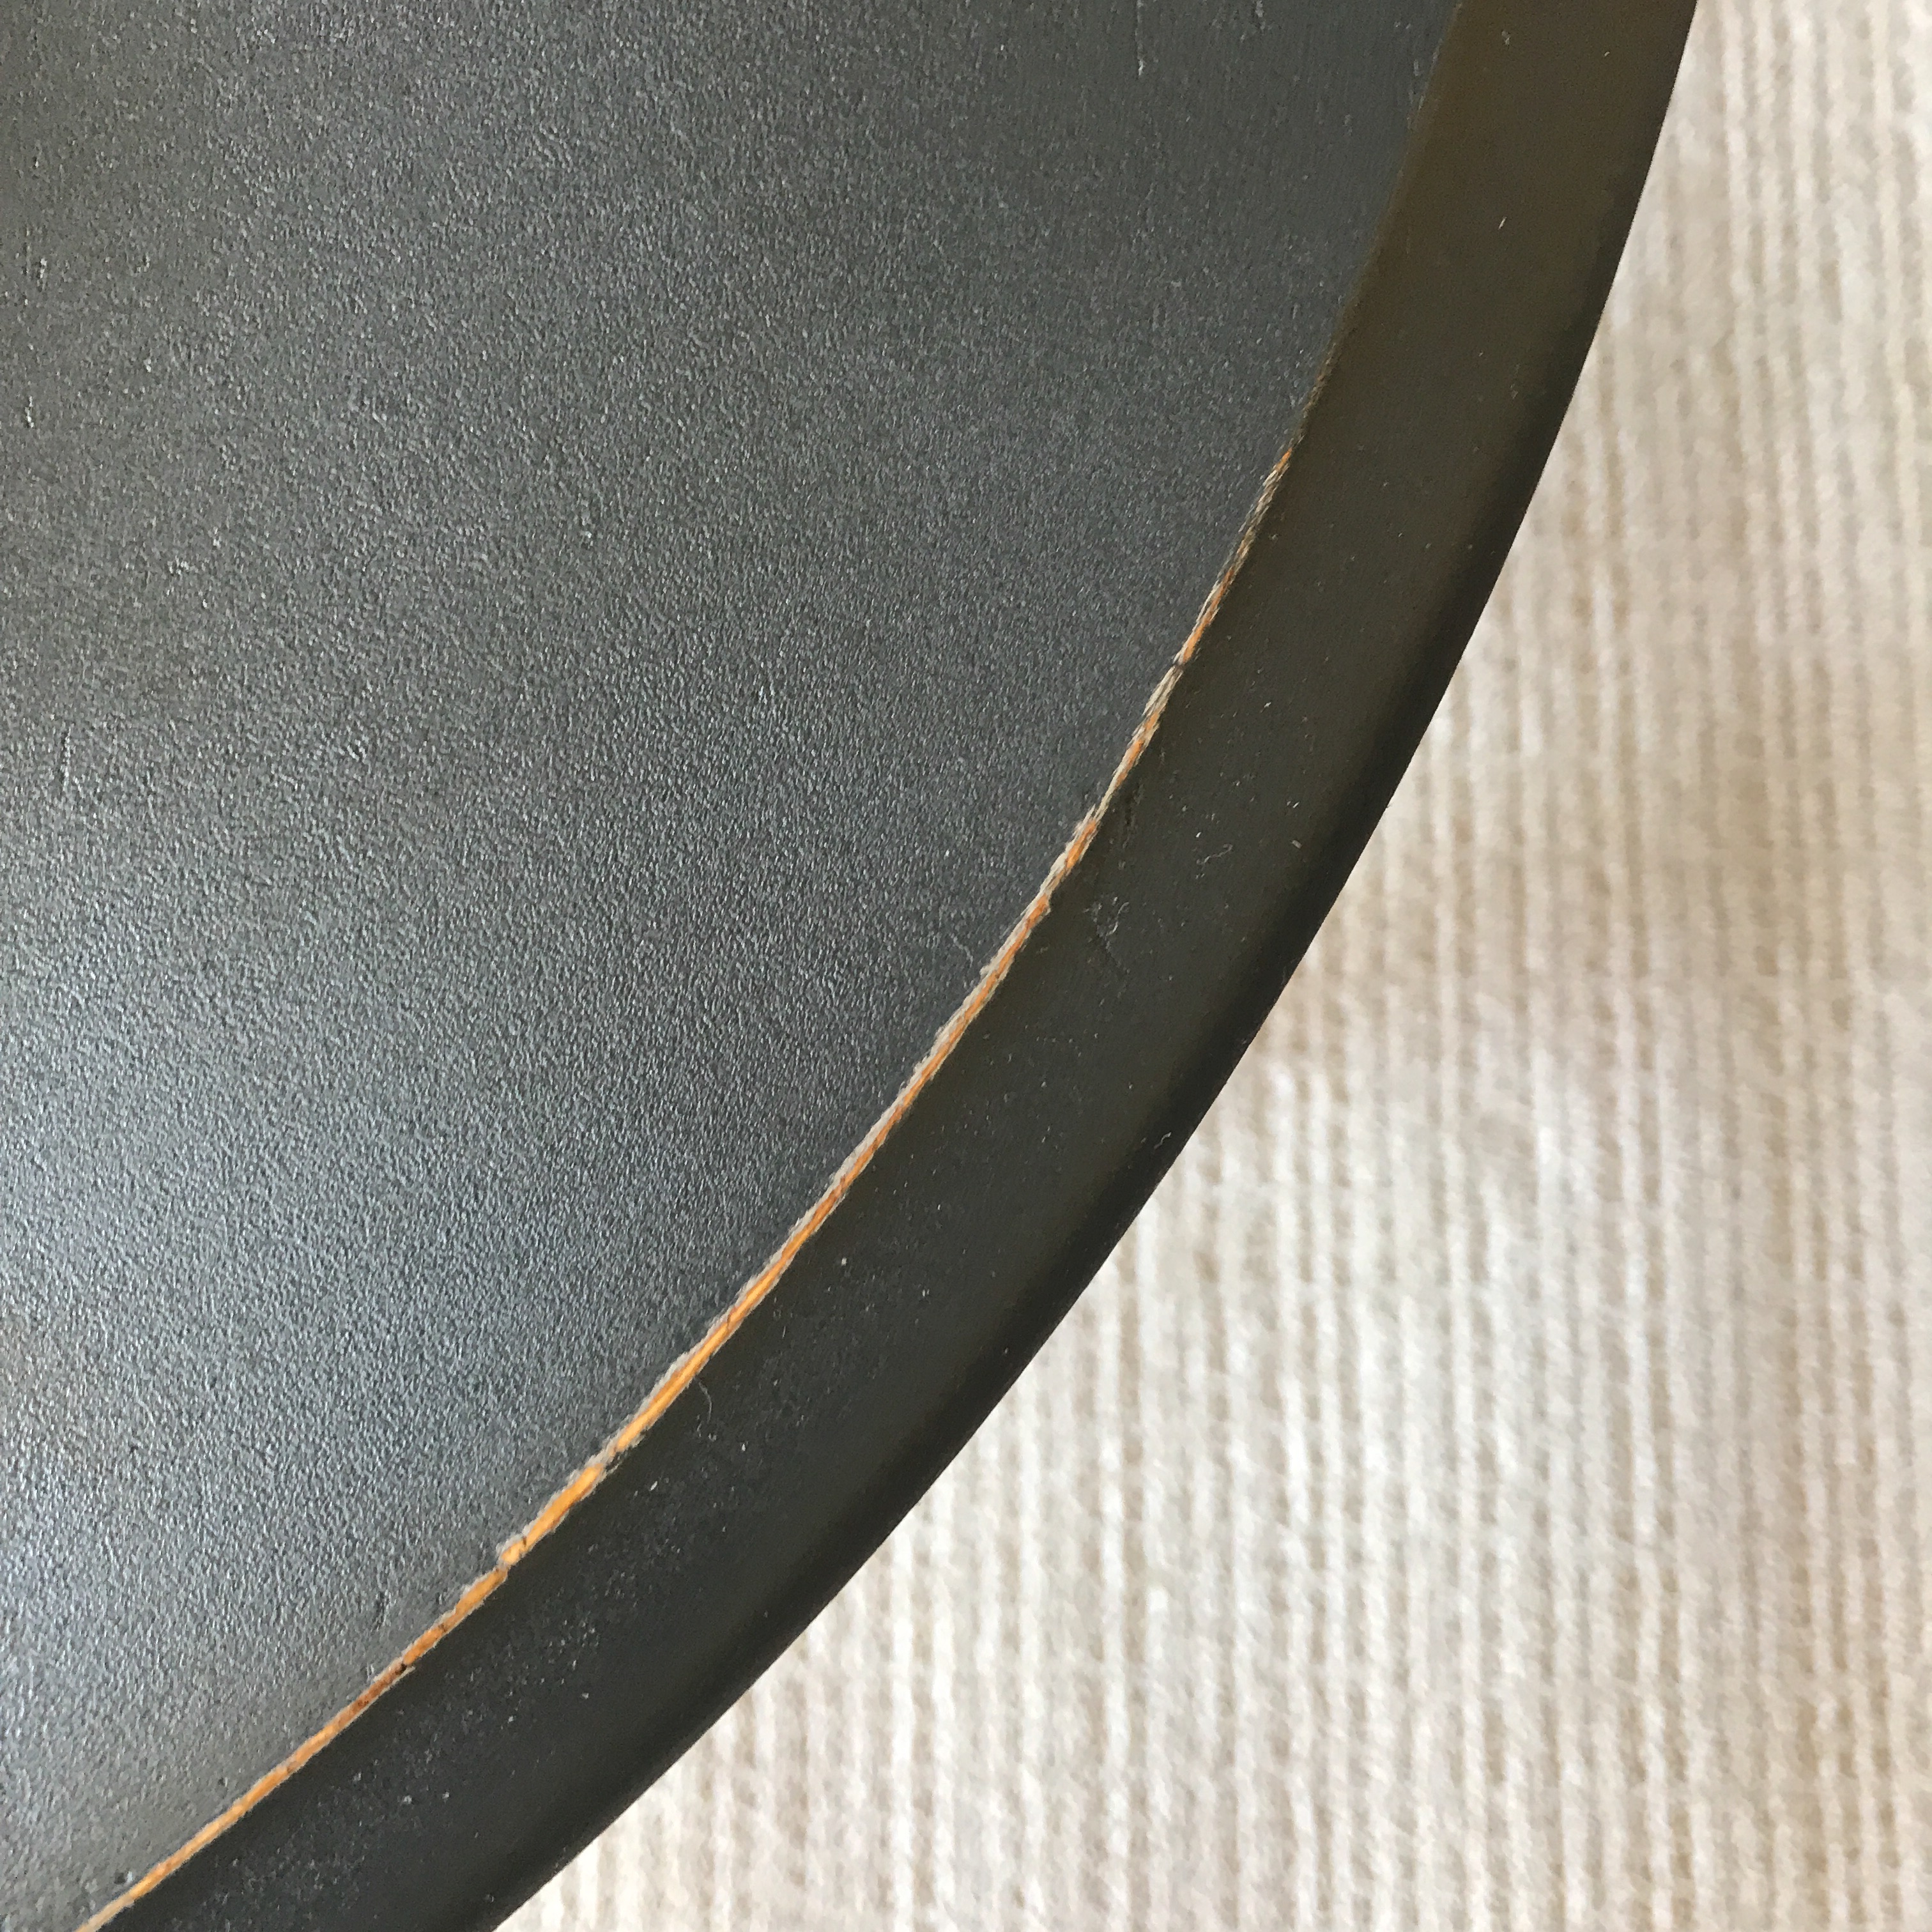
Once everything was finished I sprayed a Valspar sealant on the table (2 coats). I already had the spray sealant, but I think it cost about the same price as regular spray paint. My investment was about $25, and I definitely think it was worth it. I know I should flip it and sell it, but I have gotten a little attached to it and even though I don’t have a place for it, I can’t bring myself to sell it!