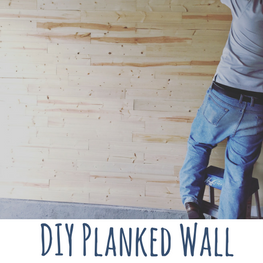
 My brother A.J. is the bomb. This past week he helped me design and create a tongue and groove background wall in the garage for many of the photos I take. I needed mine as a background, but I think making a feature/accent wall in your home is a great idea. It’s so easy and you get such quick results. It would be a wonderful space to feature artwork or pretties you’ve collected from all your world travels. Believe it or not, it only took us a few hours and it was done! Having two people makes the job go a lot faster — one of us was on “wall duty” and assembled the wall and took measurements for the cuts we had to make, while the other one of us measured and cut the pieces needed to fit to finish a row. We were like a well-oiled machine. had never done a project like this before. I only needed a few tools, which I already had and we were good to go.
Here’s what you’ll need:
Tongue and groove planks *Make sure you get enough for your project. Figure in extra pieces if you plan to stagger your planks. I got mine at Lowe’s in the lumber section. This project cost me right at $90 for 8 pkg of pine wainscot plank tongue and groove paneling. There are several different kinds of wood to choose from and the planks also can vary in style and cost. Mine were very plain and rustic, which was the exact look I was going for. The link I provided are for cedar planks on Amazon, which is perfect if you are making a cedar closet to store clothes or you just like the look/smell of cedar.
Nail(brad) gun/small nails
Miter saw
Level (small, large)
Stud finder
Tape measure
small T square
pencil to mark cuts
jigsaw (to cut the pieces lengthwise if you need to)
 First thing you need to do is decide where you want your feature wall. On my project we created a border so we could build within that border. Chances are you are working between two walls, but if you are doing your featured area in an open room and not from wall to wall, I suggest building a border. We took some thin scrap pieces of lumber, made sure they were straight vertically and screwed them in as our “frame”. This gave us a guide to use. We left our frame up because I liked it, but you don’t have to, just unscrew the pieces when you are finished.
Next use your stud finder to find and mark the studs. Our studs just happened to be already marked from where the previous owner had hung a long shelf on the wall. The pieces of tongue and groove planks I used were very thin and lightweight, but we still needed to hit a stud every once in awhile for good measure. Use the level again to make sure your space is relatively level at the bottom (you’ll be working from bottom to top, UNLESS you have a more square are along the top. It’s easiest to begin where your wall is the most square). If not, mark a level line from the lowest point across and use that as your guide to start your project. You can go back and fix the part that isn’t level later.
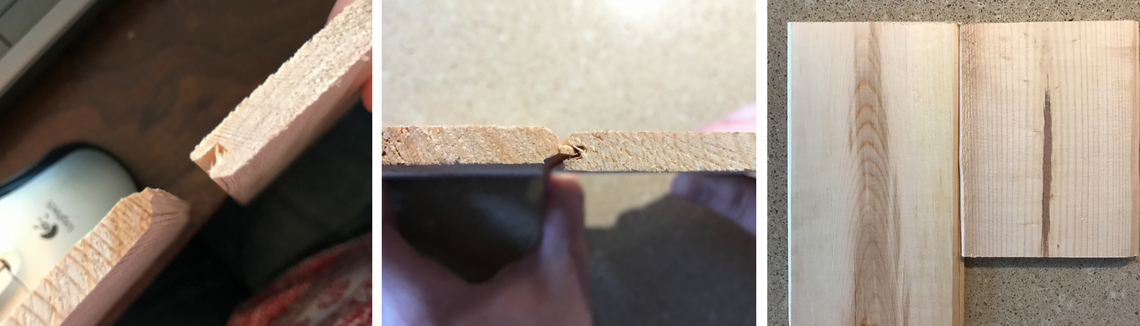
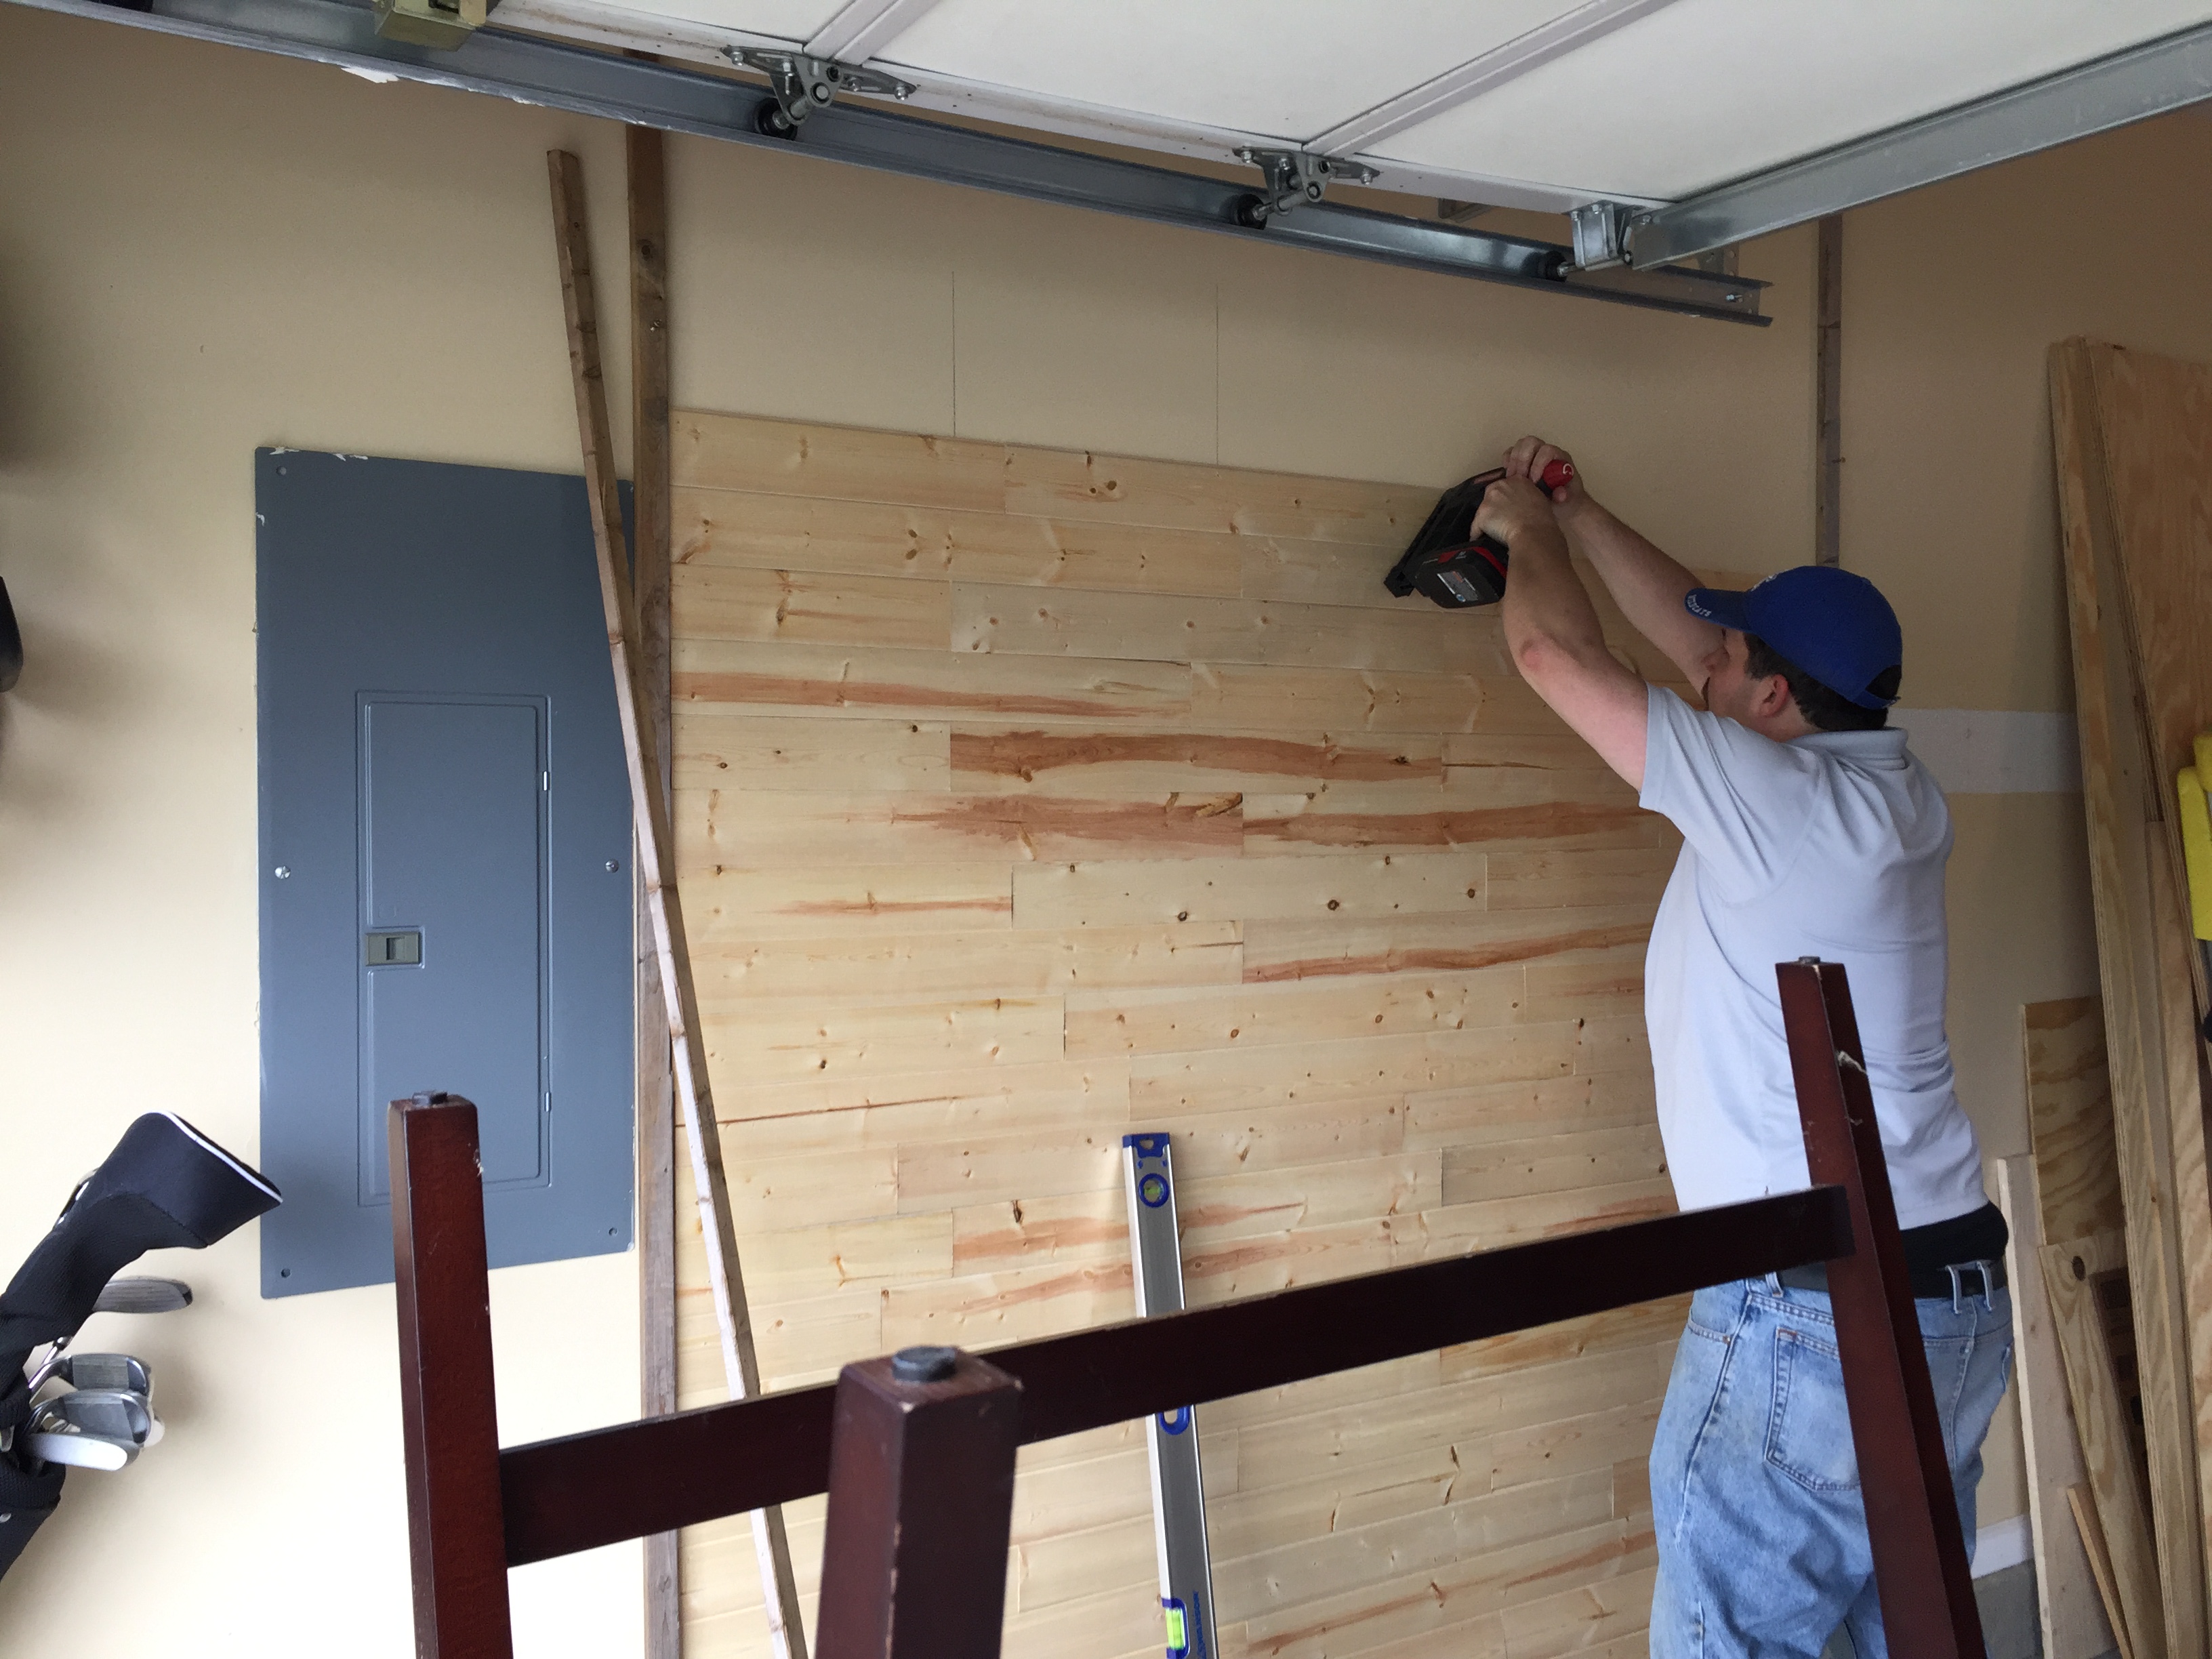
The tongue and groove concept is simple, each piece has indentations as well as a protruding strip. These pieces interlock for support and once together they look pretty seamless. I wanted my planks to be staggered; I didn’t want it to look like a Lego wall. I wanted it to look natural and random. Use your brad gun to affix the plank along your line or the bottom of your wall or area. Go all the way across doing this row side by side, making sure all your pieces are facing the same direction so they will all interlock from row to row. We put about two to three nails in each plank to keep them sturdy, making sure to occasionally hit a stud when we could.

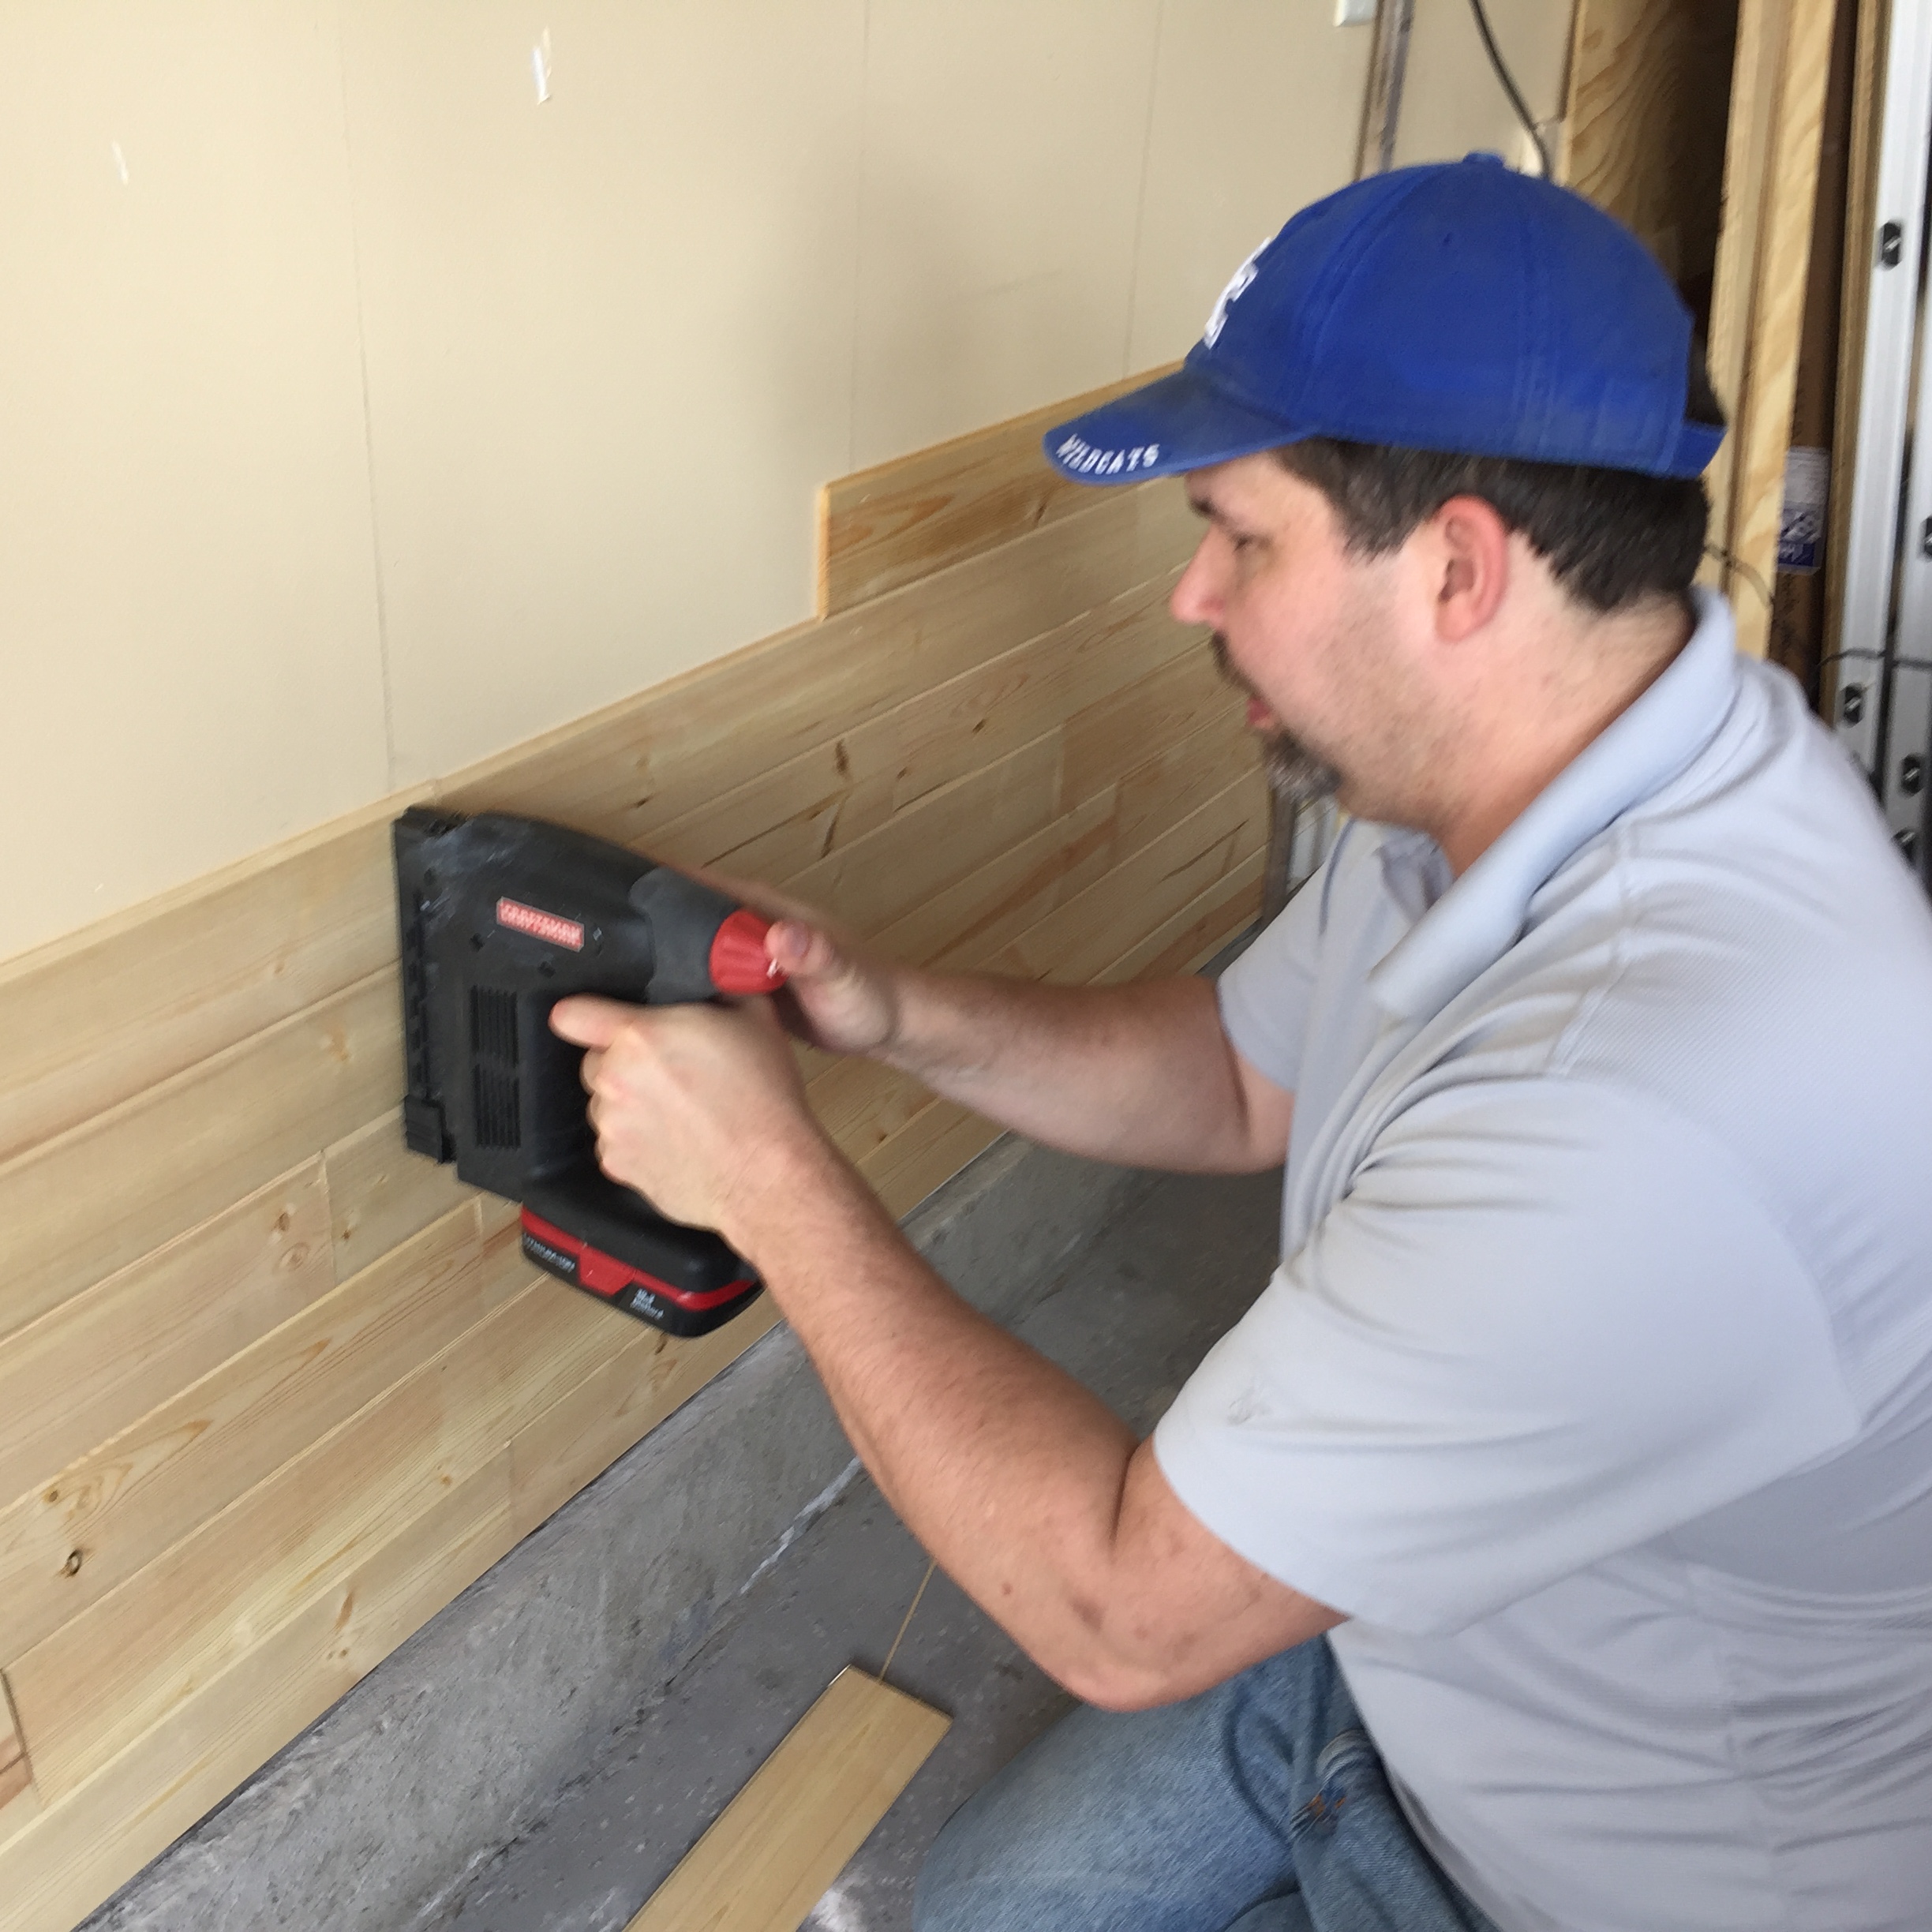
At some point you will more than likely have to cut the last piece on the row. Measure the spot you need, use your pencil and T square to mark the cut and then use your miter saw to cut the plank so it will fit in your space. Then you can start the next row right above where you finished the last. Use a full plank on top of the previous piece and make sure the tongue and groove planks are interlocking properly. Keep staggering the pieces, working upward and left to right, then right to left.

Repeat that same process until you either are completely done with your planks and your project is pretty much done, or if you have space at the top/part of the floor that wasn’t level, you will need to use the jigsaw to cut the boards to the size and shape you need to fill in the gaps. If you created a temporary border, go on and unscrew the pieces.
As of right now it’s still unfinished (meaning no stain or paint yet), but I figure we can do a post on that another day. Happy DIY-ing!!!!